
Healthy Low Carb Cantaloupe & Cheesy Almond Bites
Posted: June 18, 2016 Filed under: Appetizers, Fruit Dishes, Uncategorized Leave a comment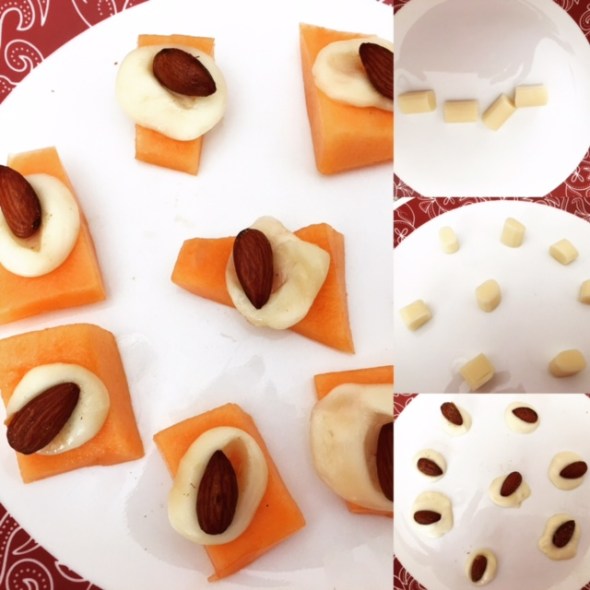
During the hot summer months, nobody wants to turn on an oven or stand around for long in the kitchen, with the great outdoors calling our name! But still, we do need fuel for summertime play, and we’d like it to be tasty, quick, and healthy.
Here’s a snack that fills the bill. I often enjoy this for breakfast as well as a mid-day snack or to go with a glass of wine to make Happy Hour even happier. And they are so delicious and pretty — you’ll feel great about serving them as a summertime appetizer to anyone, almost any diet plan. Low carb, high protein, gluten-free and smart in calories as well.
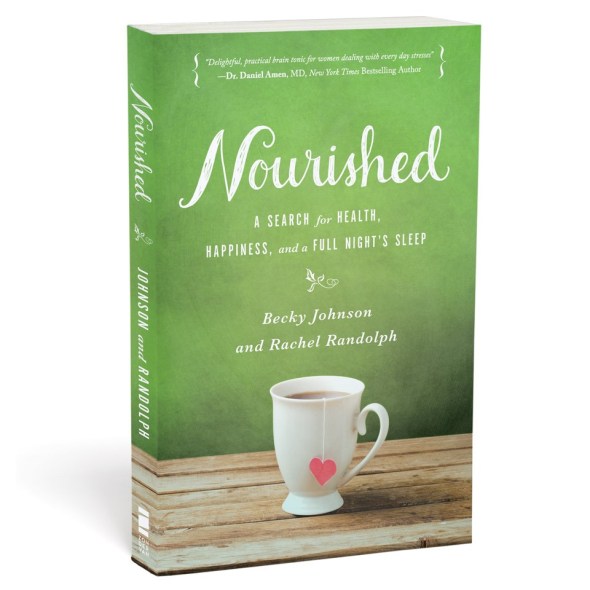
And if you are looking for a nourishing, funny and uplifting summertime read to take to the beach (or your porch swing) — may I suggest you check out our books: We Laugh, We Cry, We Cook and Nourished: A Search for Health, Happiness and a Full Night’s Sleep.

Directions:
Simply cut a piece of string cheese in 8 equal pieces, then arrange on plate sprayed with Pam. Nuke for 15 seconds. Put a smoked almond in center of each piece of cheese while warm. Cut “cantaloupe crackers” (slices of fresh cantaloupe in cracker-sized pieces) and place cheese & almond on top.
This appetizer is cold and warm, sweet and salty, soft and crunchy. So easy so good so healthy. Enjoy!
Easy, Scrumptious Apple Dumpling Cobbler
Posted: February 23, 2015 Filed under: Desserts, Fruit Dishes, Uncategorized | Tags: apple, apple dumplings, apples, butter, cinnamon, cobbler, dumplins, ice cream, lemon, pastry, pie crust, sugar Leave a comment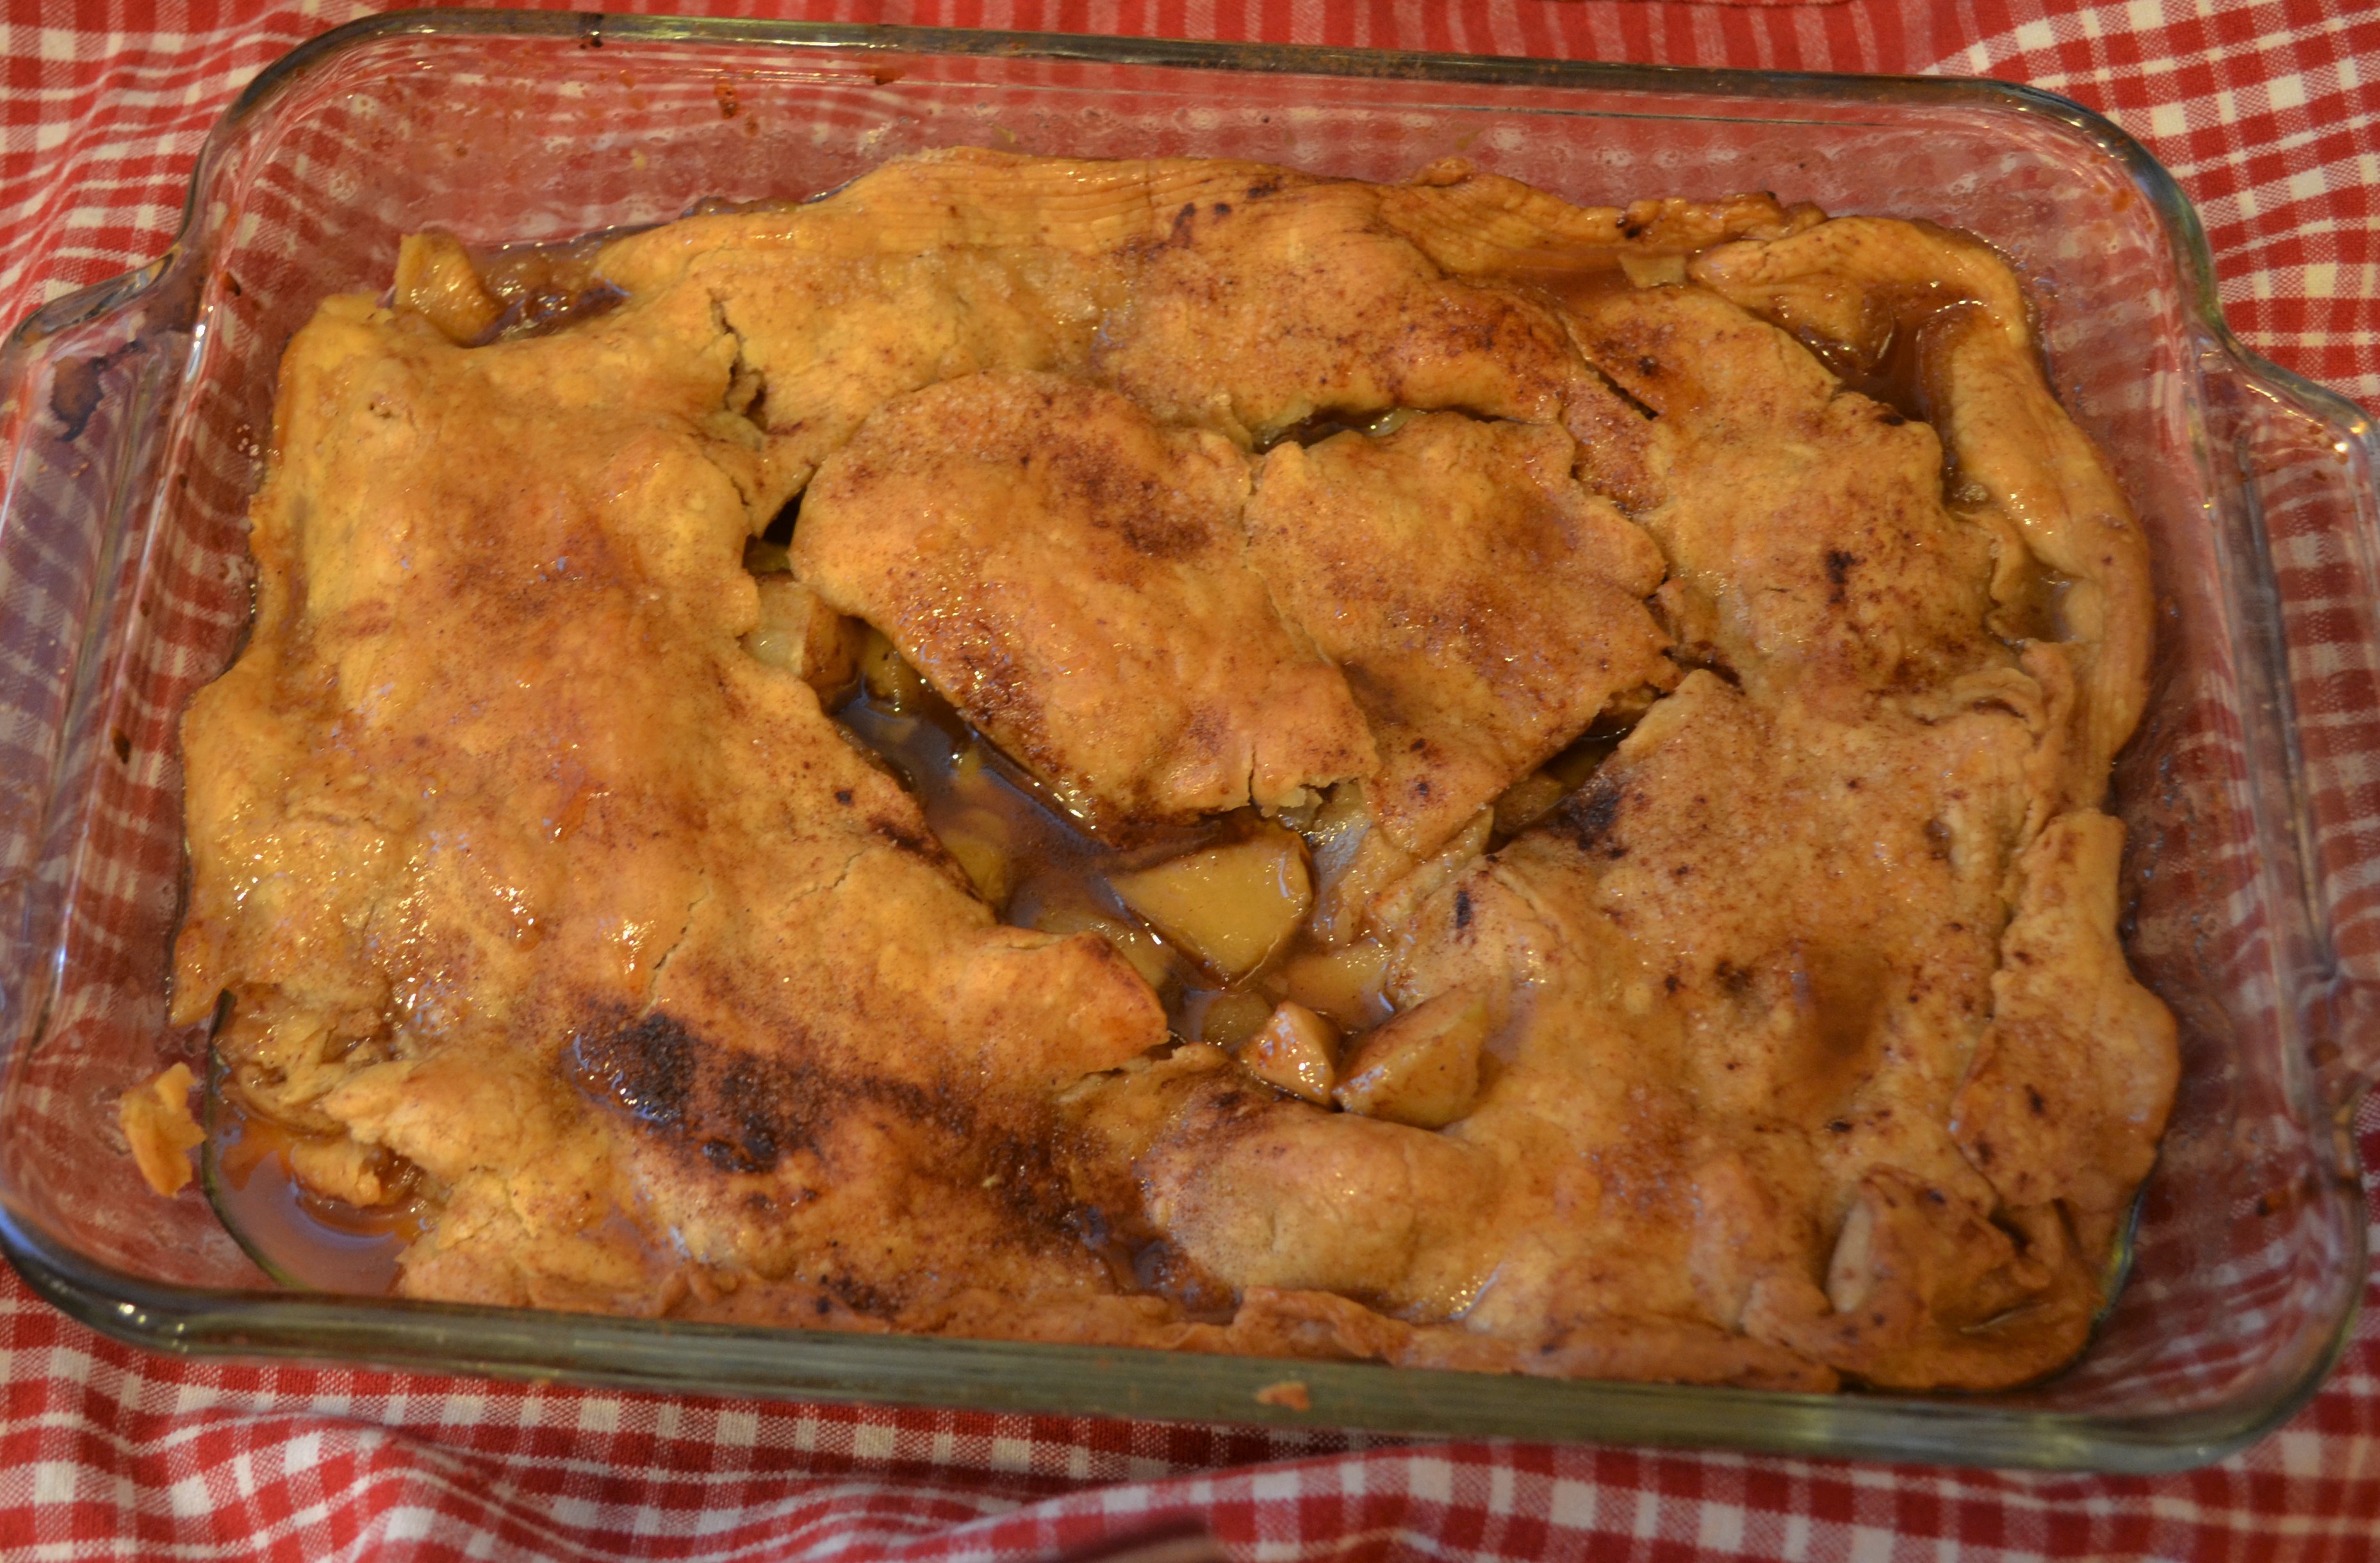
(Becky, the Mama.)
What is it about being snowed in that turns even makes even the most anti-cooking folks fire up the oven and don an apron? Here’s a recipe that is not only easy to make, and scrumptious, but will make your house smell like Pure Love.
I know, I know… the last recipe I posted was an apple dessert, too. But as you read in that post, I had somehow purchased THREE huge bags of apples and so, forgive me, but since I am still up to my ears in apples…. here’s another fabulous apple recipe I created that used up the last of my surplus. You’ll take one bite and think, “Oh. My. Goodness. This tastes like my grandmother’s home-made apple dumplings.” (And if you didn’t have an Apple Dumpling-Baking-Granny, the Apple Dumplings at Cracker Barrel are a pretty close second.)
A few decades ago, my mother went through a spell of baking Apple Dumplings from a recipe in the red and white checked Better & Homes and Gardens Cookbook. They were delicious! People raved about them and begged for more. But they were also a LOT of trouble. For my taste they were also a little too sweet and there was too much pastry-to-apples ratio.
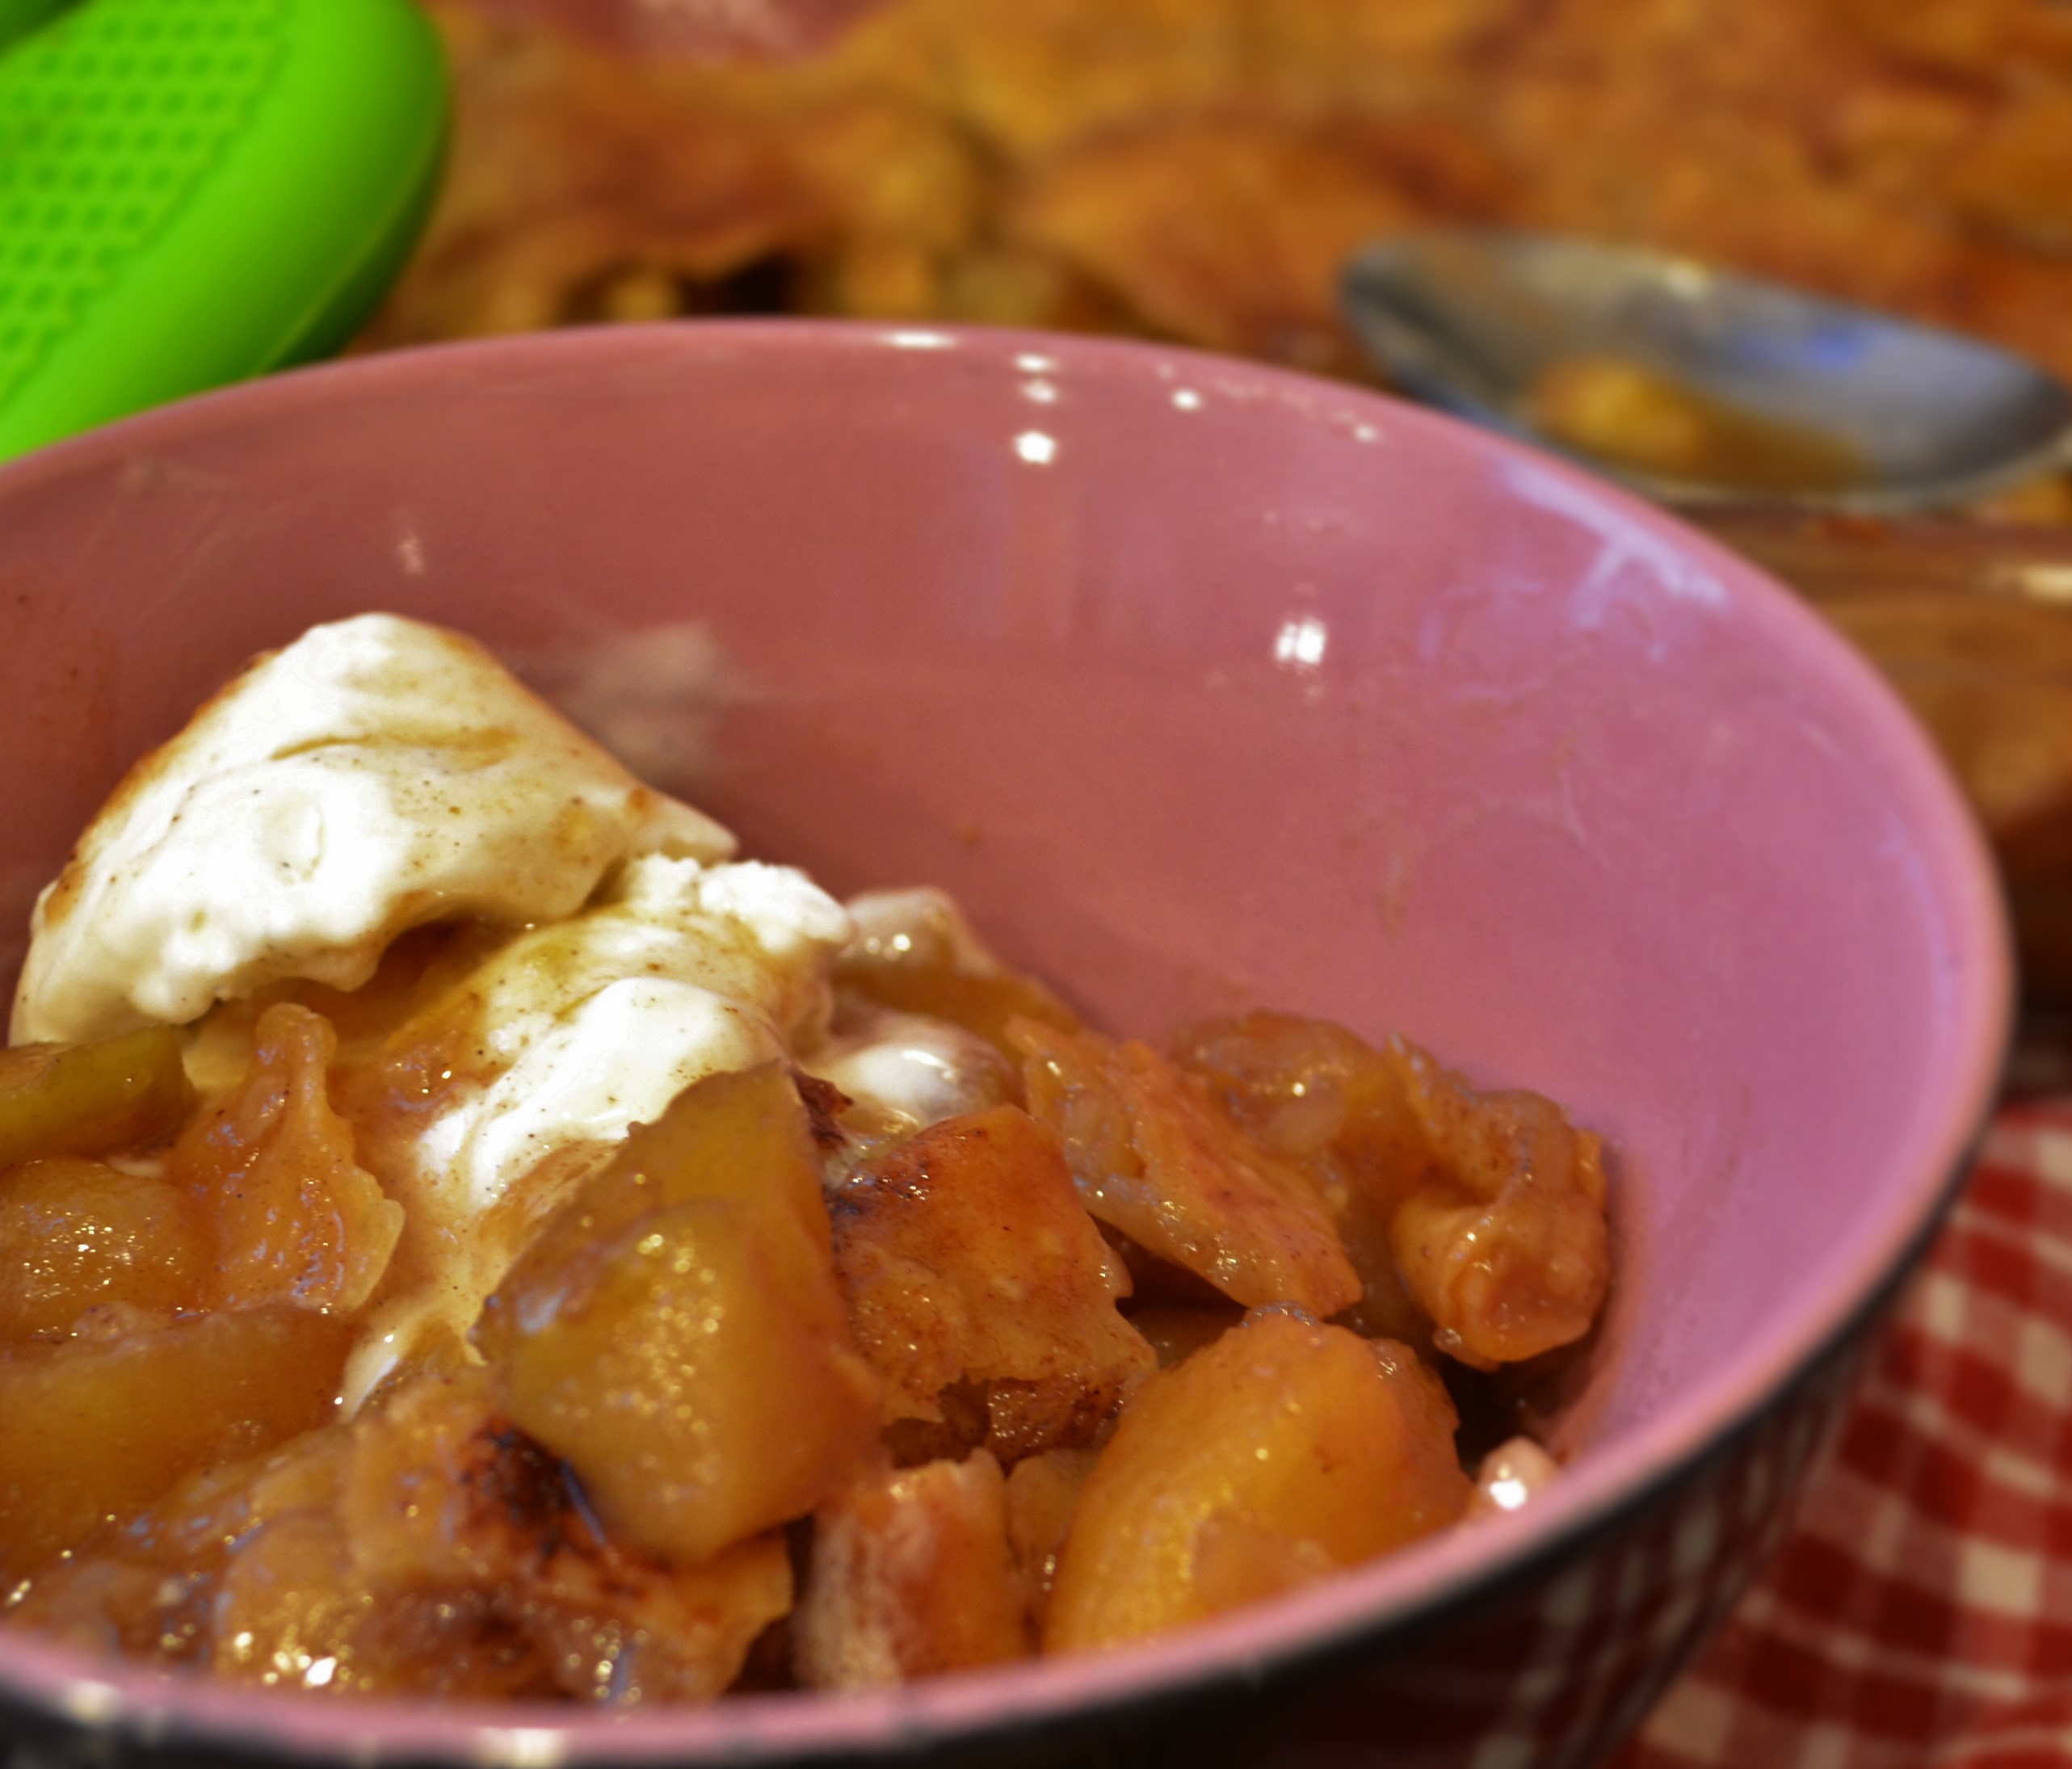
This recipe is ridiculously fast and easy and creates a just-right-sweet “cobbler” of apples that make their own “dumplin’ syrup” and is topped with just one flaky pastry crust (thank you Pillsbury for making this part simple, too). Serve warm with a dollop of vanilla ice cream and you’ll be in Apple Dumplin’ Gang Heaven.
One hint: the only time-consuming part of this dish is peeling and chopping apples. To make this effort go faster, conscript every able-bodied adult and child over 8 years-old to come in the kitchen and peel at least 2 apples each, while you do the chopping. Promise them they will be sweetly rewarded for their labor.
Finally, a little bit of fun news from “First Magazine for Women” (you will often see this at grocery check-out counters). Last week the editor of the magazine gave a lovely review for our book, Nourished. Here’s a picture of the article:
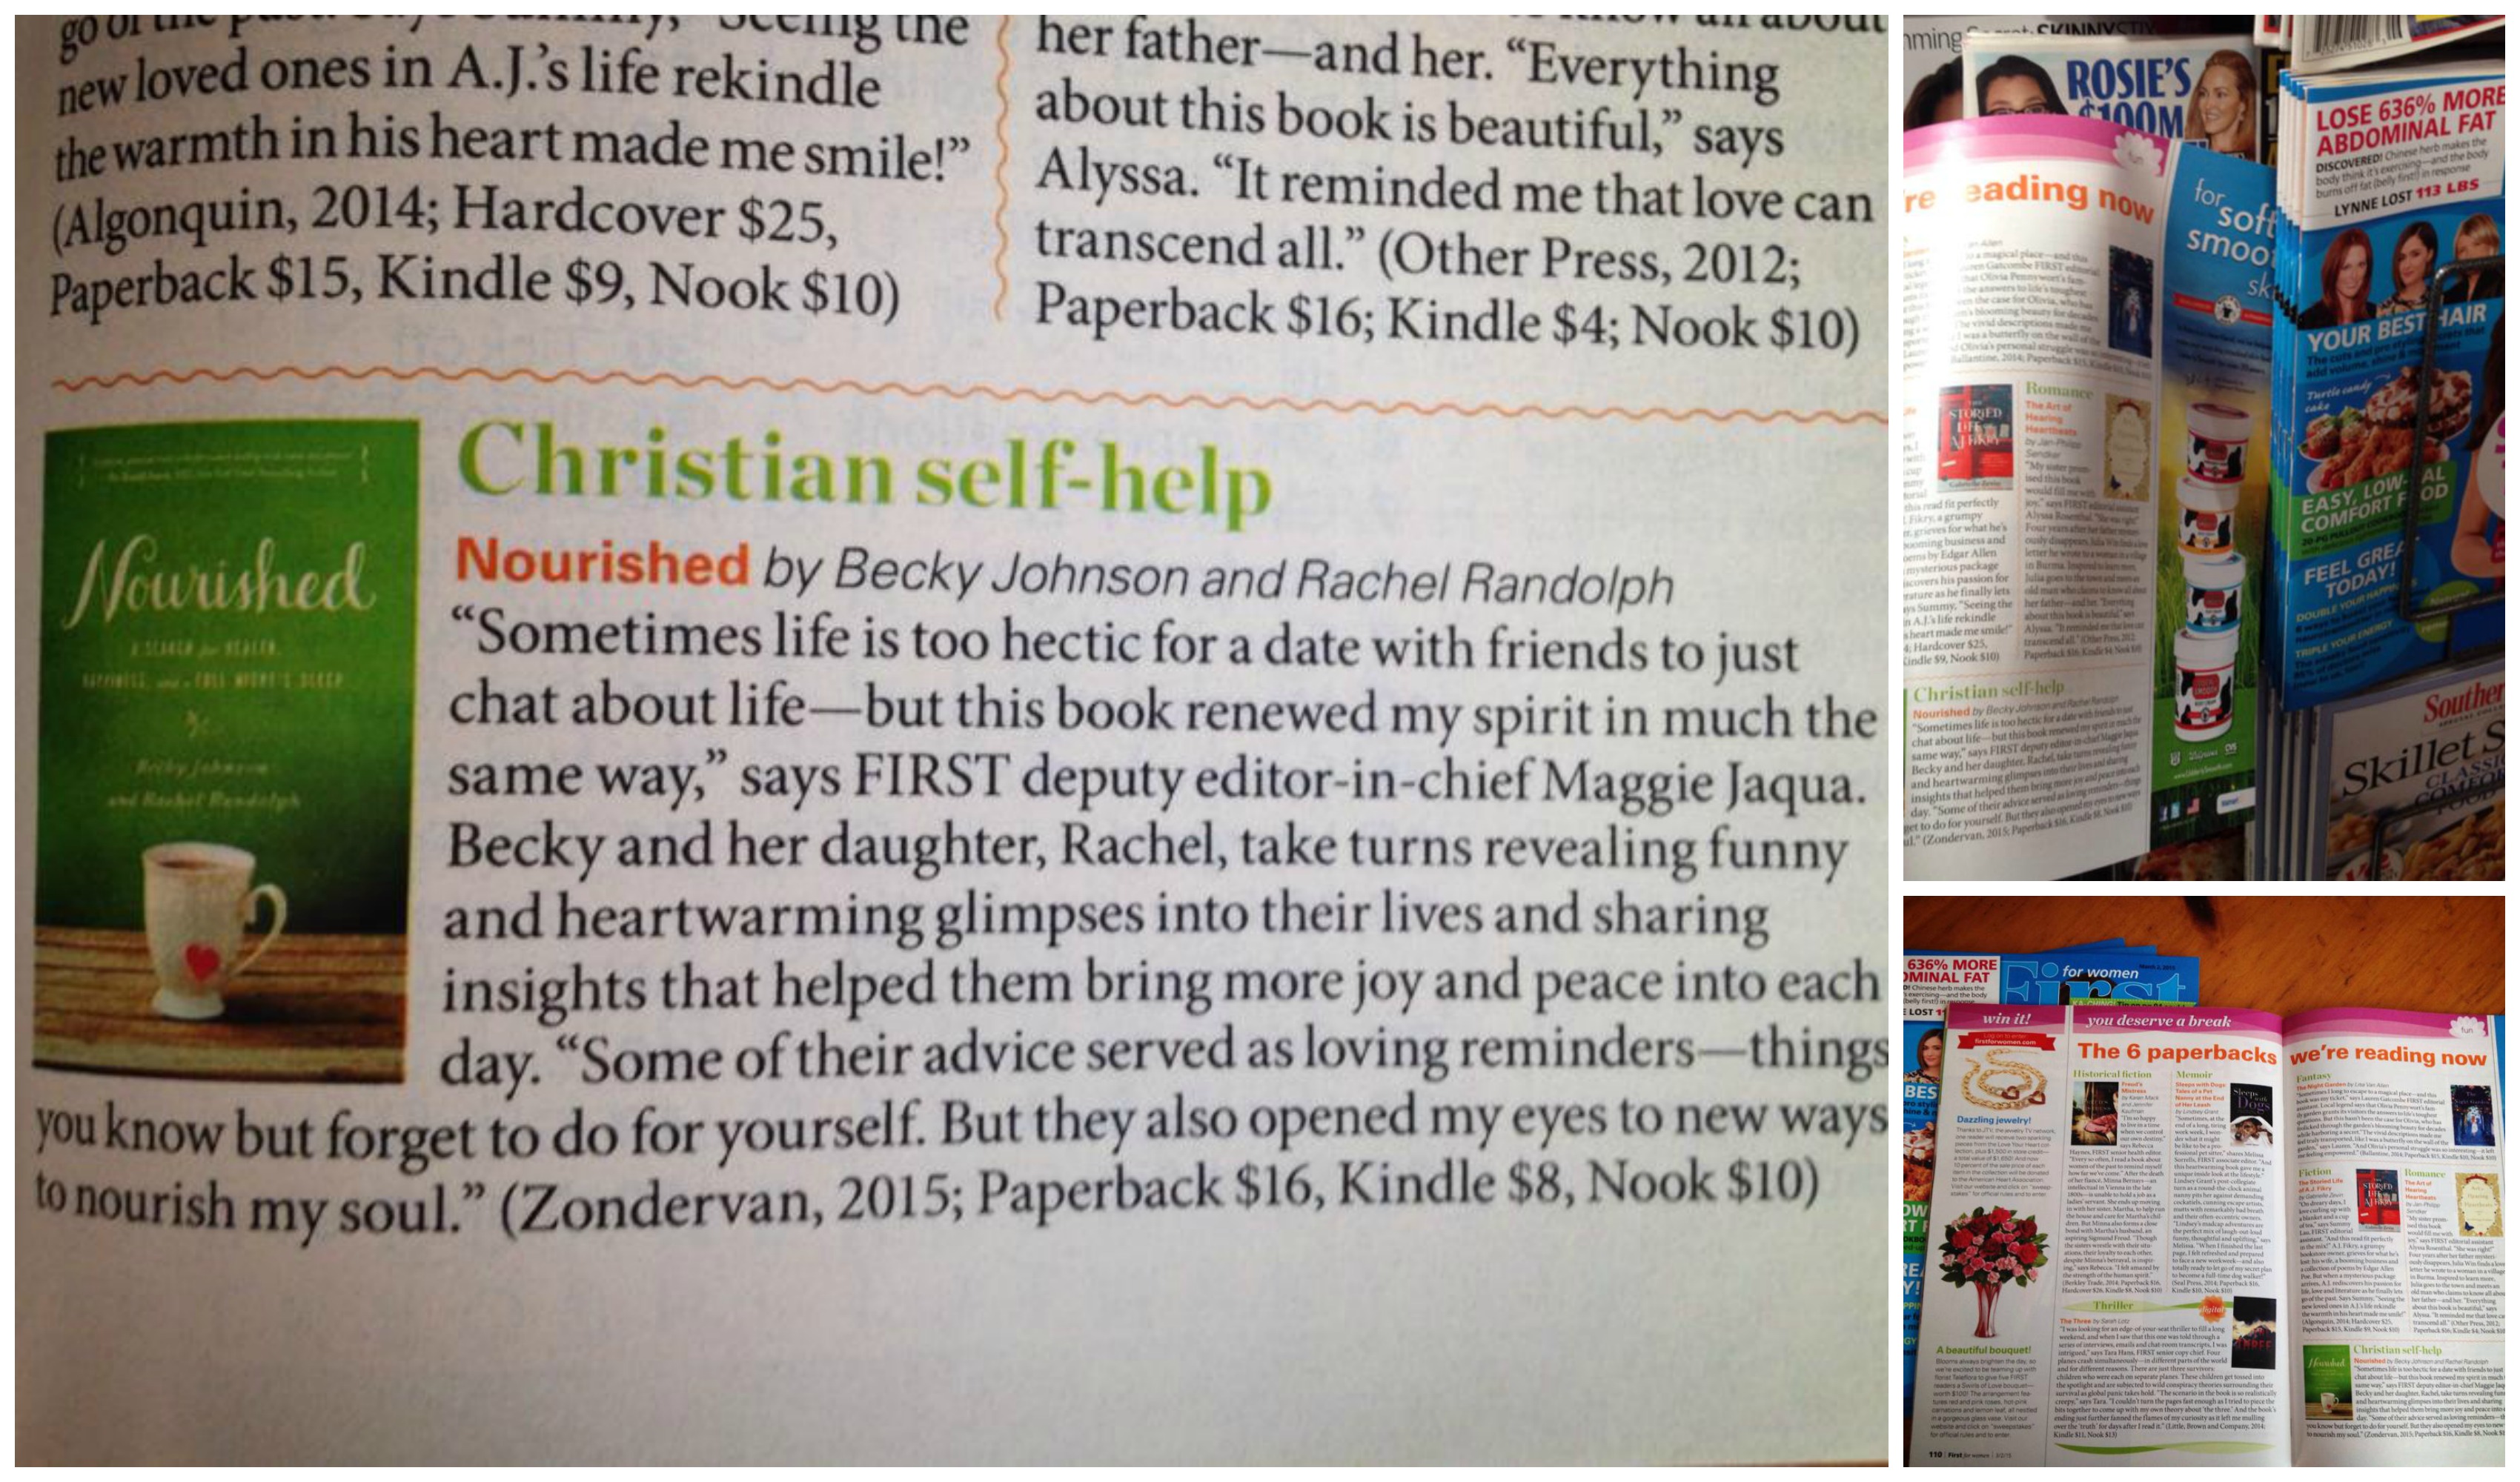
As long as you are huddled up inside eating dumplings this week you might as well buy a copy of our funny, uplifting, practical book to cozy up and read as well. 🙂 And our heart-felt thanks to those of you who have already read the book and perhaps posted a review on your blog or on Amazon or sent us a note or email. We are soooo thankful for your encouragement! Be sure to join us on our Facebook Fan Page, too, at We Laugh, We Cry, We Cook.
Apple Dumpling Cobbler
6 to 8 peeled, chopped apples (about teaspoon size pieces) to make about 6 cups total
1/3 cup brown sugar
1/3 cup white sugar
2 t. cinnamon
1/2 t. nutmeg
1 small to medium fresh lemon
1/2 t. salt
1 T. flour
2 T. butter
1 Pillsbury refrigerated pie crust
Sugar and Cinnamon to sprinkle on top (about 1 T. sugar and 1 t. cinnamon, but just eyeball it to your liking)
Directions
Turn oven to 350 degrees
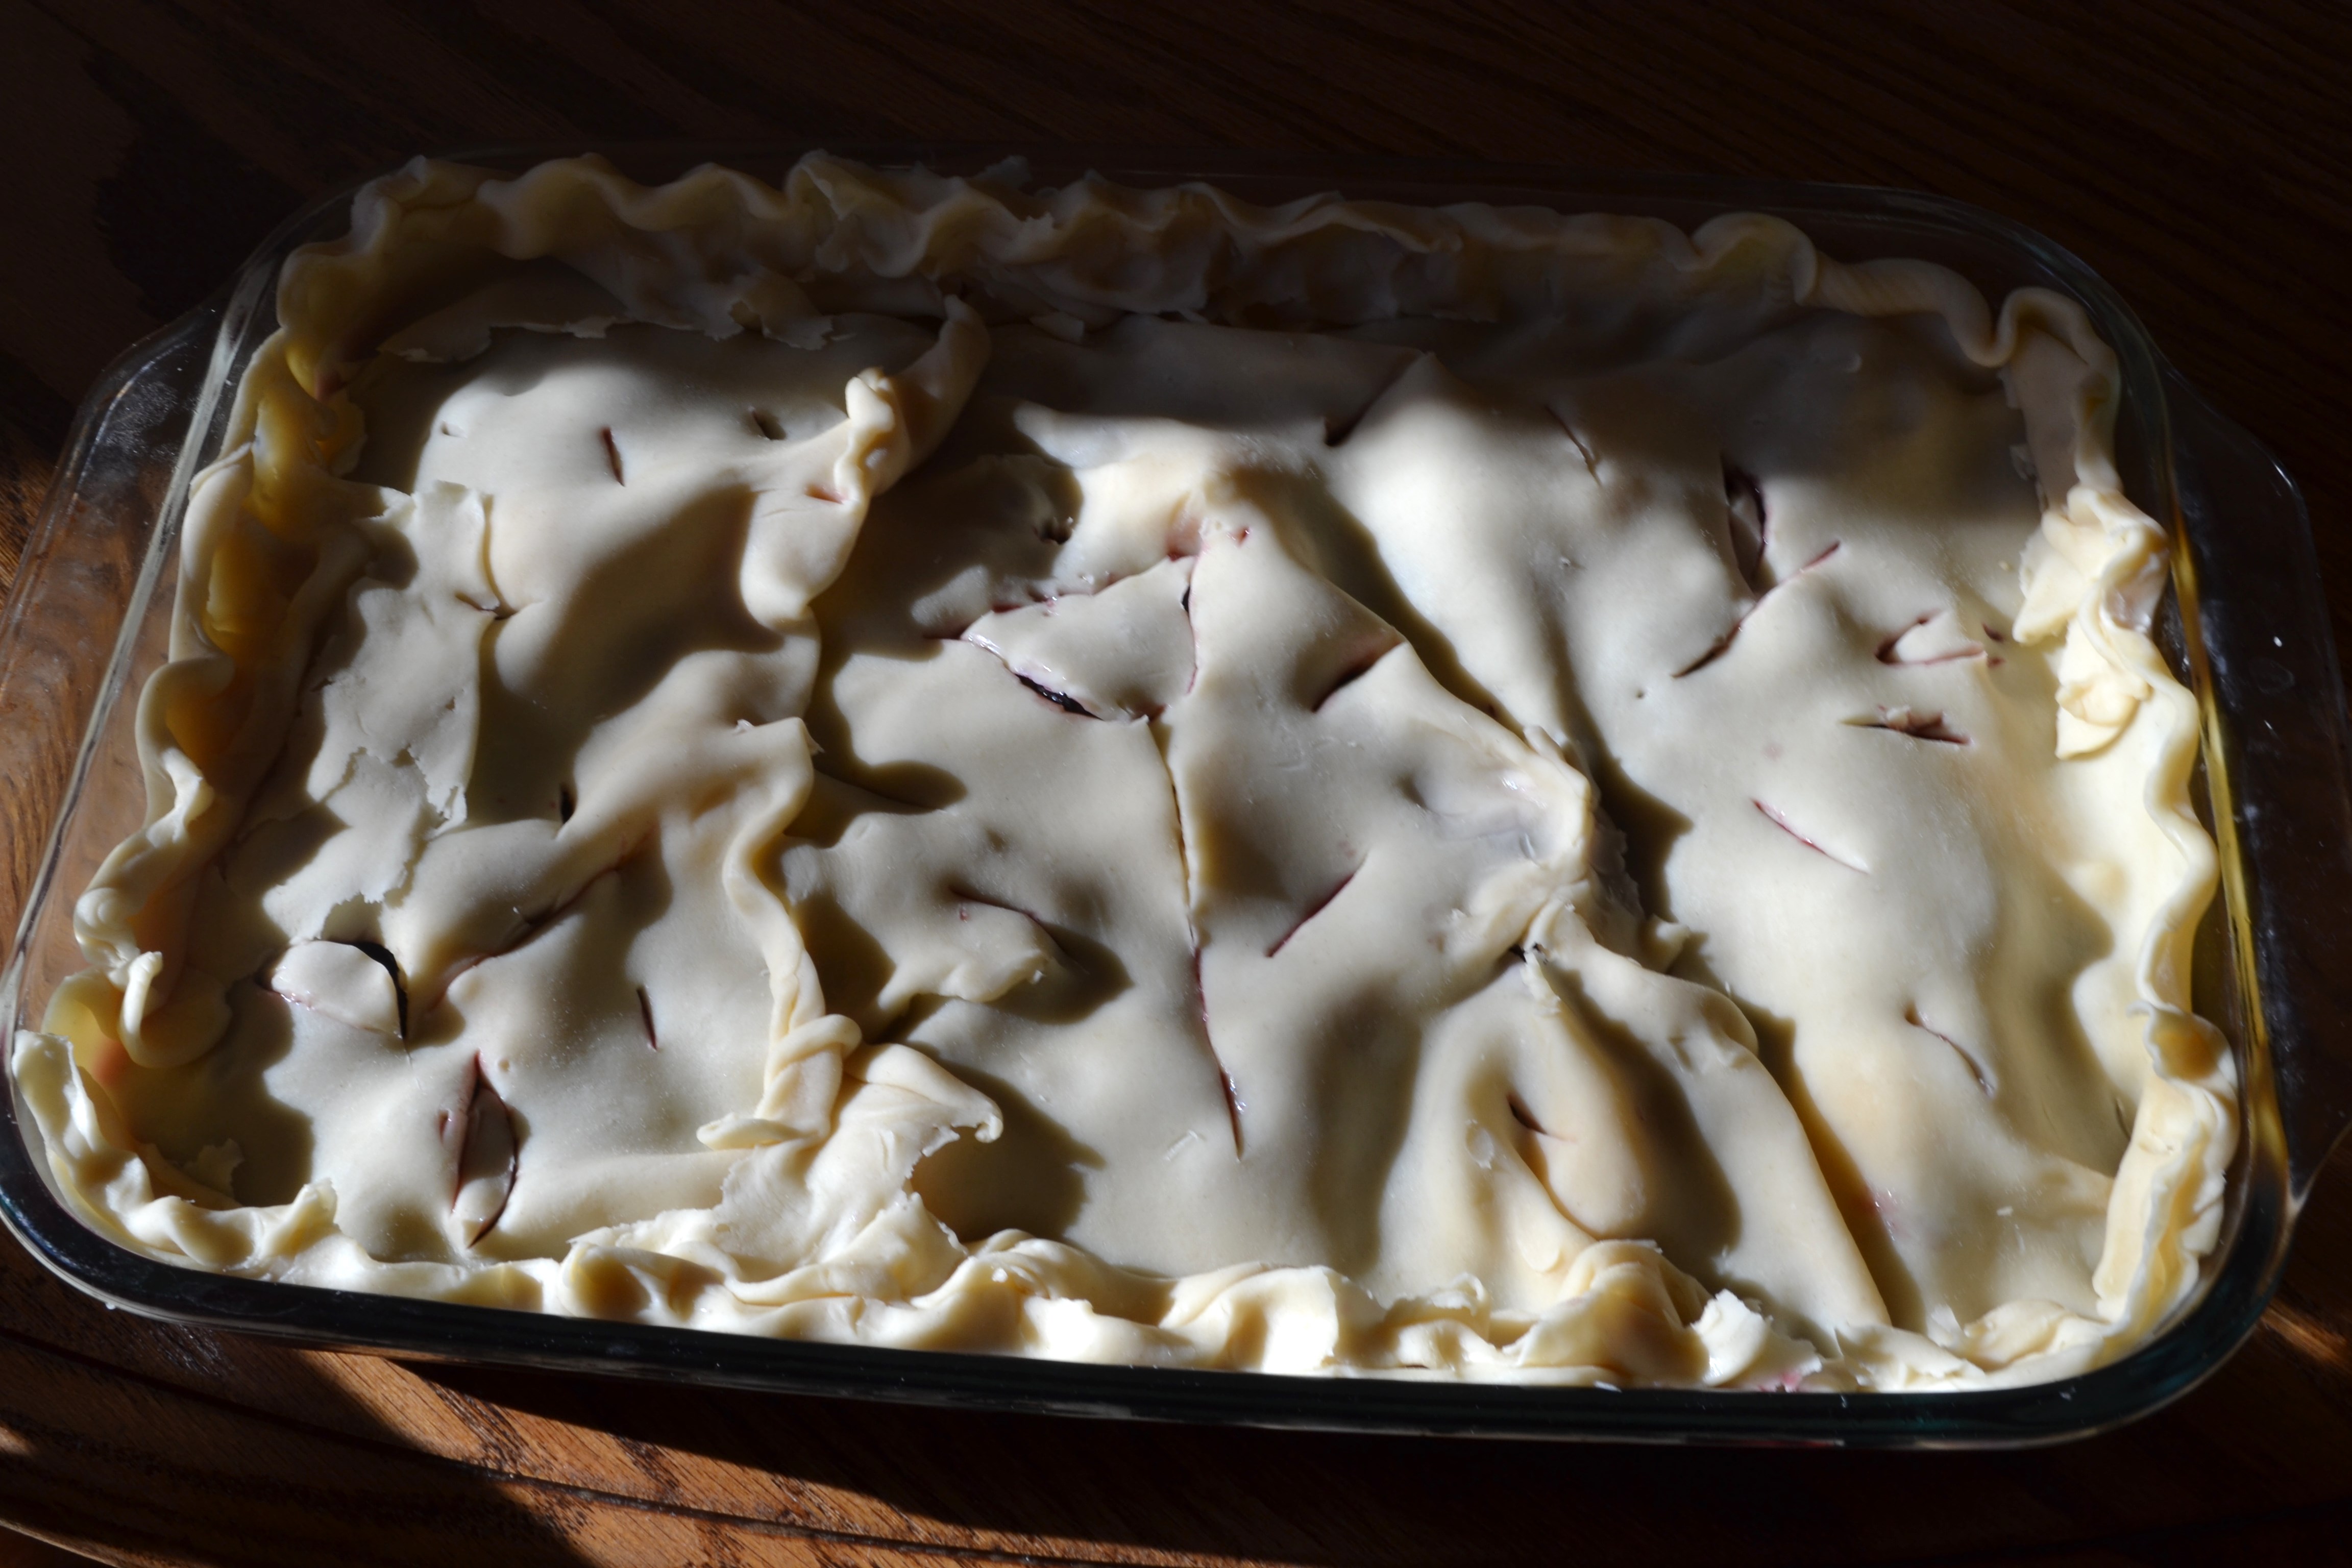
In a large mixing bowl put apples, brown and white sugars, flour, spices and salt. Mix thoroughly. Butter a 9 by 11 casserole pan and pour the apple mixture into it. Squeeze a fresh lemon over the top of the apples and then dot with butter. Place one Pillsbury refrigerated pie crust on top of the apples, tearing it and patching it (pinch pieces together) to create a rustic, “quilted-together” pastry crust as shown below. Sprinkle with cinnamon and sugar. Note that you just kind of loosely fold the edges and tuck them around the apples. I also cut a heart shape in the middle, though as you can see, I am not a pastry artist. No worries about it looking messy, it will come out delicious and beautiful.
 Bake for about 30 to 40 minutes or until crust is golden and flaky and apples pierce easily with a fork and the juices are golden brown and syrupy. Serve warm, using a big spoon to place in bowls, and top with ice cream.

Easy Rustic Cherry Blueberry Pastry-Style Cobbler
Posted: January 19, 2014 Filed under: Desserts, Fruit Dishes | Tags: blueberries, cobbler, dark sweet cherries, lemon, pastry, pie crust, sugar 3 Comments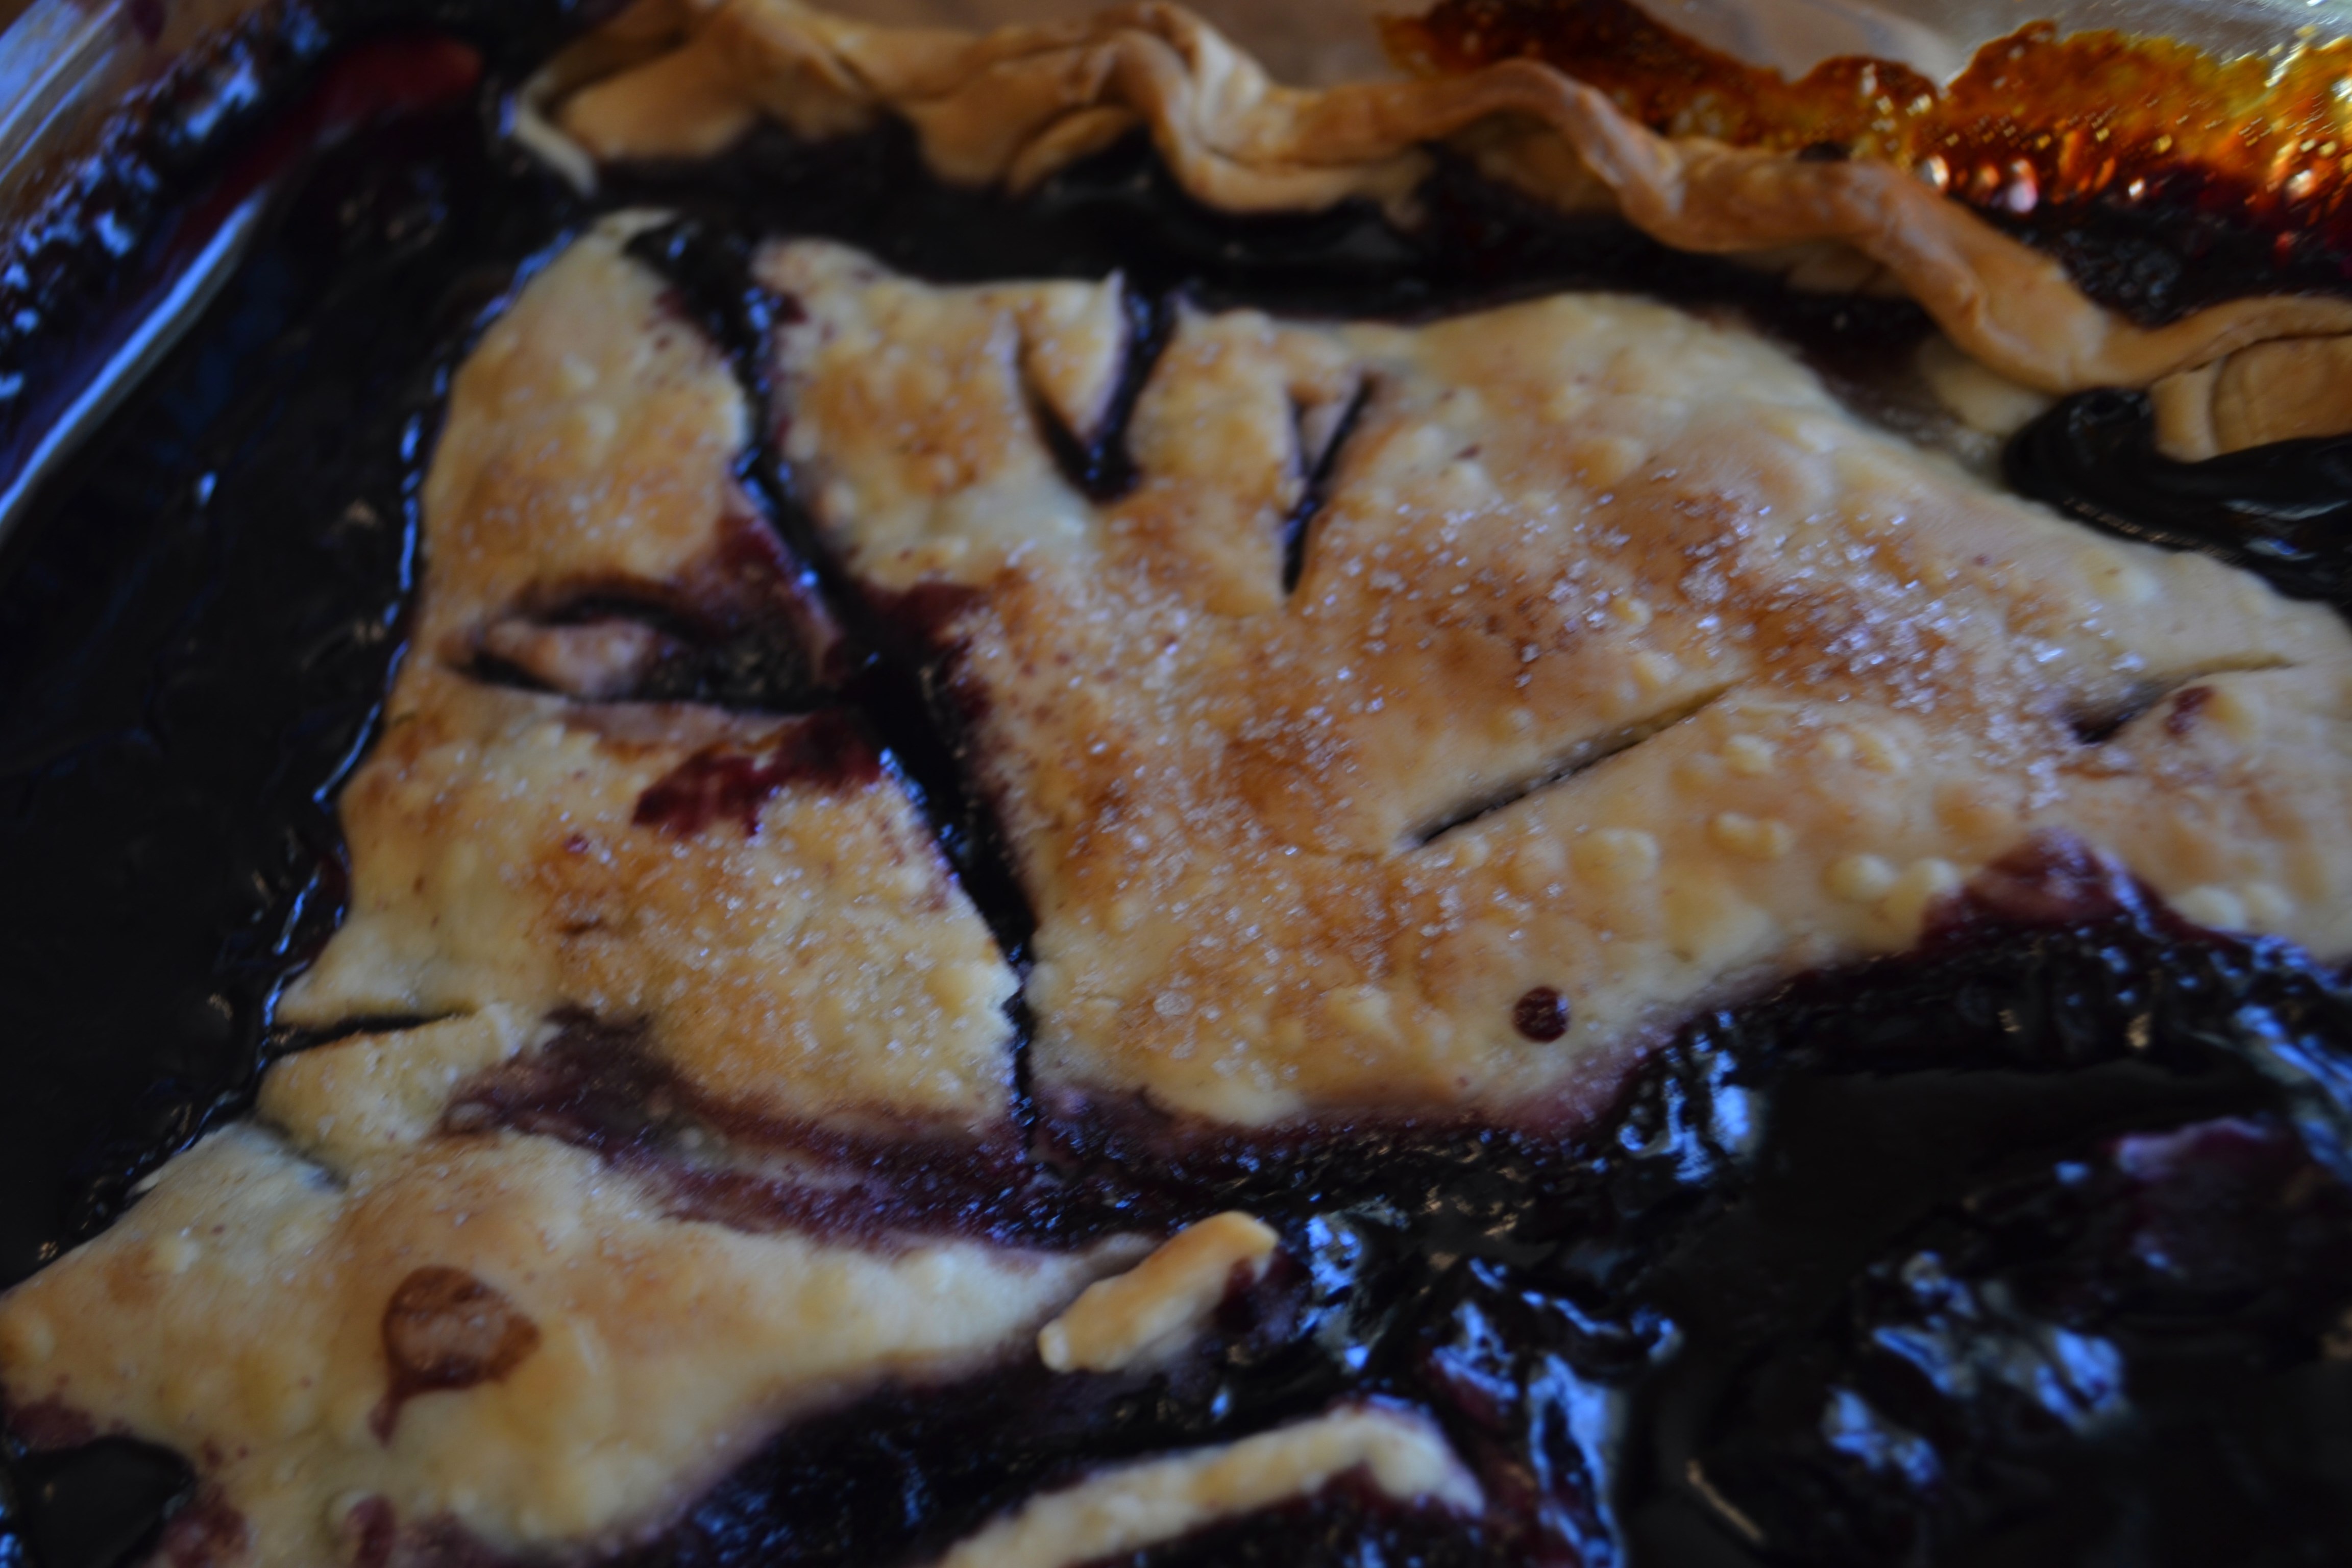
(Becky, the Mama.) I just returned from bringing this simple cobbler to my pastor Hugh Halter’s new ranch house for a pot luck lunch on the back porch. It is mid-January but I do believe God decided to borrow a perfect Spring Day from April, and drop it on us today as an early treat. Hugh is also a passionate author and storyteller (his latest book, Flesh,just released this week), and we share a mutual love of cooking and experimenting in the kitchen. Today he made a yummy creamy lentil soup and a delicious quinoa salad with cranberries, diced sweet potatoes and pears with a light vinaigrette. What can I say? The man knows his way around the Bible, a horse barn and the kitchen.
So it was no small compliment when he strode out to the back porch and hollered out, “Becky Johnson! Did you make that cobbler?”
“I did,” I said.
“Well, it just changed my life. That might be the best dessert I’ve ever tasted.”
I thought about calling this “Change Your Life Cobbler,” but decided that might be over-promising a wee bit. But I will tell you that there are few desserts you can make that will garner as many kudos, for as little trouble to make, as this recipe. It is one of my standard throw-together-in-a-hurry desserts for a crowd.
Using frozen fruit and Pillsbury refrigerated pie crusts, you can assemble this dish in about five minutes. It does take about 45 minutes to an hour to cook, however. It’s nice to pop in the oven if you are having company for dinner, while you prepare the rest of the meal. Or if you are having folks over for dessert only, pop it in the oven then you can go take a nice bath and get yourself ready for their arrival. A little Blue Bell vanilla ice cream on top never hurt anybody. Some of the crust may sink a little into the berries as it cooks. No worries as I think this makes the cobbler tastes even better, with the pastry having different textures. You want it look rustic and free-formed, like a farmer’s wife just made it.
Try this cobbler with other combinations of fruit, fresh or frozen. Peaches, Apples, Rhubarb, and Raspberries would also be delicious. If you like you can add a little cinnamon or nutmeg, vanilla or almond flavoring for variety.
Easy Rustic Cherry Blueberry Pastry-Style Cobbler
4 cups frozen blueberries (you may also use fresh if in season and on sale)
2 1/2 cups frozen dark sweet pitted cherries
1 1/2 cups sugar (plus 2 more T. for sprinkling on top later)
1/2 c. flour
1/2 teaspoon salt
Juice of one fresh lemon
2 T. butter
2 Pillsbury refrigerated pie crusts, unrolled
Directions:
Preheat Oven to 375 degrees.
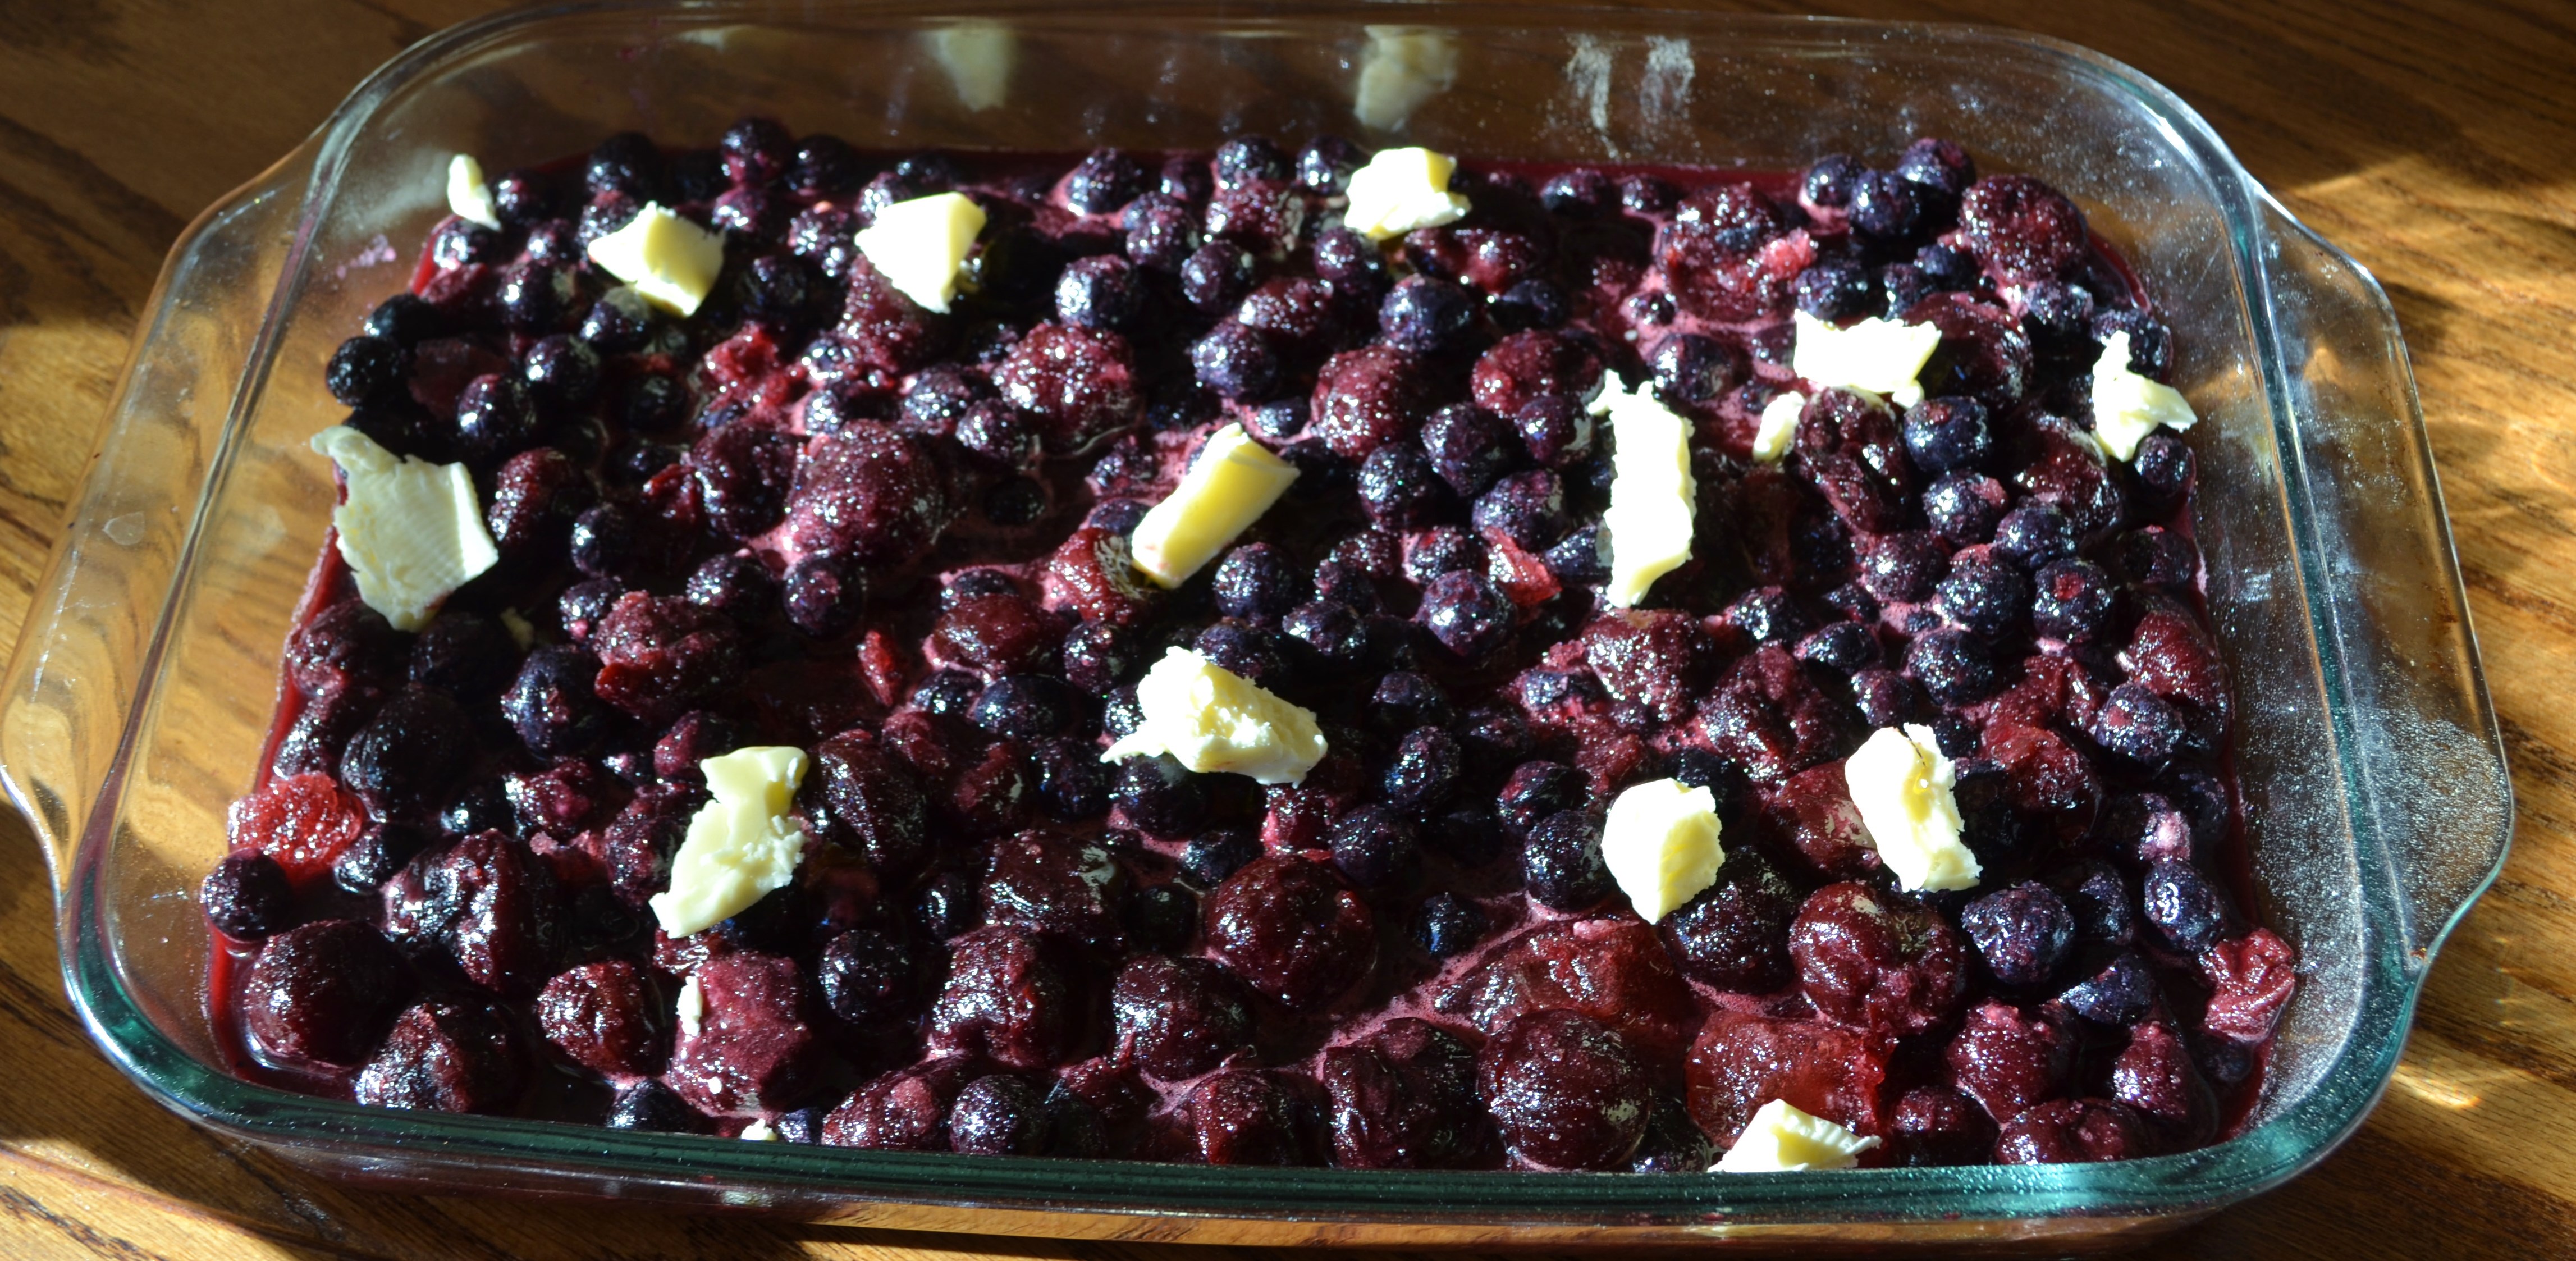
Put the fruit in the biggest bowl you have (can be frozen or thawed at this point). Toss with sugar, flour, salt and lemon juice. Pour into a lightly greased, large, oblong Pyrex pan.
Take small pinches of the butter and dot it all over the top of the fruit.
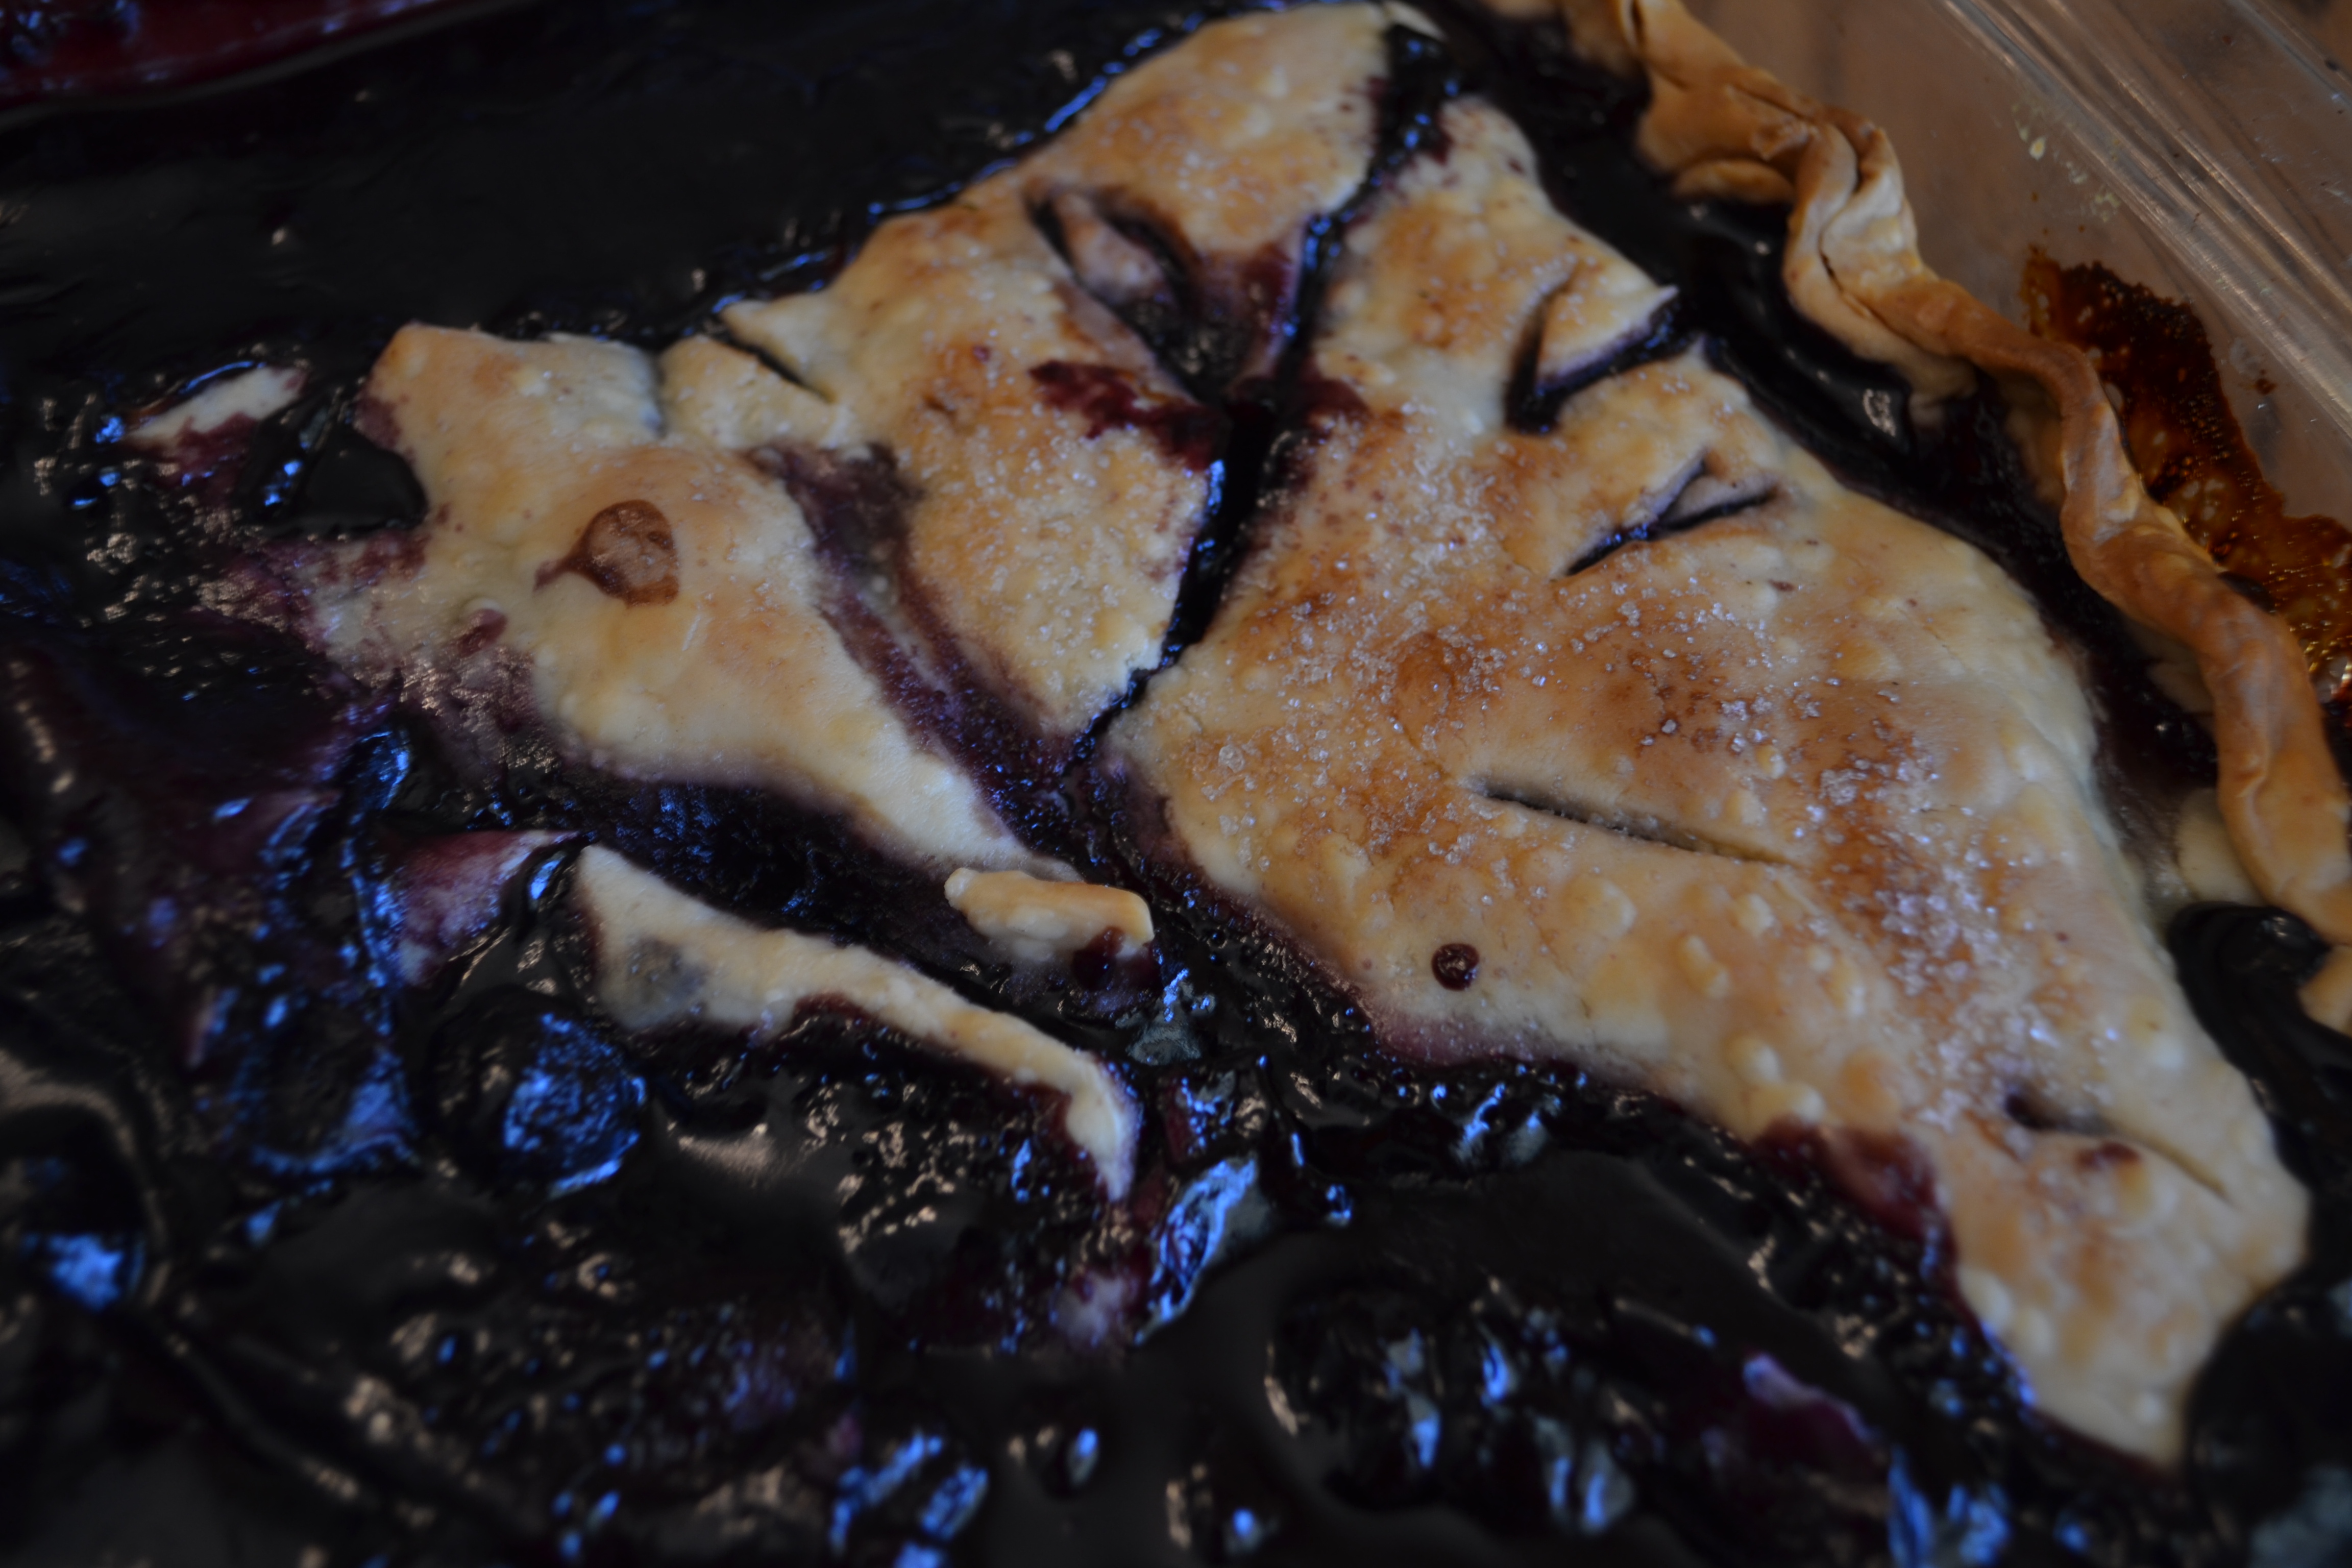
Place one pie crust at the end of the pan, and lightly tuck it in to place. Tear the other pie crust in pieces to fit the oblong plan as best you can, and pinch any seams together, free form, like a patchwork quilt. I like to make an edge and flute it a little bit, but do not worry about making it perfect. Using a sharp paring knife, cut a few designs in the pastry to allow the juice to steam through. Sprinkle the top top of the pastry with 2 T. sugar.
Bake for 1 hour if the fruit is frozen, for about 45 minutes if thawed. You want the pastry to be very golden and juice to be thickened. Let it sit at least 15 to 30 minutes before serving. Is wonderful plain or with a bit of whipped cream or vanilla ice cream.
Banana Nut Soft Serve [Two Ingredients, Dairy-Free, Sugar Free]
Posted: June 8, 2013 Filed under: Breakfast Foods, Desserts, Fruit Dishes, Gluten Free, Snacks, Toddler-Approved, Uncategorized, Vegan, Vegetarian | Tags: banana nut soft serve, banana soft serve recipe, dairy-free, gluten-free, peanuts, sugar-free, vegan Leave a comment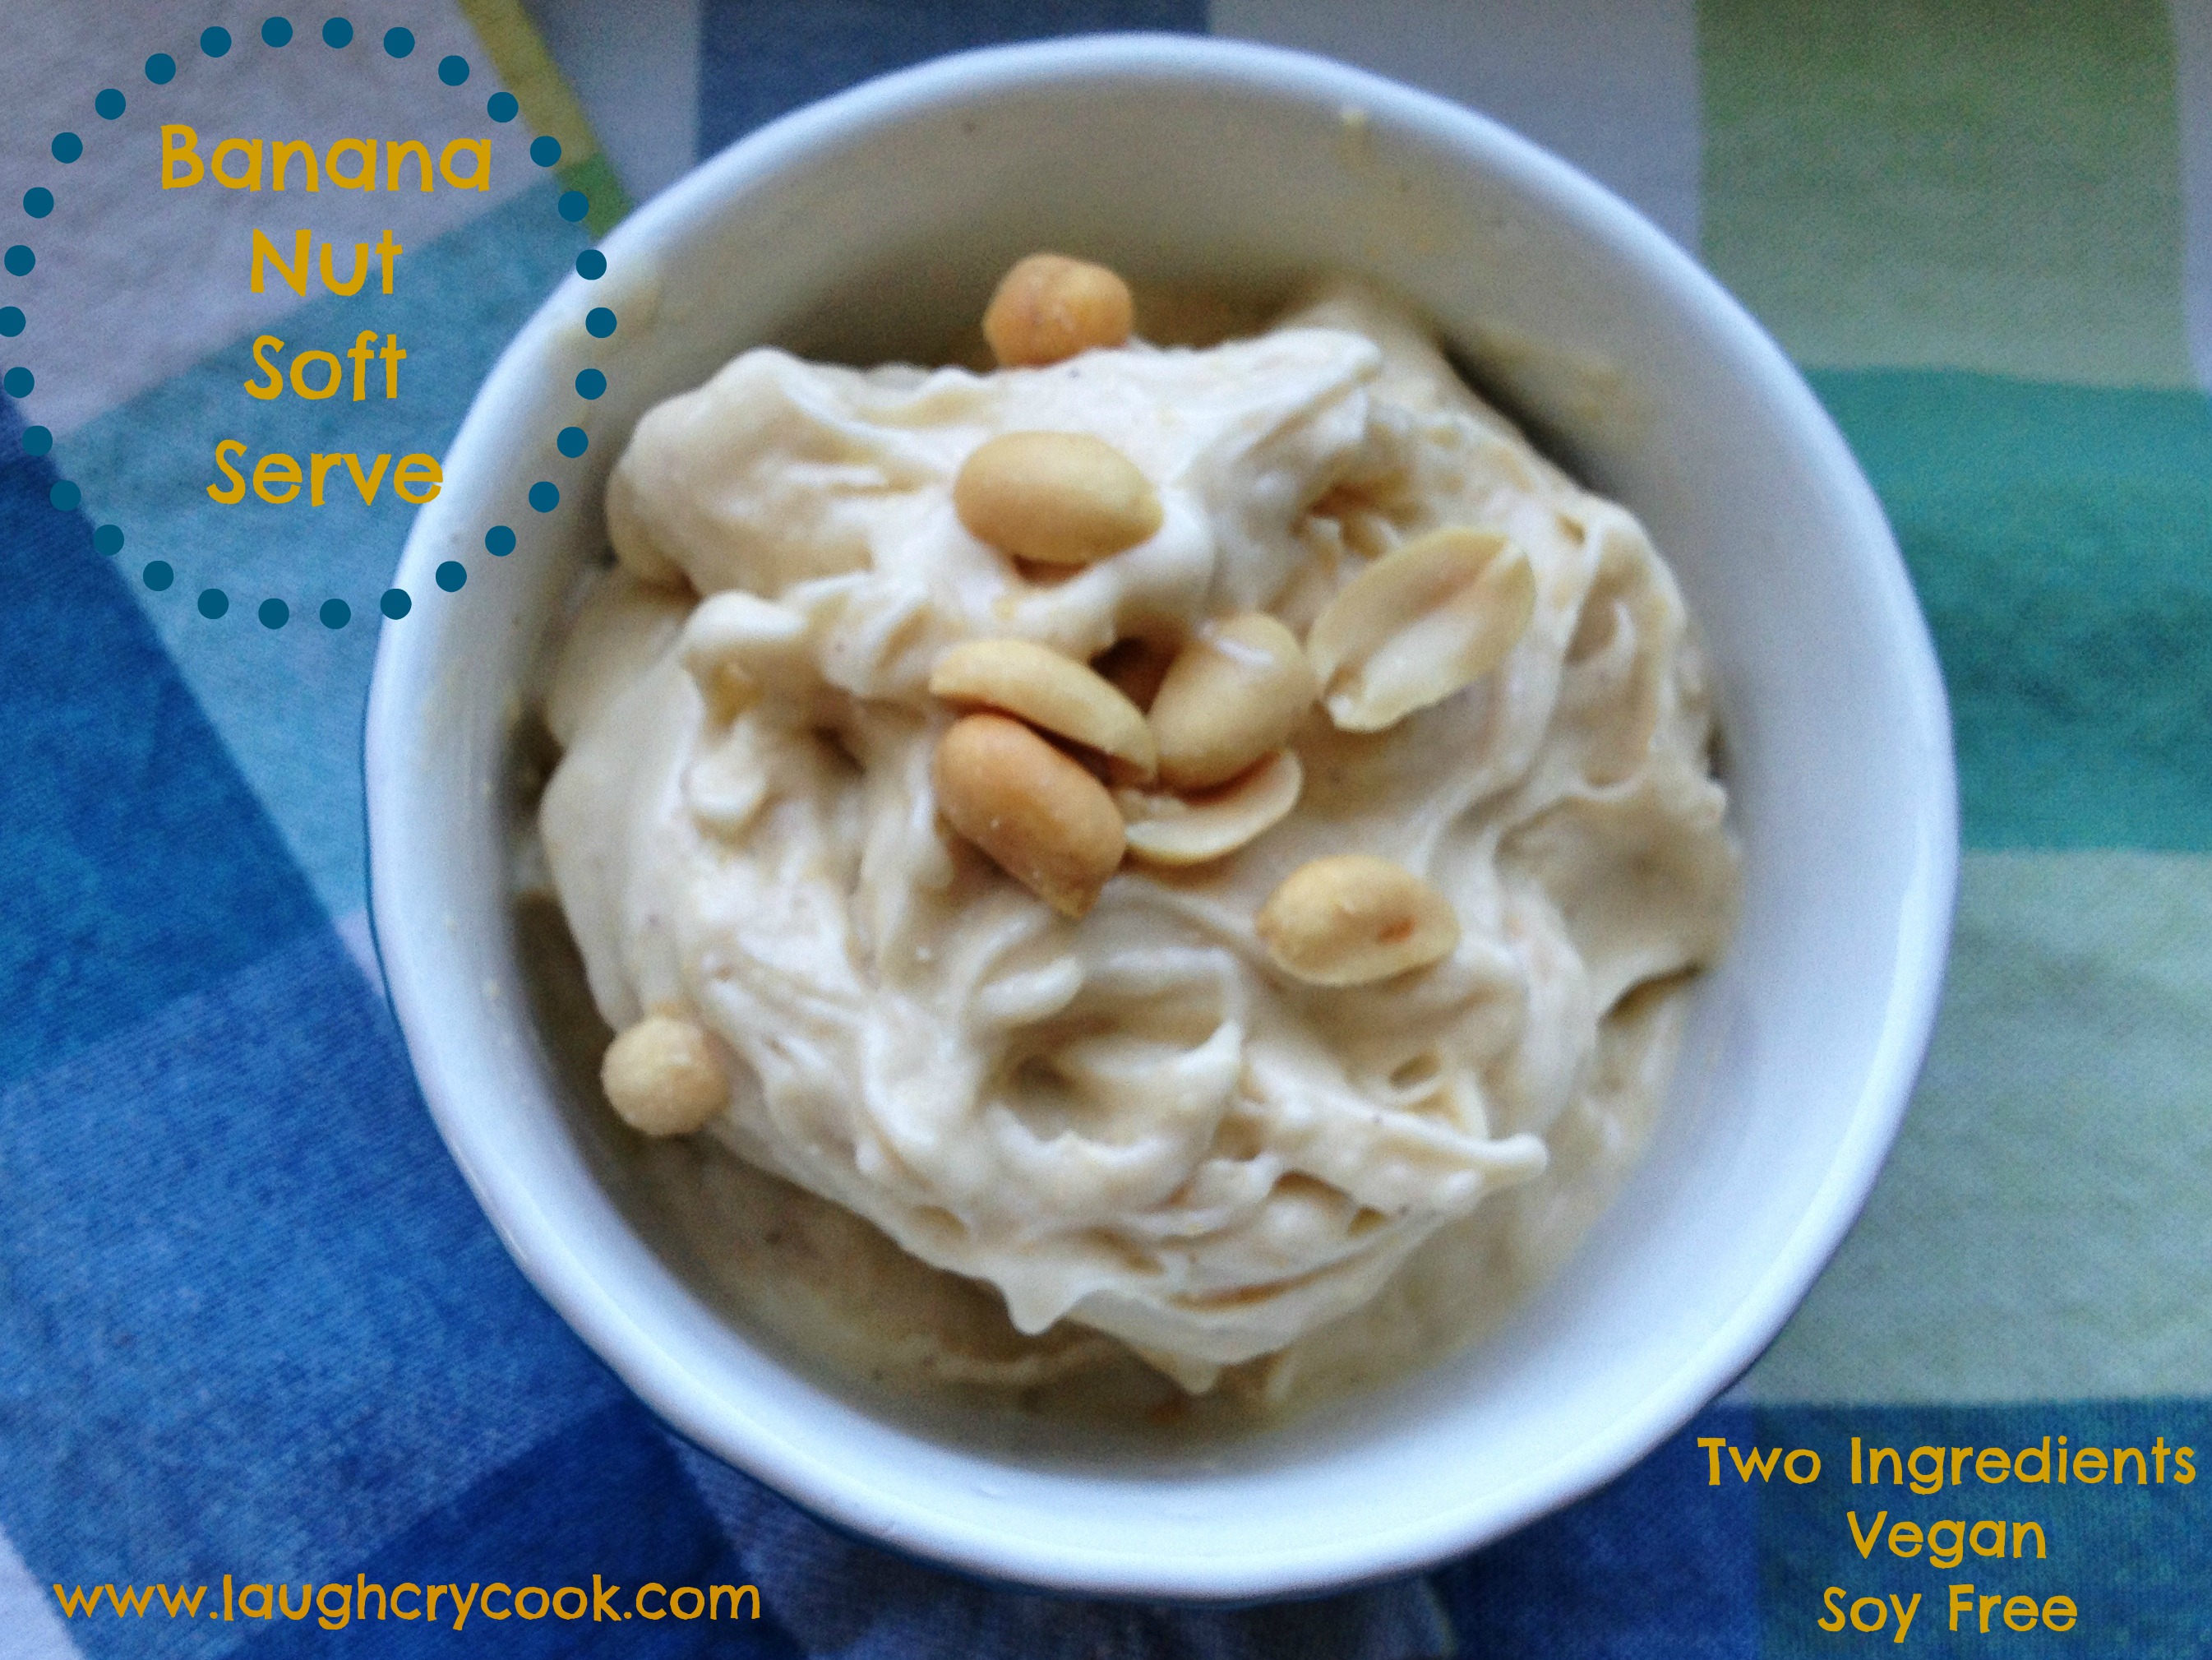
Jackson is 22 months old now and at that stage where he’s learning new words every day and starting to string together words to make phrases and sentences like these:
“Hoo Hoo” (Whoohoo whith his hands thrown in the air.)
“Cool man” (I don’t know where he picked up this phrase, but it’s super cute.)
“Yayyy, I did it!” (Even if he didn’t actually do whatever IT is, he celebrates every little effort with such enthusiasm. It’s contagious.)
“Leeeeeet’s GO!” (That combined with “Run momma” is turning him into a little personal trainer!)
“Yes.” (Finally, he is saying “yes,” instead of always “no,” in the most adorably assertive and confident way.)
Of course, with this precious phase, also comes the less than adorable phrases, like “Chur turn” (Your turn…which actually means my turn. And it’s always “chur turn”) and “Miiiine!”
My favorite phrase of late, though, is “Tank choo ma ma.” He emphasizes each syllable and I can tell he really has to work to say it. It’s a sweet labor of love and it’s reserved for his truly most satisfying moments of deep gratitude, like when I served him chocolate “ice cream” made of bananas and cocoa for a morning snack last week. “Choc! Tank choo ma ma!”
This idea for banana soft serve has been circulating for years. It’s not new, but I’ve turned a few people toward it this week with my Instagram picture of Jackson enjoying his morning ice cream treat and thought maybe some of our readers have yet to try it as well. The basic recipe is just frozen bananas processed in a blender. It’s magical! The bananas just whip right into a thick creamy soft serve that is delicious on it’s own. You can make all sorts of flavors: chocolate peanut butter, strawberry banana, cinnamon and sugar…wherever your taste buds take you. This version is one of my favorites. You can use peanut butter instead of peanuts, but I really love the texture and flavor from the whole peanuts.
Ready in under five minutes, it makes the perfect healthy summer snack, or even breakfast. You’ll earn some serious cool mom or dad points putting a bowl of this in front of your kids first thing in the morning!

Banana Nut Soft Serve
Serves 2
Ingredients
2 frozen bananas, cut into 1-2 inch pieces
2 tablespoons peanuts (I used organic unsalted)
sprinkle of sea salt (unless peanuts are salted)
Directions
Put ingredients in a food processor and blend, stopping and scraping the sides as needed until it turns to the texture of a thick soft serve ice cream. Then stop. You don’t want to over blend or it will have more of a melty soft serve texture (not bad, but not as good either).
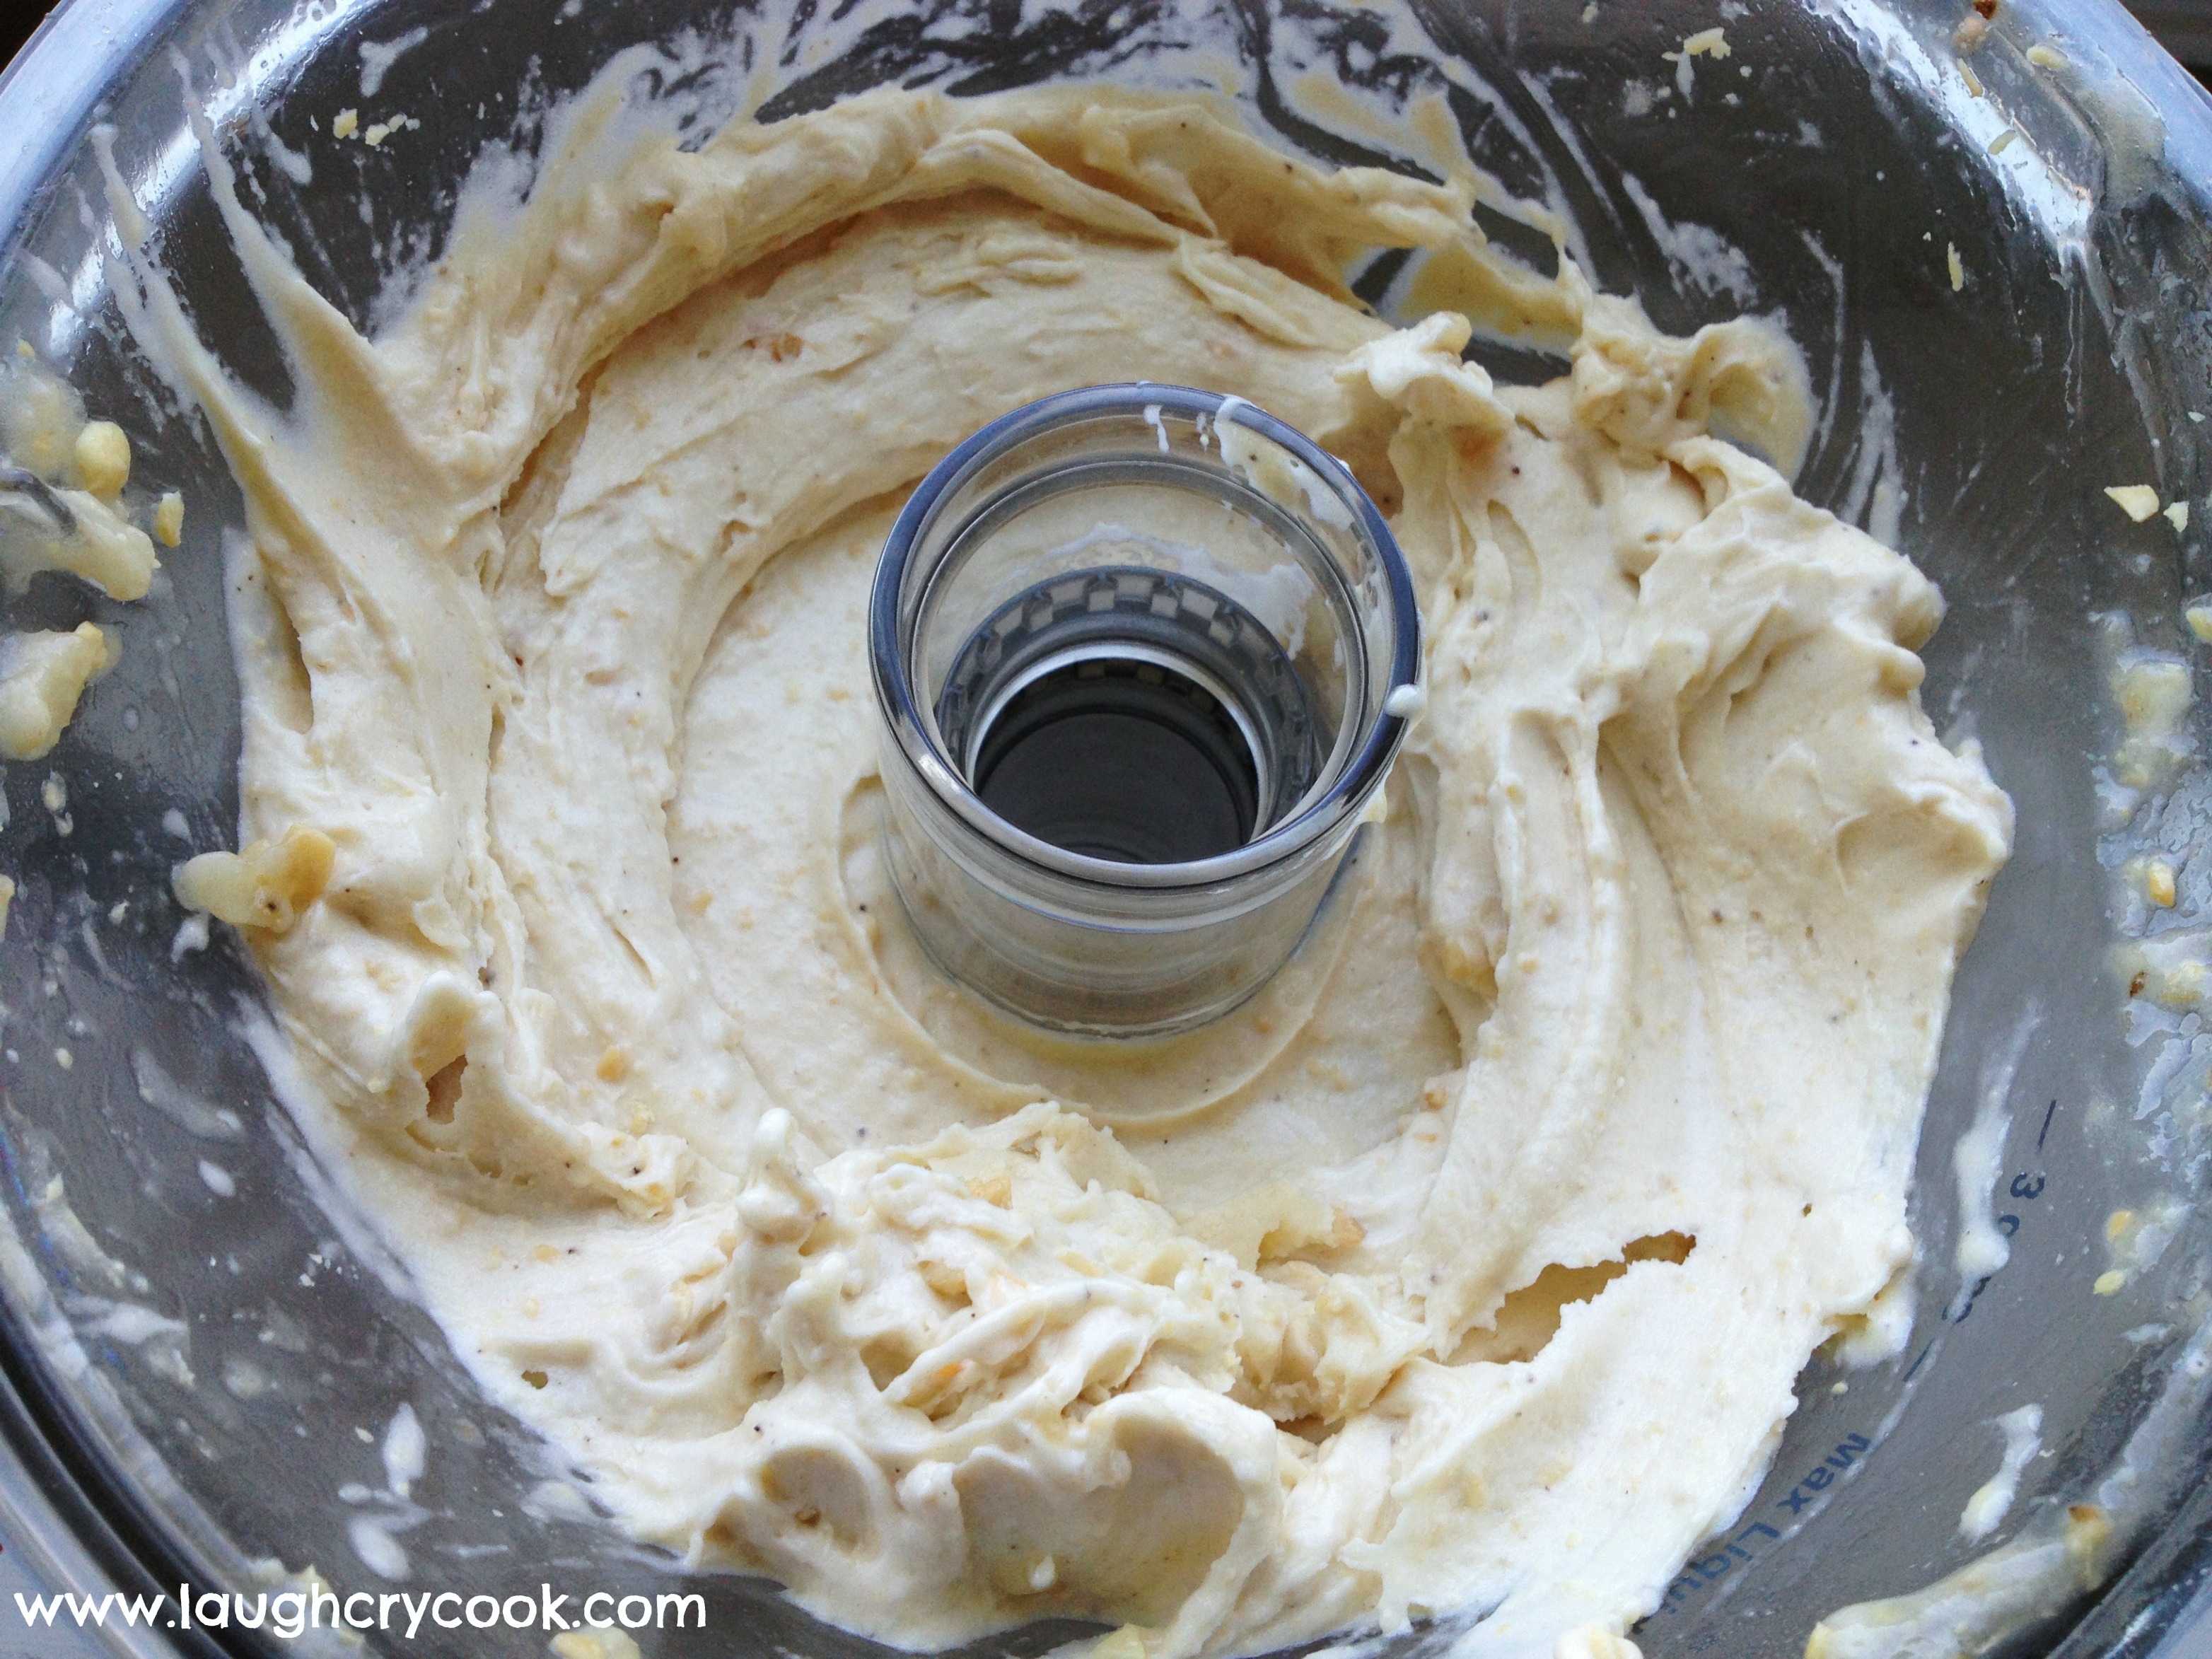
For this portion size, I use the smallest bowl on my food processor so I don’t have to stop and scrape the sides as often. (It will be very loud at first, that’s okay, just be prepared.)
Serve immediately with a few extra peanuts and another sprinkle of sea salt on top for some extra crunch. I’ve heard this does not refreeze well, though I’ve never had any left to try. 🙂 You can buy yourself a little time keeping it chilled in the freezer, but it’s best to serve right away.
This was printed from: We Laugh, We Cry, We Cook
The site URL: http://welaughwecrywecook.com
The Title: Banana Nut Soft Serve
The URL: http://wp.me/p1UwM9-ZP
Have you made Banana Soft Serve?
What are your favorite flavor combinations?
What are your favorite toddler phrases and phases?
A little book update:
Zondervan, our publisher, has been so supportive of our book (coming out August 6). We’re having such a great publishing experience! They just decided to do an audio version of We Laugh, We Cry, We Cook and invited my mom and I to record it. One of us will be recording in the studio most of the week, each of us having two 5-7 hour days in studio. Prayers for good health appreciated. The following week I’m heading to Colorado (with Jackson in tow) to join mom for a photo shoot for a major Christian publication. We’re so grateful for all the encouragement and support we’ve received…and for our fabulous readers at the blog.
We also got all of the endorsements in for the book. Wow! We are floored by the generosity of our fellow authors. Click on the picture of the book above to read the endorsements and find lots of knew authors to friend and follow.
Quinoa Mango Black Bean Burrito
Posted: March 23, 2013 Filed under: Appetizers, Breakfast Foods, Fruit Dishes, Main Dishes, Mexican Dishes, Uncategorized, Vegan Options, Vegetarian | Tags: burrito, cilantro, mango, quinoa, salsa, tortilla, Tortilla Land 8 Comments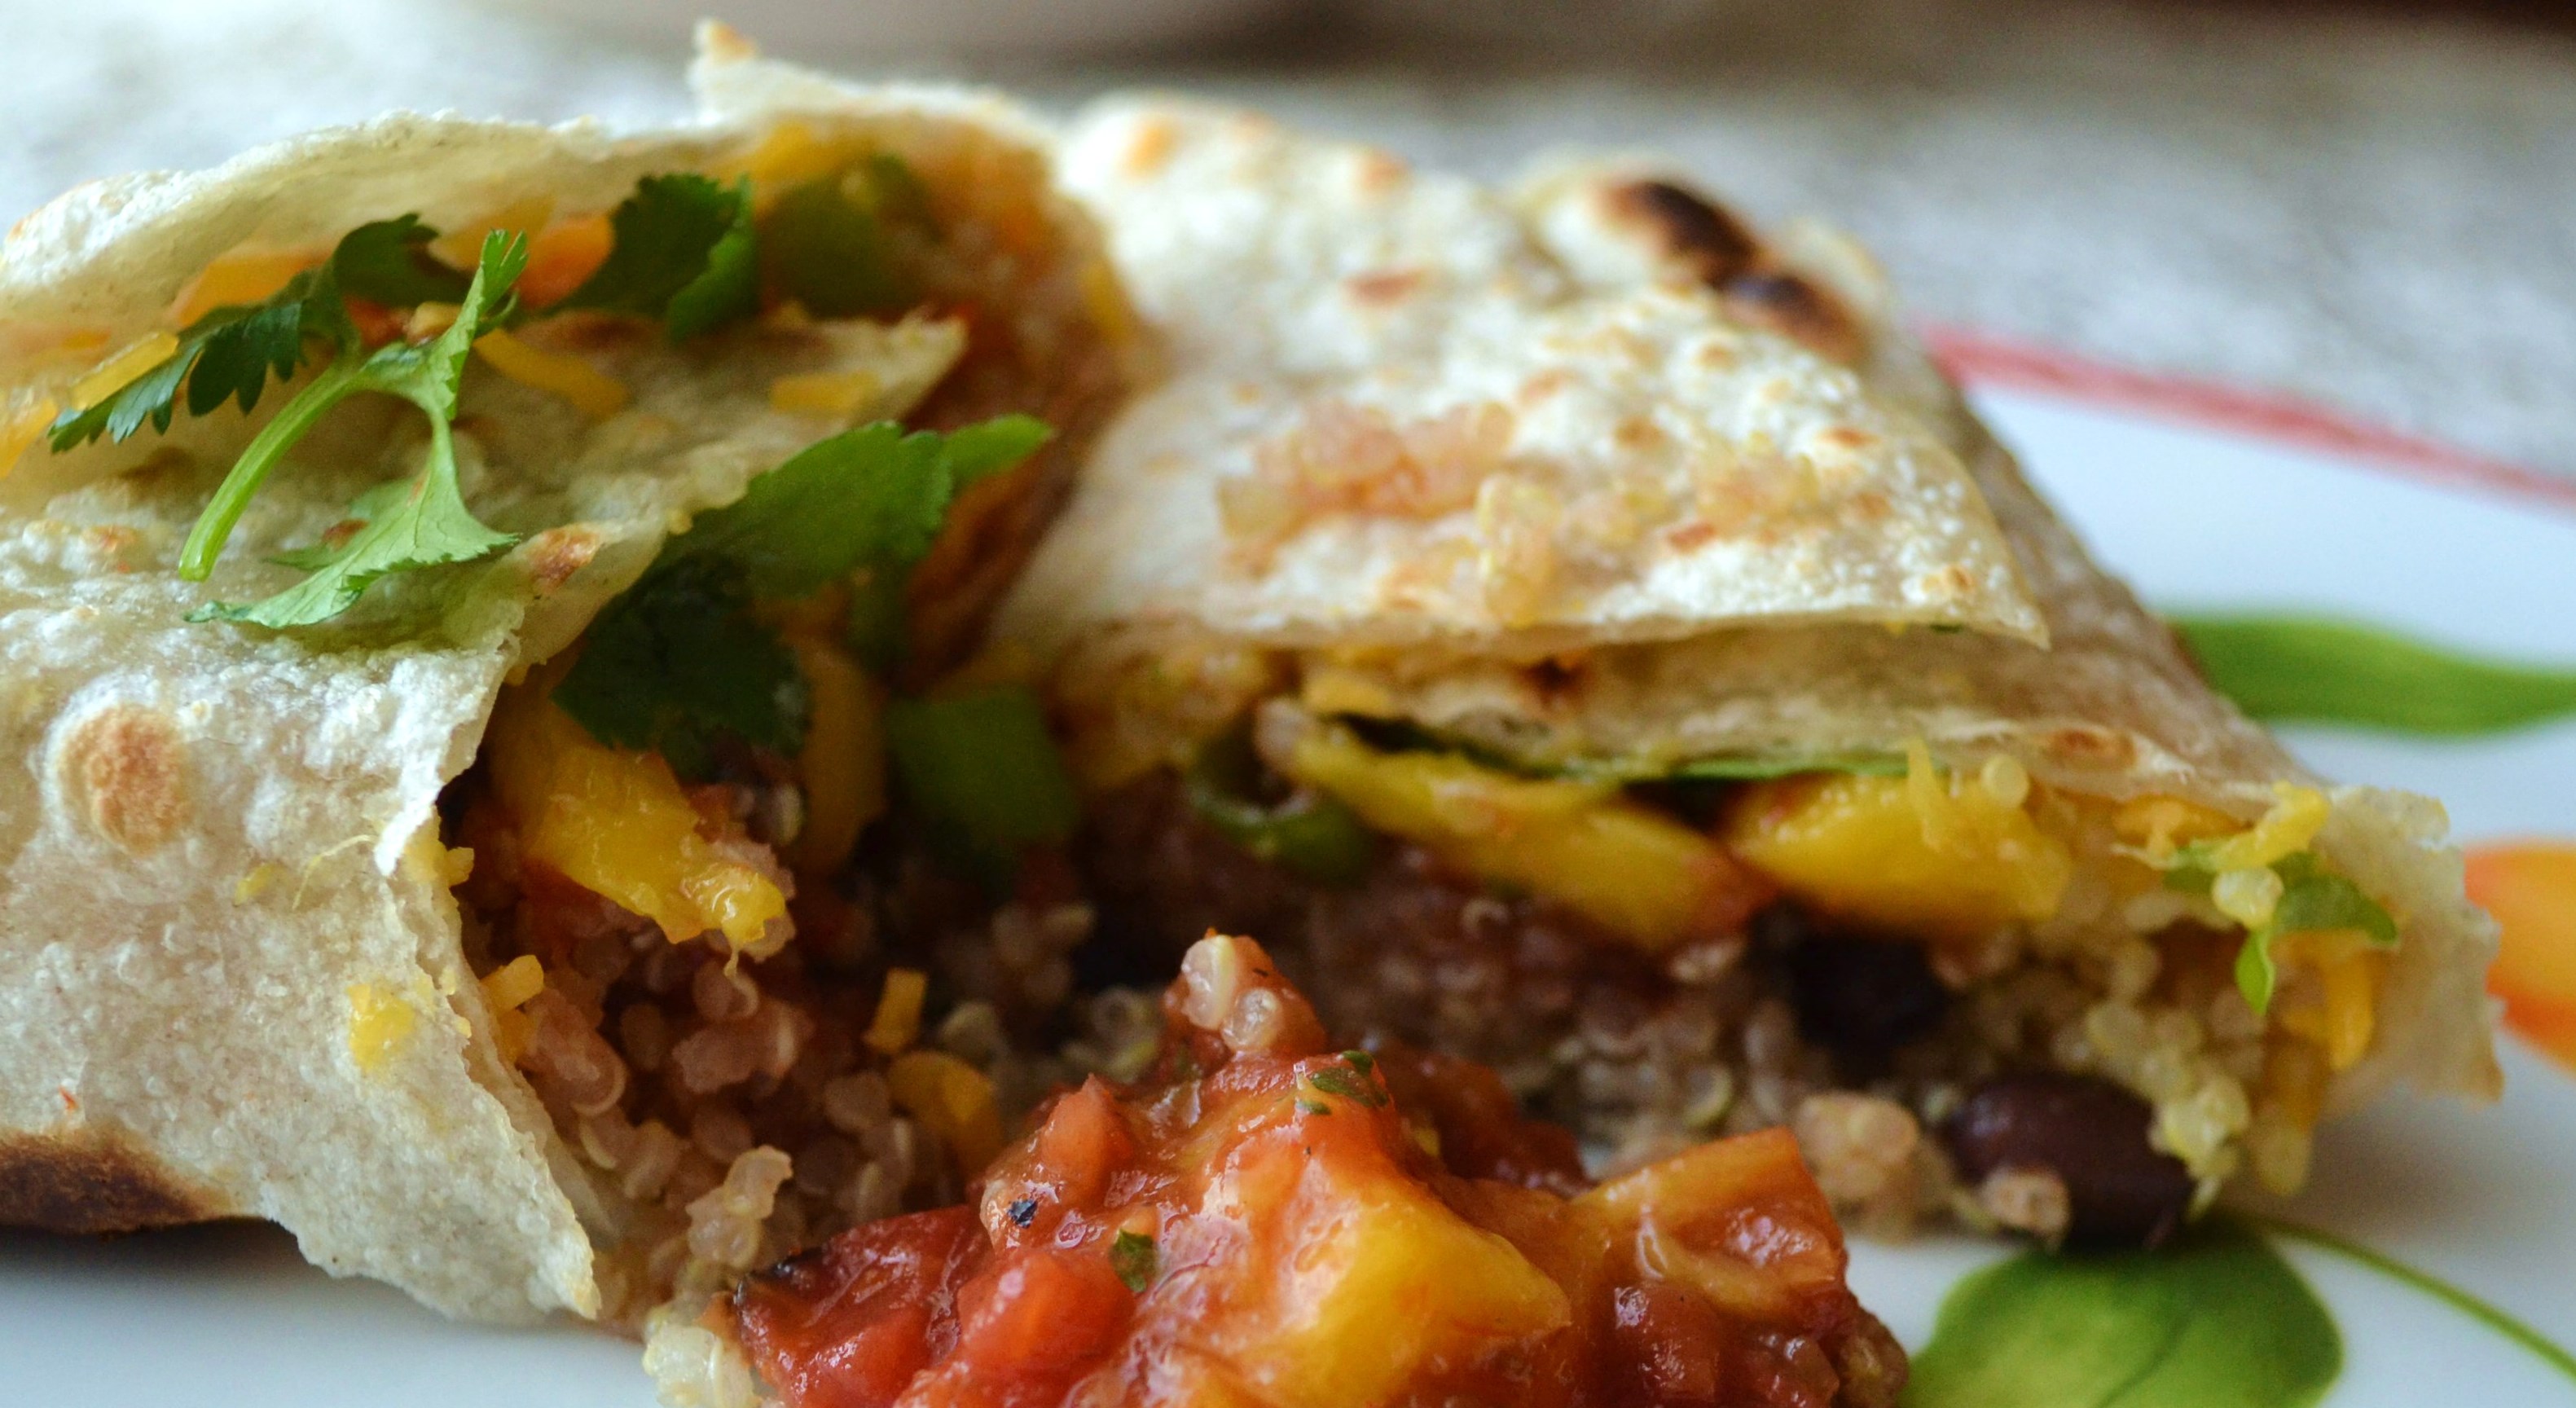
(Becky, the Mama.)
Okay. I have an honest confession. If there were a support group for it, I should have joined. Here it is: I’m afraid of quinoa. Not of eating it, mind you. I actually love it and I know it is a vegetarian’s friends, full of all good things. One cup of the nutty, fluffy tasty grain provides over 8 grams of protein, 5 grams of fiber, along with goodies like magnesium, zinc, iron, potassium and all for around 220 calories
My first encounter with quinoa was all positive: my daughter-in-law Julie took me to an adorable coffee shop called The Red Cup in Mukilteo, Washington, overlooking the water. The kind of cafe with bright funky colors alongside soothing bohemian baristas in Birkenstocks and granny skirts.

They serve an organic warm, tasty burrito stuffed with quinoa and cheese that comes with tangy fresh mango salsa. I’ve often thought how much I’d like to try recreating one of those burritos, but I found my mind braking at this thought: “Oh, no, I’ll have to learn how to make quinoa.”
Finally, I told my daughter-the-vegan that I have a quinoa-making phobia. Her response? “Mom, you are going to laugh at yourself when you find out how ridiculously easy it is. Just use your $10.00 cheap-o rice maker and pretend it is rice.”
So today I faced down my fears. I marched to my rice maker, poured a cup of quinoa and 1 ¼ cups of water into the bowl, turned it on, then walked away slowly. When I returned, hesitantly, 15 minutes later… a miracle had occurred. The tiny little beads had burst and turned nutty and fluffy and … awesome.
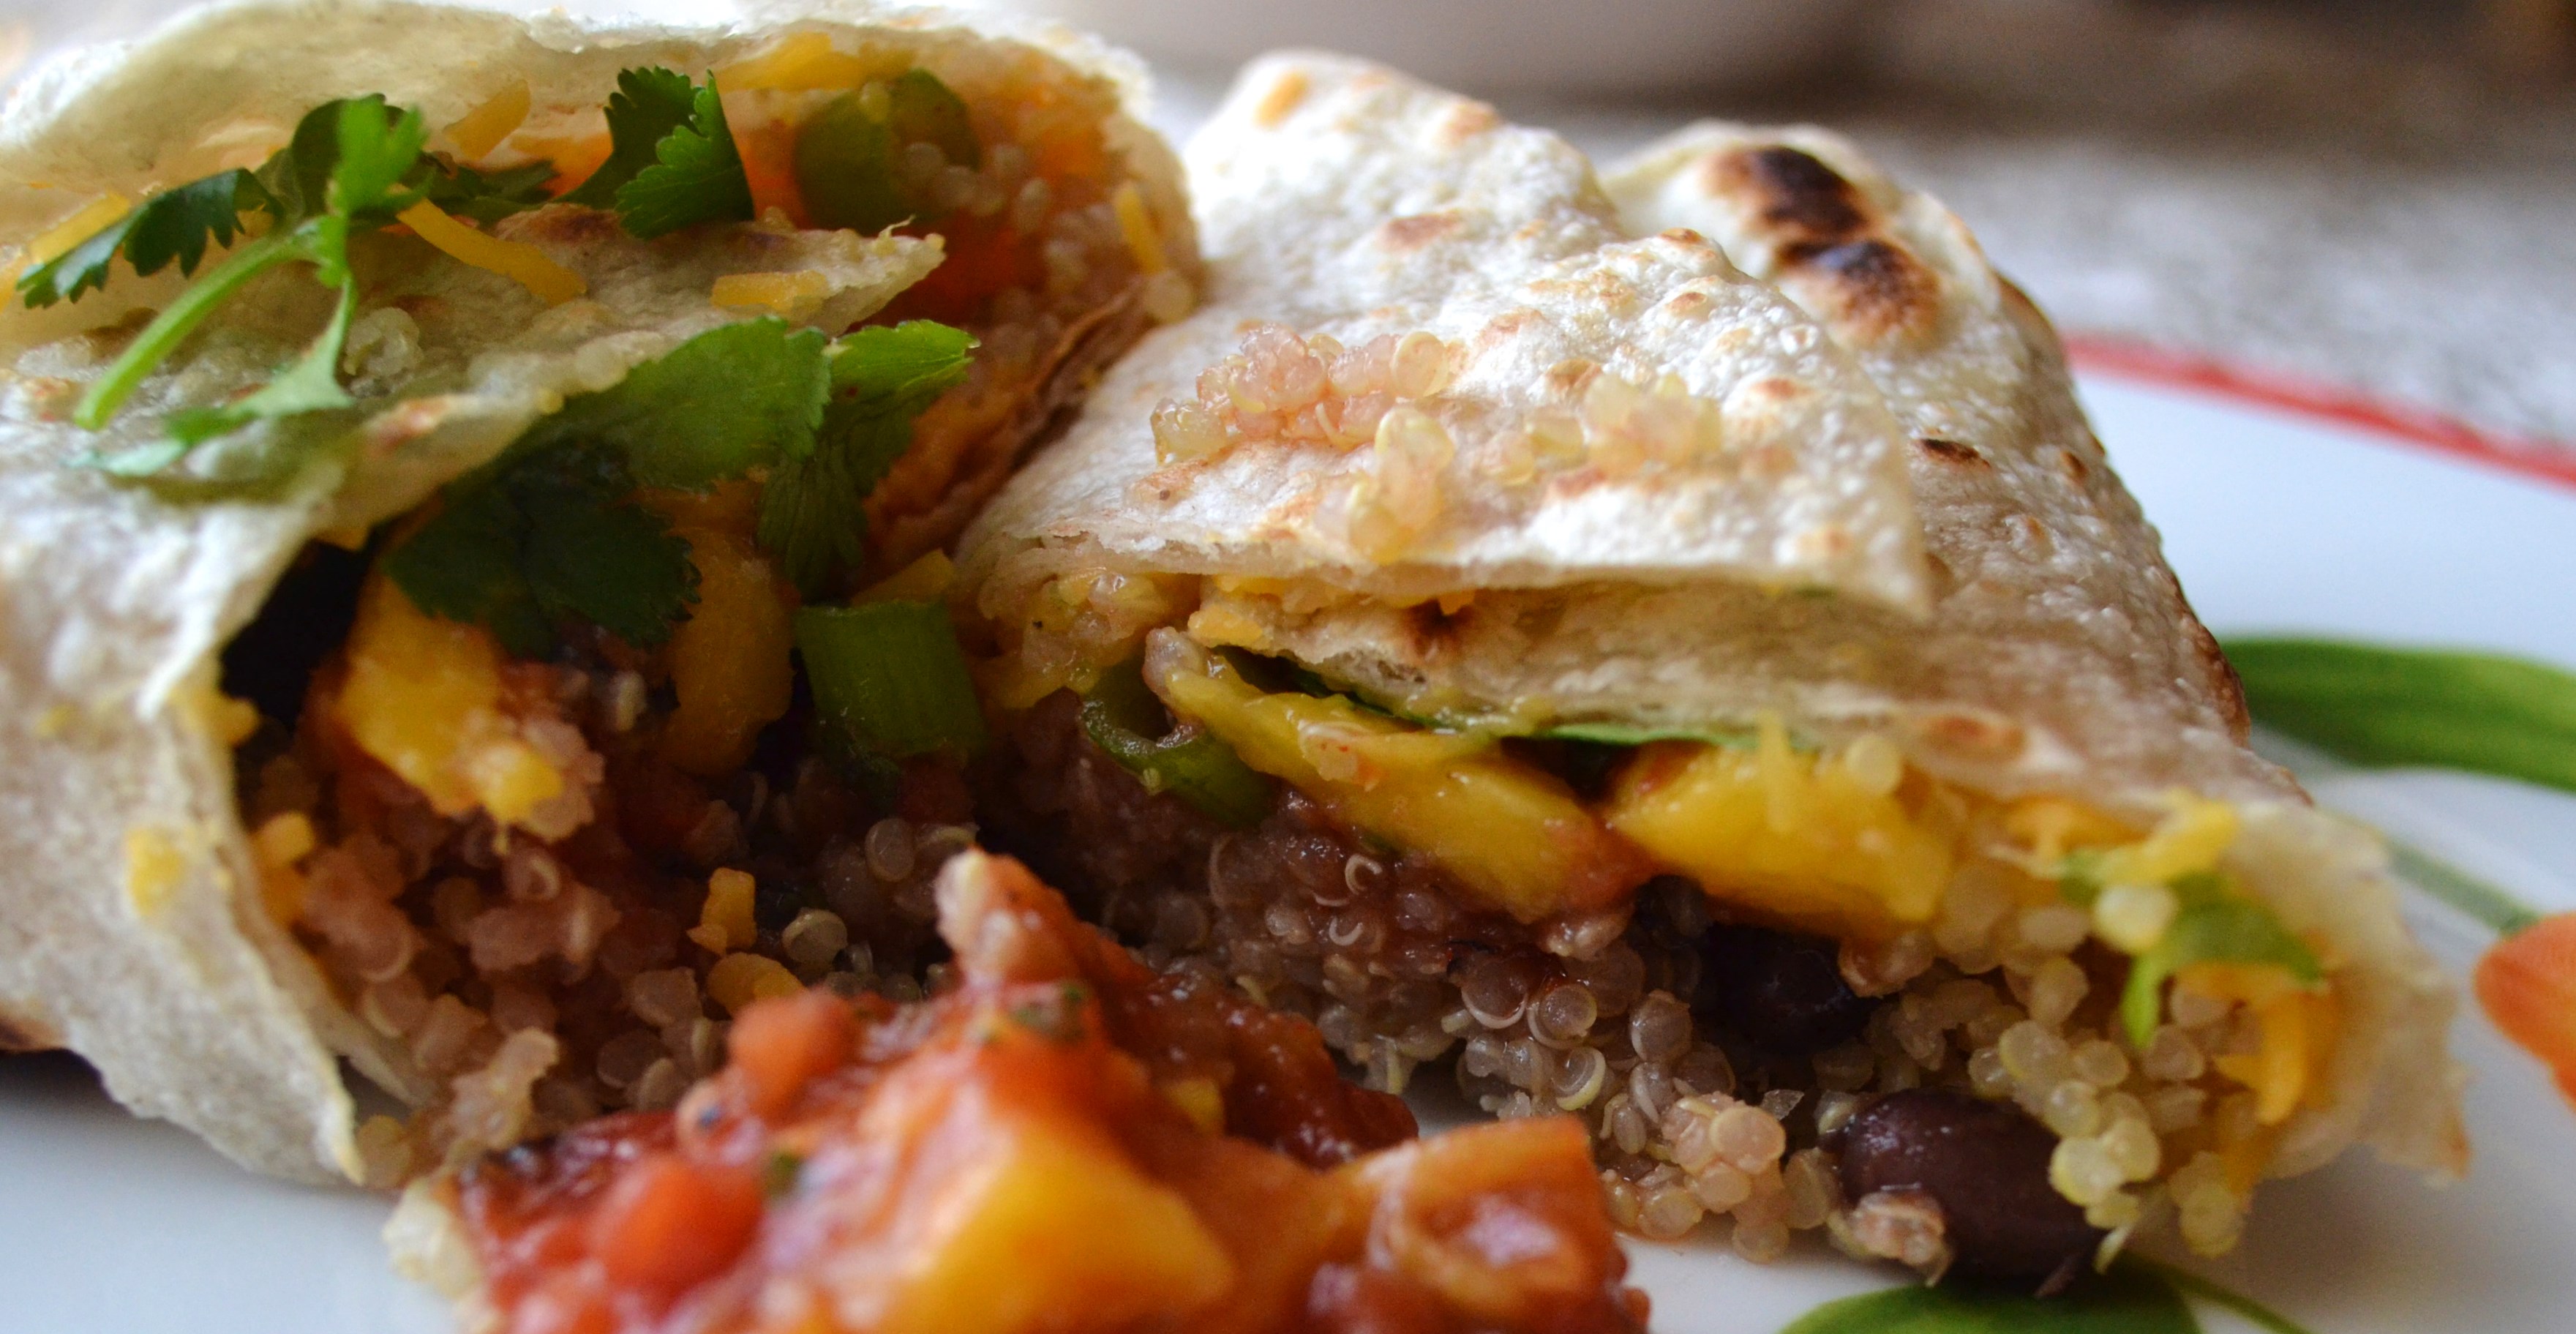
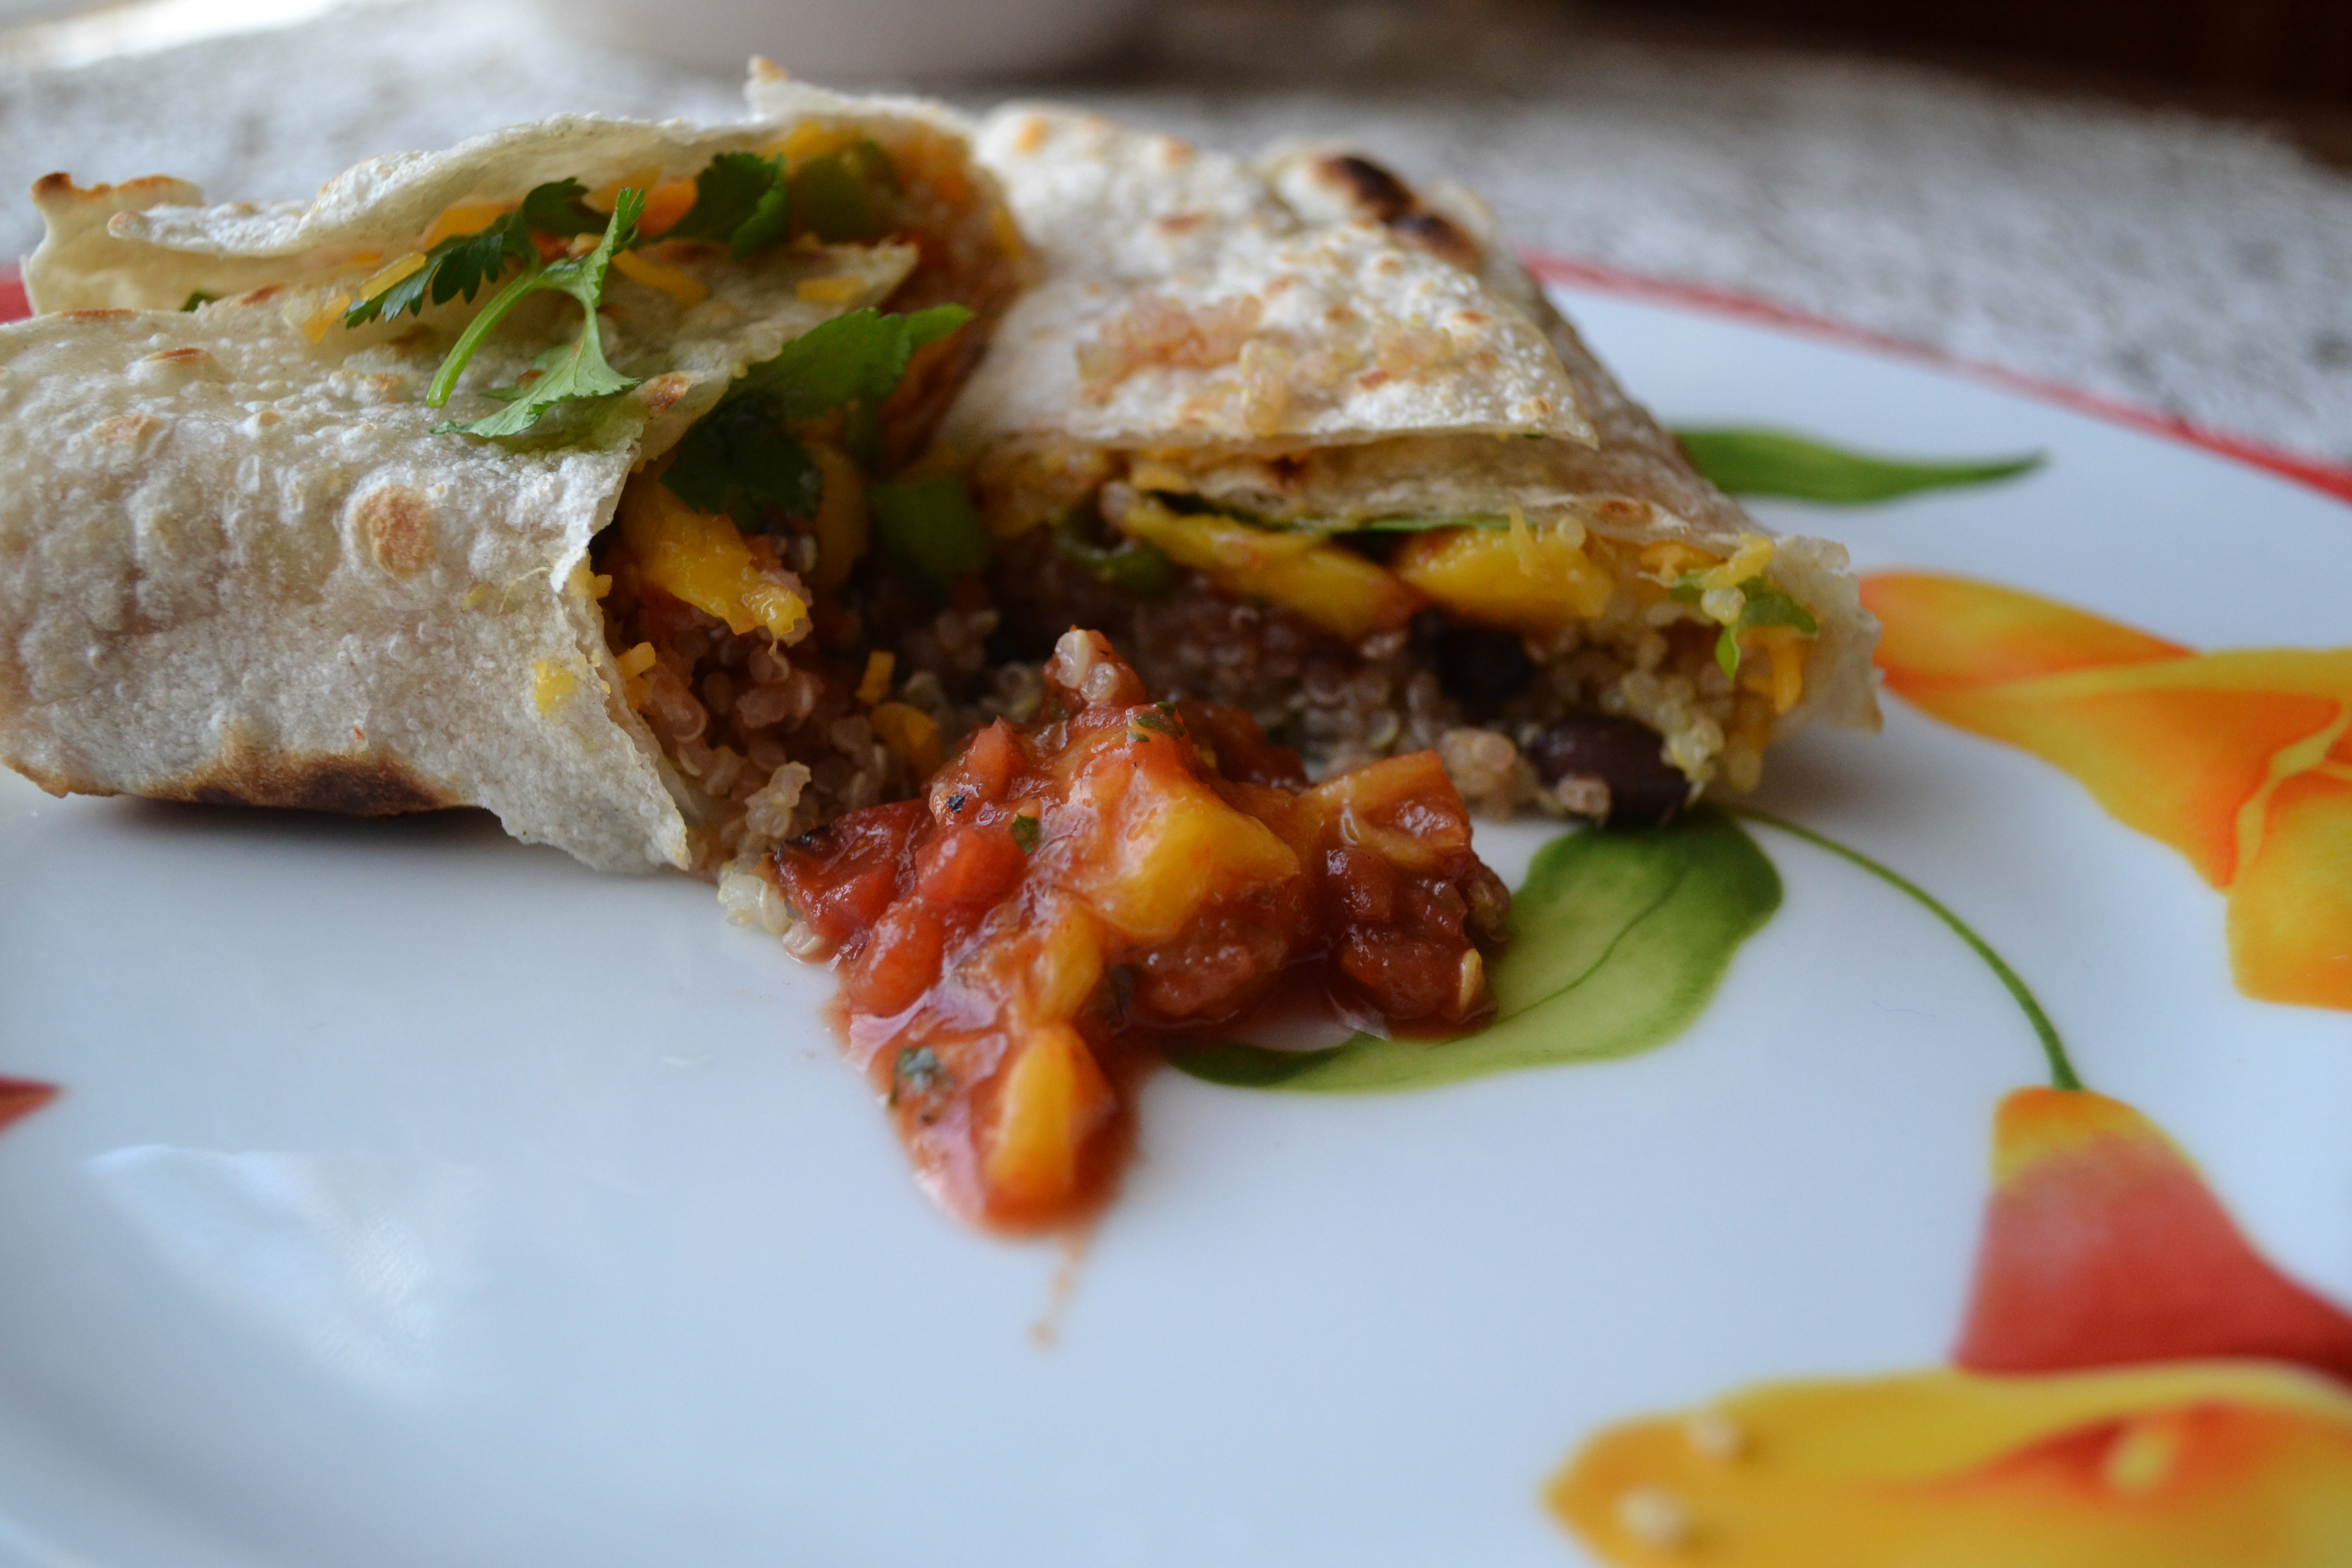
The rest was easy and familiar: I grilled a tortilla, sprinkled a little cheese around, then layered quinoa, black beans, salsa, mango,cilantro and chopped green onions. Rolled that baby up, cut it in half at a diagonal. and dipped it in a bit more salsa mixed with diced mango.
I was immediately transported to that café in Seattle.
Just give me some Birkenstocks and a granny skirt and call me the “Quinoa Queen.”
Quinoa Mango Black Bean Burrito
Serves 1
1 medium to large Tortilla (white or wheat, I prefer Tortilla Land brand)
1/4 -1/3 cup grated cheese, depending on preference
1/3 cup cooked quinoa, warmed (click for Rachel’s simple directions)
2 T. black beans, warmed
1/4 c. diced mango, divided
Sprig cilantro, rough chopped (optional)
1 green onion chopped
1/4 cup salsa
Grill tortilla on both sides until brown in spots, hot and pliable. (Use a bit of olive oil if needed to keep from sticking.)
Layer cheese, quinoa, black beans, 2 T. magno, cilantro and onion.

Tuck in two sides and then roll up into a burrito. Cut on the diagonal, in half. Mix salsa with remaining mango and serve alongside the burrito.
This was printed from: We Laugh, We Cry, We Cook
The site URL: http://welaughwecrywecook.com
The Title:Quinoa Mango Black Bean Burrito
The URL:http://wp.me/p1UwM9-Wb
This was printed from: We Laugh, We Cry, We Cook
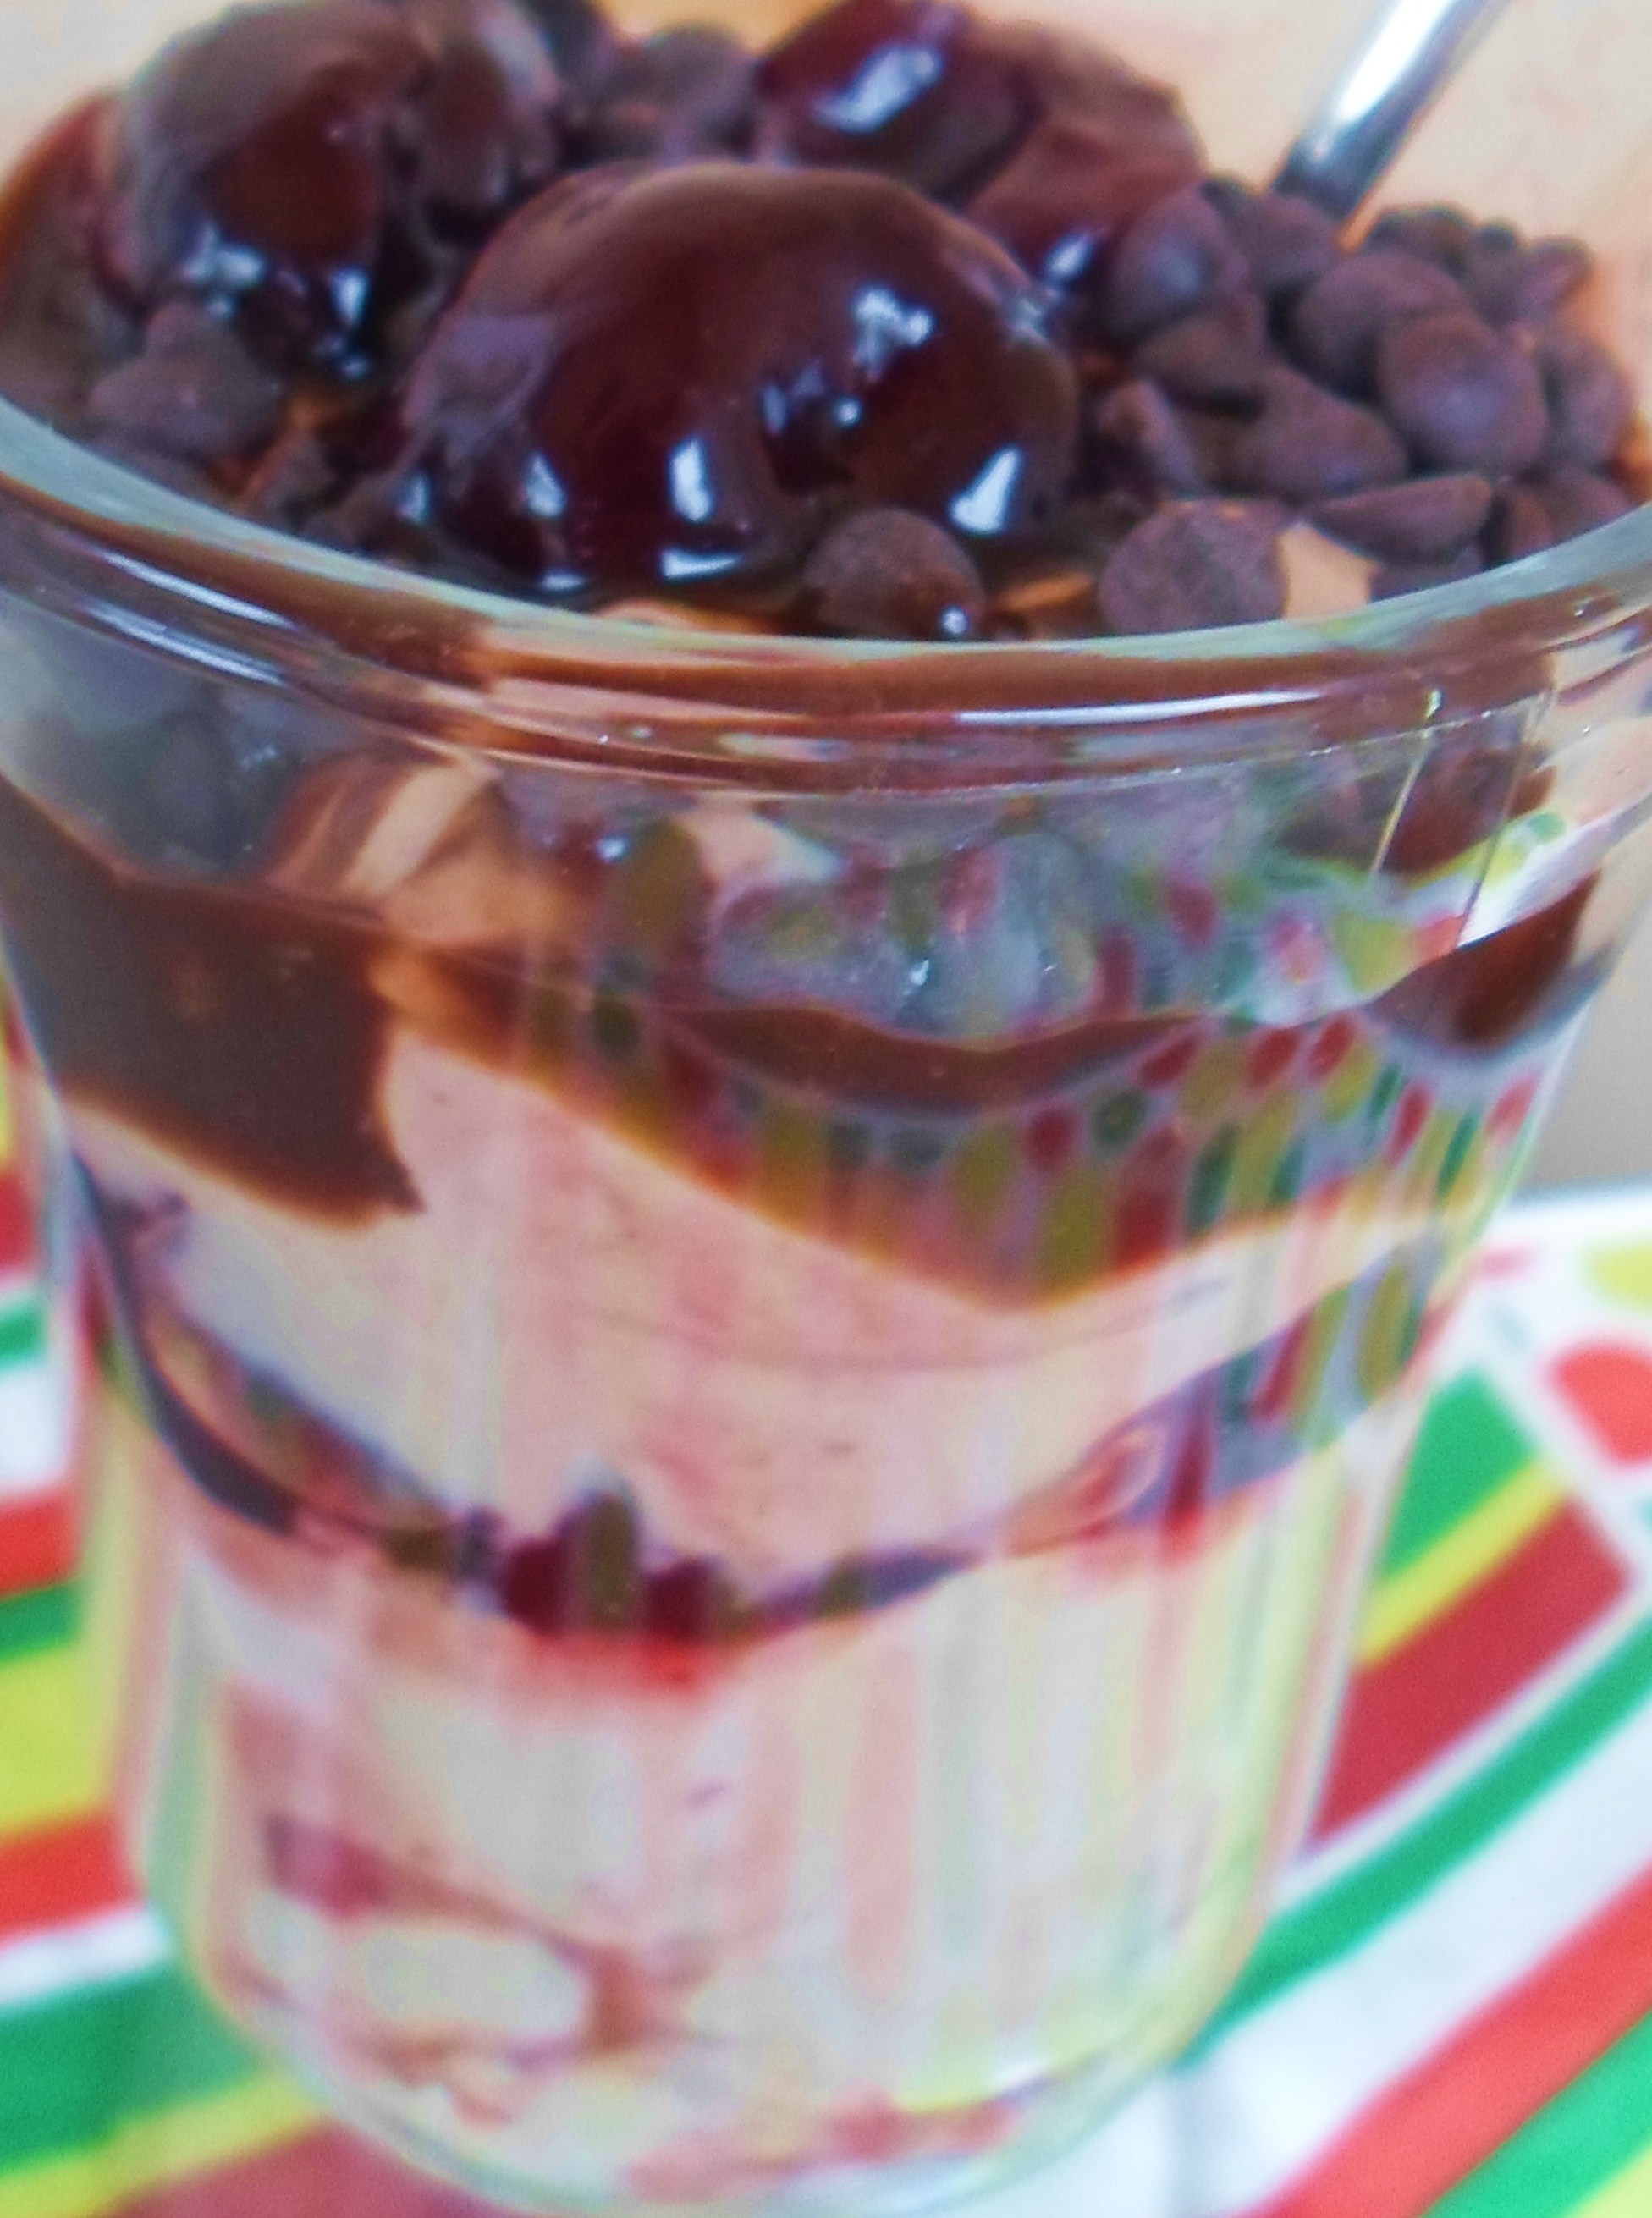
Black Forest Greek Yogurt Parfaits
Posted: February 6, 2013 Filed under: Appetizers, Desserts, Fruit Dishes, Snacks, Uncategorized, Vegan, Vegan Options, Vegetarian | Tags: Black Forest, cherries, cherry preserves, coconut yogurt, dark sweet cherries, Fage's yogurt, Greek yogurt, Hershey's chocolate syrup, mini chocolate chips, parfait, parfaits, So Delicious yogurt, yoghurt, yogurt 2 Comments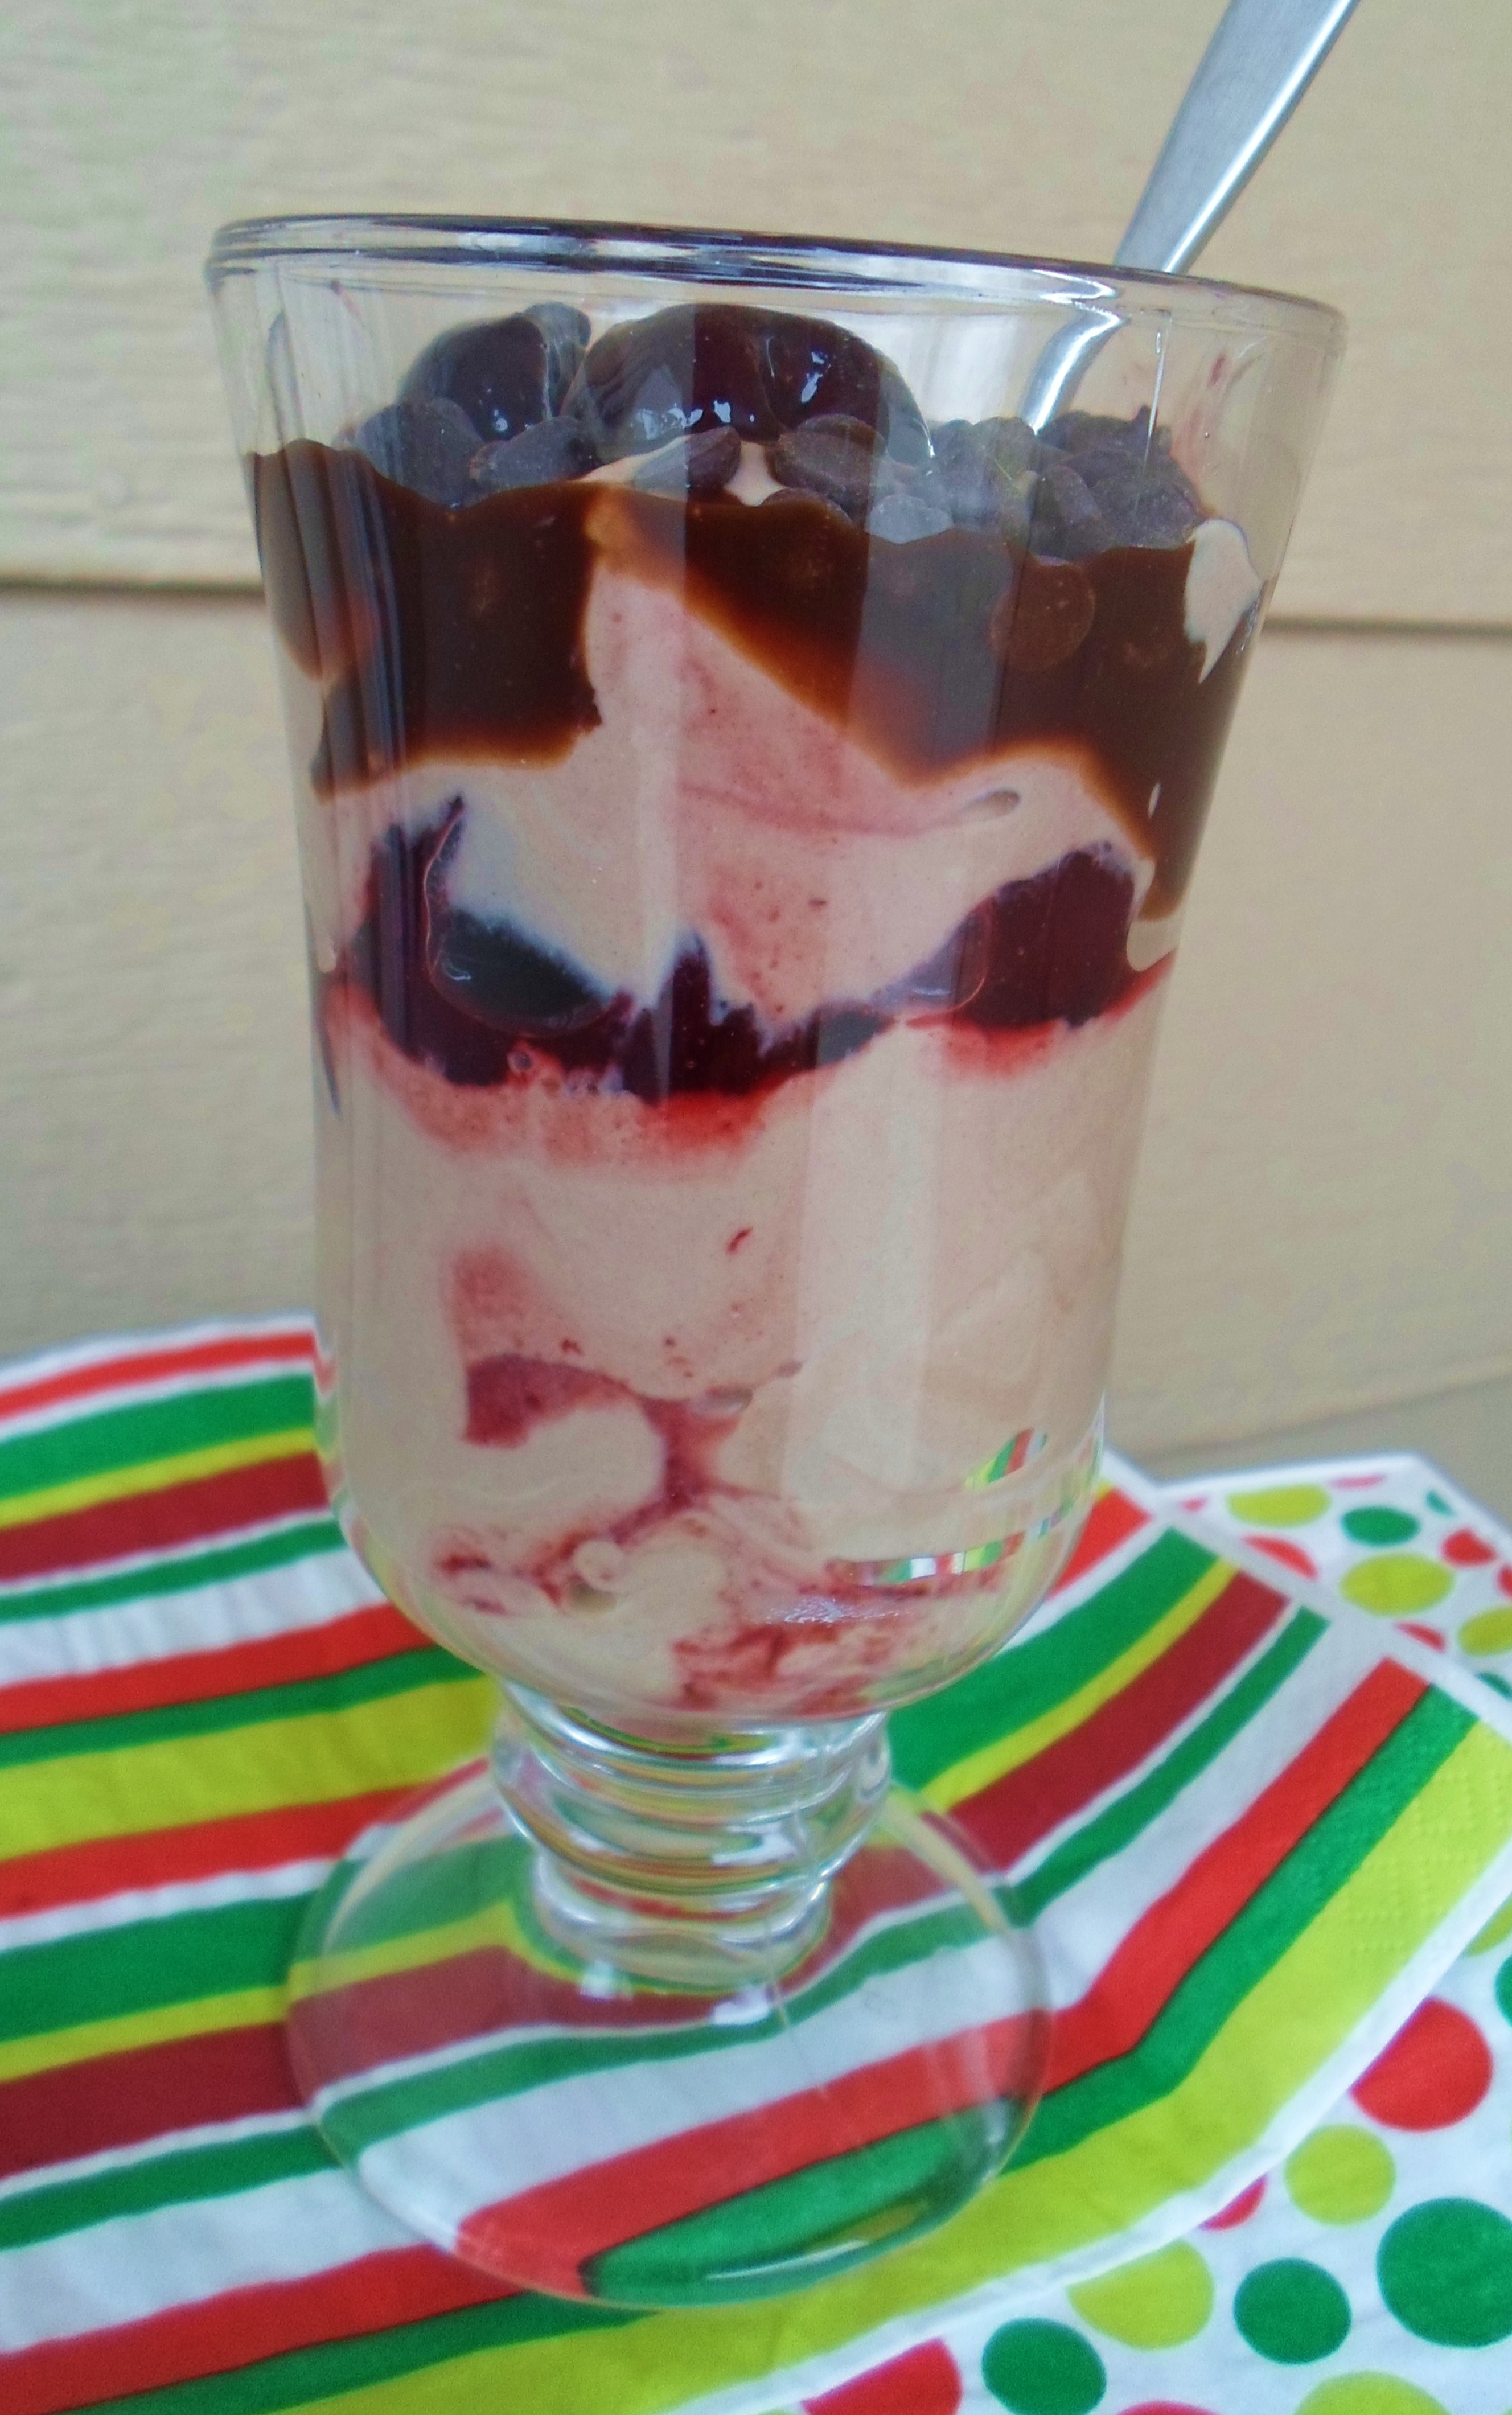
“……even if you don’t know anybody, and you don’t know what’s gonna happen next, you should have your box of chocolates with you. You should eat your bowl of cherries. And that is what life is.”
― C. JoyBell C.
(Becky, the Mama.)
By the amount of Greek yogurt occupying grocer’s refrigerator shelves these days, I’m not the only one in love with its rich, creamy, tart texture and taste. I don’t even buy sour cream anymore and honestly can’t tell the difference. The 2% Fage brand is my favorite; so smooth with just the right amount of fat so that no one misses the cream.
Two of my favorite foods are sweet dark cherries and chocolate. (I agree with Dave Barry who says, “Your hand and your mouth agreed many years ago that, as far as chocolate is concerned, there is no need to involve your brain.”) So it is no surprise that Black Forest Cake is one of my favorite treats, but alas, it doesn’t have many redeeming nutritional assets. So I come up with this quick, easy, decadent Black Forest Parfait, using my favorite Greek yogurt in place of a pudding. It was love at first bite. In fact, I just made a batch of them for everyone in our family as snack, to a happy chorus of “mmm.. mmms…yum, that’s good!”
It’s a dessert you can feel good about enjoying and sharing because the chocolate adds antioxidants, the yogurt is a great source of calcium and protein, and cherries are in the top 20 foods with the highest amount of antioxidants. Also, cherries are one of the few foods that have melatonin in them, for a restful night’s sleep. Finally, by starting with unsweetened yogurt, you can control the sweetness to your own taste.
Black Forest Greek Yogurt Parfaits
Makes 2 parfaits
Ingredients
1 1/3 cups plain unsweetened Greek yogurt (Vegans can substitute So Delicious Coconut Milk “Greek Yogurt”)
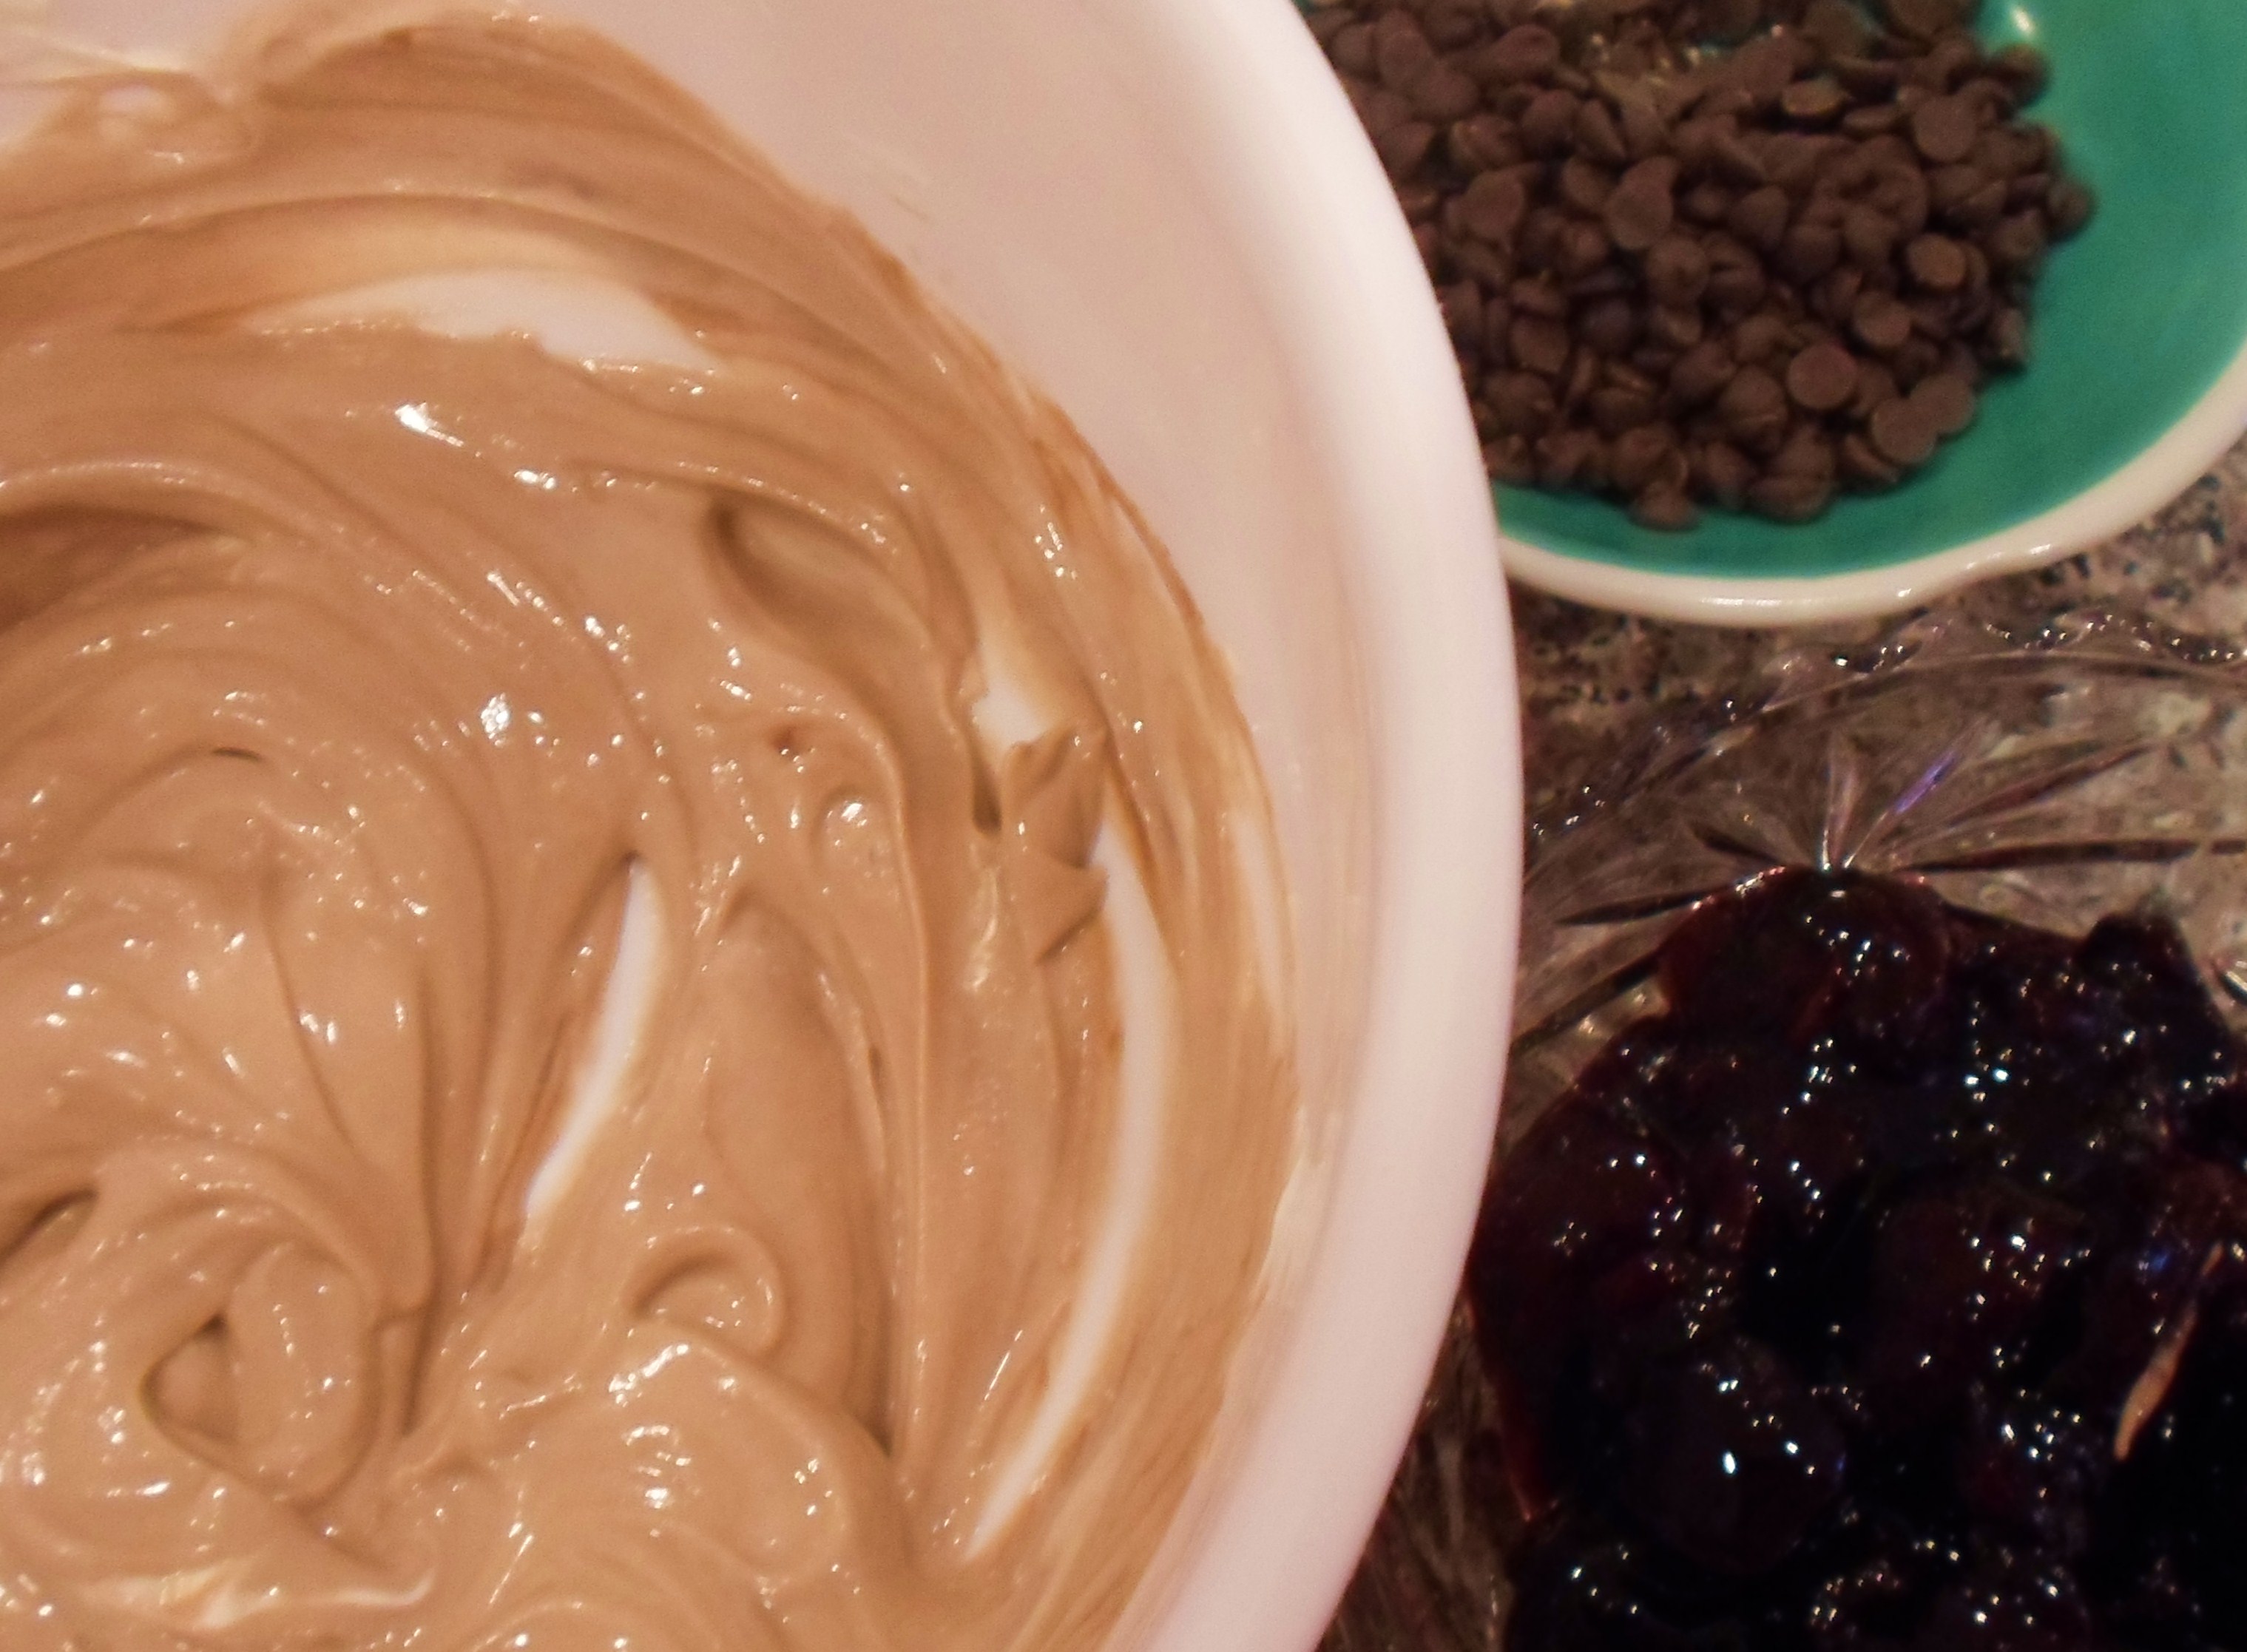
1/4 c. Hershey chocolate syrup, plus a little some for decorating parfait tops (Vegans need to use a milk-free chocolate syrup)
Agave nectar to taste
2 T. mini chocolate chips (vegans use vegan chocolate chip)
1/2 c. dark sweet cherries (frozen, pitted; if they are large, cut them in half)
2 T. cherry preserves I love Bonne Maman French preserves, now available in most grocery stores. They do not have any corn syrup and are full of fruit!
Directions:
In one bowl mix yogurt with chocolate syrup. Add agave nectar if you like until it is as sweet as you prefer. In another small bowl mix the cherries and preserves.
In a tall clear mug or parfait glass, put about 1/3 cup of chocolate yogurt mixture, then put a layer of the cherry mixture on next, about 1/4 cup. (Reserve about a Tablespoon to decorate top). Follow this with another layer of chocolate yogurt (about 1/3 cup) and a nice squiggle of chocolate syrup. Top with 1 T. mini chocolate chips and a dollop of cherry mixture for decoration on top. Repeat in another mug or parfait glass.
This was printed from: We Laugh, We Cry, We Cook
The site URL: http://welaughwecrywecook.com
The Title:Black Forest Greek Yogurt Parfaits
The URL: http://wp.me/p1UwM9-SW
This was printed from: We Laugh, We Cry, We Cook
Clementine & Cheese Stick “Palm Tree” Snack for Kids
Posted: December 9, 2012 Filed under: Fruit Dishes, Kids Cooking, Snacks, Vegetarian | Tags: cheese sticks, clementine, kid snacks healthy, palm trees, string cheese Leave a comment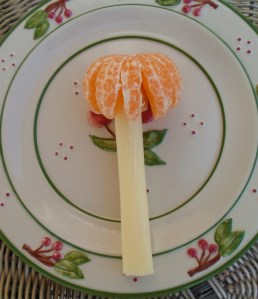
(Becky, the Mama)
Sometimes the easiest recipes are the ones we use the most. My grandson Georgie bellies up to the kitchen bar at least once or twice a day and asks for a “Palm Tree,” in the same way a character on the TV show “Cheers” would order their favorite drink.
I walked to his little school the other day to pick him up (it is only a few blocks away!) and on the way out the door, tucked a piece of string cheese in one pocket and a Clementine orange in the other. When he walked out of his Kindergarten class I produced the “goods” and made him a Palm Tree right there on the spot. His eyes lit up with joy and admiration. It takes so little to make a child happy. The orange quenches the thirst that comes from the saltiness of the cheese, so it makes a great all-in-one treat I feel good about giving him.

George on his first day of Kindergarten, here in Colorado, last week!

Clementine & Cheese Stick “Palm Tree” Snack for Kids
Ingredients:
Stick of Cheese (String cheese works fine, too)
Clementine orange, peeled
Directions:
Fan out the orange a little bit on one end and plop it atop a cheese stick. Serve to your favorite little one, with a wink and a smile.
‘
This was printed from: We Laugh, We Cry, We Cook
The site URL: http://welaughwecrywecook.com
The Title: Clementine & Cheese Stick “Palm Tree” Snack for Kids
The URL: http://wp.me/p1UwM9-Q4
This was printed from: We Laugh, We Cry, We Cook
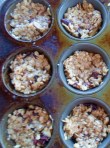
Oat Nut Fruit Gems
Posted: December 4, 2012 Filed under: Breads, Breakfast Foods, Desserts, Fruit Dishes, Gluten Free, Kids Cooking, Snacks, Uncategorized, Vegan, Vegetarian | Tags: bananas, cherries, coconut, cookies, cranberries, dates, dried fruit, energy bars, granola bars, healthy breakfasts, healthy lunch box treats, muffins, nuts, oatmeal gems, oats, seeds, trail mix 2 Comments
(Becky, the Mama)
My mother, Ruthie, went from loving her sugary desserts (a la last week’s Honey Slice cookie recipe) to a diet almost completely without sugar a couple of decades ago. A health crisis with her blood pressure and heart, meant major changes in her daily diet – all for the better. Out went everything white: sugar, white flour and white rice… and in came the brown and fiber-filled replacements. But, we are not the sort of women to suffer deprivation in our family. Being the creative and resourceful cook, Mother found several ways to satisfy her sweet tooth while also getting healthier, sporting an adorably slim figure, and having more energy than women decades younger than she!
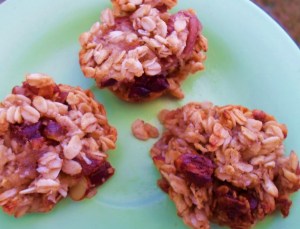
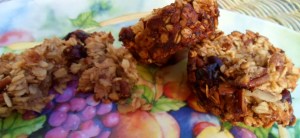
This is one of my all-time favorite sweet, healthy, satisfying treats that she baked. She served them in a pretty cloth-lined basket at a family supper and they disappeared in what seemed like minutes. Everyone from kids to adults raved about them.
The basic ingredients are so simple: oats, mashed bananas and grated apples. From there you can throw in the kitchen sink: any nuts, seeds, flavorings or dried fruit that you like. Another bonus is that you can serve this recipe to most of the people in your family (or friends) on special diets. The recipe is naturally vegan, and if you use gluten-free oats, it is gluten-free and can easily be adapted to use less sugar or made sugar-free. Kids not only love them, but as you can see from my little helper below, they also love to help make them.

My grandson Georgie, furiously mashing the bananas with a potato masher.
If you want to create warm memories of baking with little ones this Christmas, but prefer not to send them into a Sugar Orbit in the process: this is the perfect mom and child, or grandma and grandchild project, to whip up together.
The texture is somewhere between a muffin, an oatmeal cookie, trail mix, and baked oatmeal. Made with sugar they get a nice crunch on the outside but are moist and slighty chewy on the inside. Perfect for quick breakfasts-to-go, they also make great snacks for school lunch boxes and any outdoor enthusiasts in your family. Wrapped in foil they are wonderful sources of energy when hiking, camping or snow-boarding.
This recipe makes 2 dozen. Best stored in fridge and then heated for a few seconds in microwave.
Oat Nut Fruit Gems
Preheat Oven to 350 degrees
Ingredients
2 large bananas, mashed (use 3 if bananas are small)
2 large peeled apples, grated (use 3 if apples are small)
3 cups oats (I like Old Fashioned Oats for the chewier texture)
½ t. sea salt
1/3 c. raw organic sugar (or use other sweeteners such as brown sugar or coconut sugar or even Stevia, according to taste )
½ c. dried chopped fruit (I used dates and dried cranberries. Coconut also works well in this recipe.)
1/2 nuts and/or seeds (I used walnuts and pecans)
2 t. vanilla
Directions
Mix all of the above together in a large mixing bowl. Spray or oil muffin pans. Fill them about 2/3 full and gently press down with back of spoon. if you want them to look more muffin-like you can mound them a bit in the middle, as they won’t rise. (No leavening or eggs.)
Bake for 20 to 30 minutes or until just golden brown around edges and top.
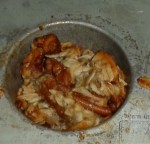
When cool to touch, gently remove from pan. If not eaten in a day, store in fridge in a sealed bag or plasticware and zap for a few seconds in microwave to warm.
This was printed from: We Laugh, We Cry, We Cook
The site URL: http://welaughwecrywecook.com
The Title: Oat Nut Fruit Gems
The URL: http://wp.me/p1UwM9-Pz
This was printed from: We Laugh, We Cry, We Cook
Laugh, Cry, Cook Thanksgiving Round-Up (Lots of Vegan & Gluten-Free Options Everyone will Love)
Posted: November 12, 2012 Filed under: Appetizers, Breakfast Foods, Desserts, Fruit Dishes, Gluten Free, Main Dishes, Salads, Sides, Snacks, Soups, Uncategorized, Vegan, Vegan Options, Vegetarian, Veggies | Tags: allergy-free holidays, glutten-free Thanksgiving menu, healthy Thanksgiving, modifiable meals for holidays, vegan Thanksgiving menu 2 CommentsThe other day while I was, ahem, procrastinating on doing some actual writing, I decided to organize my Pinterest boards. Obviously, that is a priority two weeks shy of a deadline. And while I was at it, I made a Vegan Thanksgiving Pinterest Board with all the recipes I have made or posted that would make lovely vegan dishes at Thanksgiving. Most are mine, some are moms, and a few are from some of my other favorite blogs.
I thought, in the midst of the final edits and recipe testing for the book and what not, instead of creating something new for my post this week, I’d round up some of our favorite recipes from this blog for Thanksgiving. Most are either vegan or can be easily made vegan with a few modifications, some are gluten-free, and a few are neither.
As a vegan myself and friend to many people with dairy, gluten, and even poultry allergies, I hope this list will give others with different eating habits some ideas for Thanksgiving dinner. I also hope it will be helpful to those who are cooking for people like me this Thanksgiving. Serving one or two special dishes for the “weird” eaters in your life is a way to show how much you love and care for them and to let them know you honor and respect their food choices. Believe me, it means more than you can know to arrive at someone’s home and realize they thought of you while planning their menu. It means they think you matter and want you to feel included at the family table. One yummy dish can say all that.
Jared, Jackson, and I will be heading to Colorado to spend Thanksgiving with Mom and Greg and to celebrate turning in our book. Whoohoo! It’s always a fun time when we get together. We laugh. If we’re lucky, we might even laugh until we cry. And of course, we cook!
Enjoy this Thanksgiving Roundup!
Oh, and I’ve updated our recipe page too, if you want to browse all of our recipes for your own holiday inspired pinterest board. 😉
ENTREES

Topless Veggie Pot Pie
Topless Veggie Potpie
You might want to make up another name for your grandmother 🙂
**Vegan

Rustic Iron Skillet Pot Pie
Rustic Iron Skillet Pot Pie
Would be great with shredded Turkey or Chicken, crumbled tempeh, or Chik’n Strips.
**Vegan variations listed in recipe

Fresh Corn & Roasted Poblano Soup
Fresh Corn & Roasted Poblano Chowder
If you are looking for something a little less traditional, this is one of our favorite fall dishes. It would make a delicious alternative for vegan or vegetarian guests. Adding a little Field Roast Applewood Sausage makes this a filling entree.
**vegan, gluten-free (optional vegan sausage contains gluten)

Roasted Cabbage, Sausage & Honey Balsamic Glaze
Roasted Cabbage & Sausage with Honey Balsamic Glaze
I love my mom’s anecdote with this recipe. It will probably still be fitting for some of our family tables following this intense election. “Every good hostess knows that the best way to break up an awkward family debate is to divert attention by cooking something that smells amazing, and looks so delicious that all conversation stops, as wordless lip-licking and tummy-rubbing take over. This is one of those simple, delicious, comforting meals that could possibly bring about World Peace. At least at your dining table.”
**Vegan variation listed in recipe, gluten-free (vegan variation contains gluten)

Spicy Hominy, Kale and Butter Bean Bowl
Spicy Hominy, Kale, & Butterbean Bowl
Another one of our fall favorites. I make variations of this at least every few weeks in the cooler months. It is filling and nutritious and has lots of bright pretty colors. Sometimes I add diced butternut squash for even more fall flavor. It simmers in one pan in less than 30 minutes and can easily be re-heated, so it makes a great alternate meal for vegans at the table without taking up much extra time or kitchen space.
*vegan, gluten-free
APPETIZERS AND SNACKS
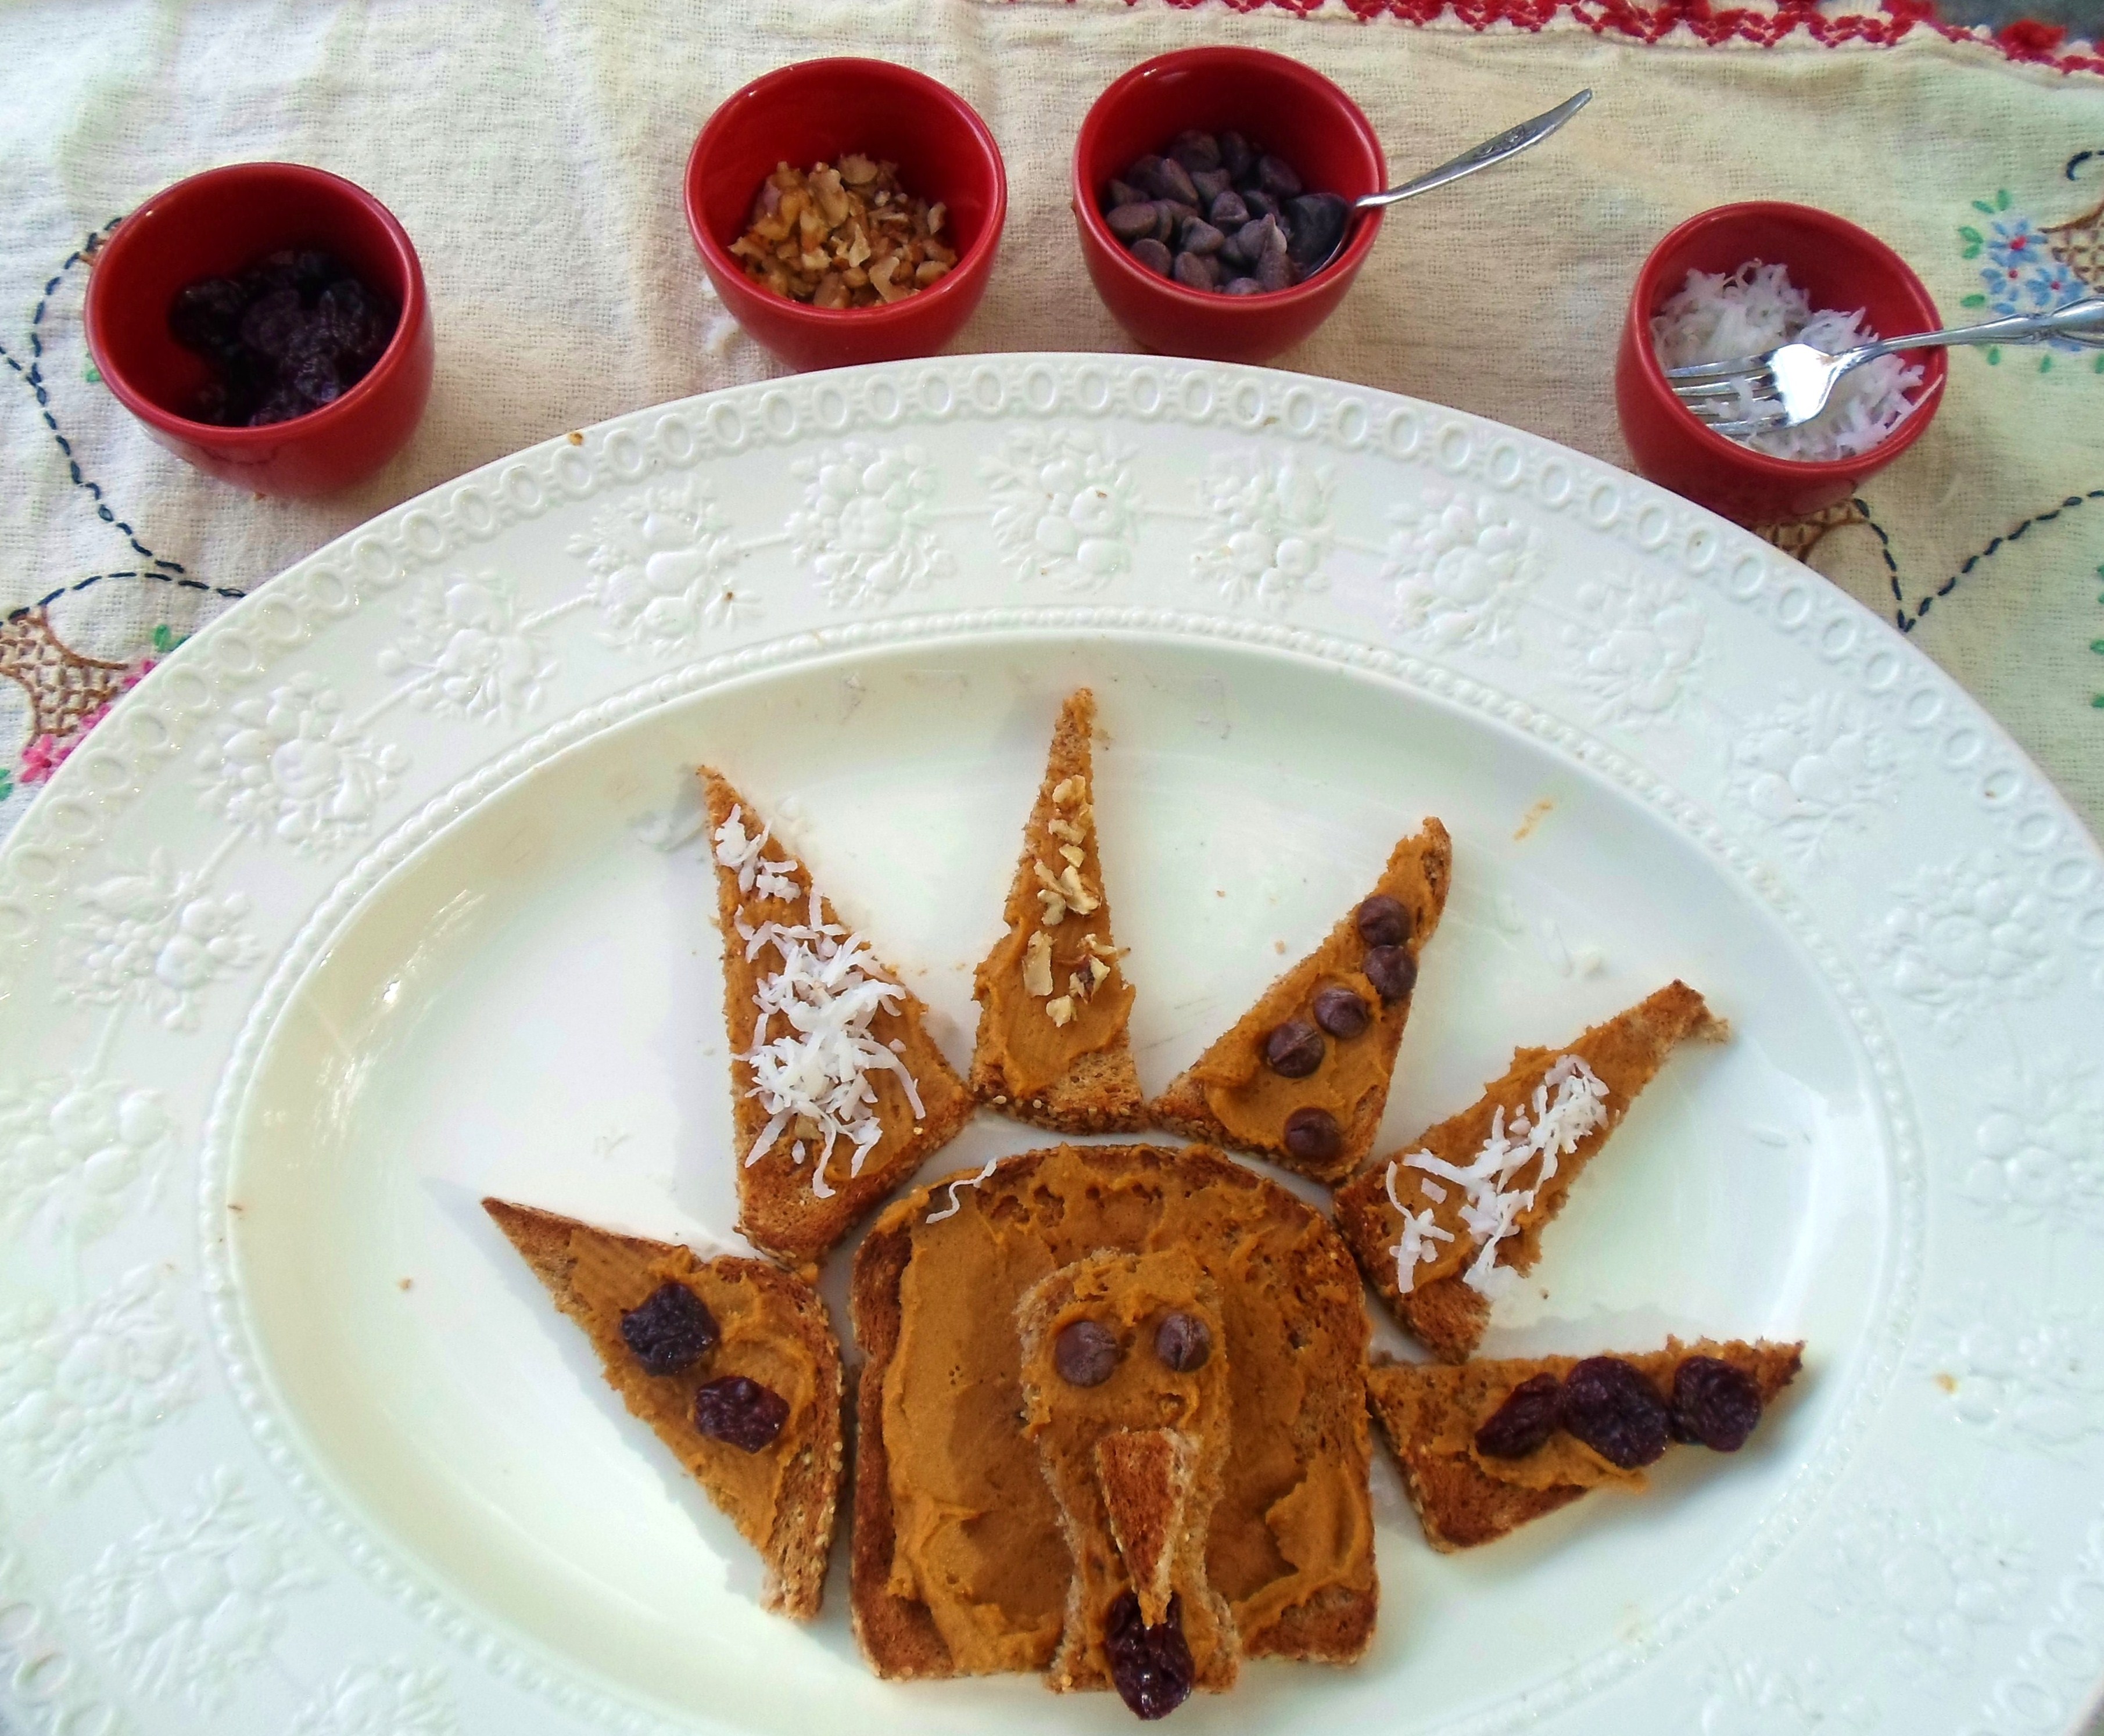
Let kids decorate their own Gobble-Gobble Turkey Toasts
Gobble-Gobble Turkey Toasts with Pumpkin Butter
Hold your little ones over until dinner and entertain them at the same time by letting them decorate their own Gobble-Gobble Turkey Toasts with Pumpkin Butter and a variety of toppings like chocolate chips, shredded coconut, walnuts, and dried cranberries. This is a fun way for vegans to incorporate turkeys into their child’s Thanksgiving experience.
**vegetarian, vegan-friendly, gluten-free friendly with gf bread

Warm Stuffed Dates
Warm Stuffed Dates: Two Minutes, Two Ingredients
These appetizers or snacks are so quick and easy, any one of your kitchen helpers could make them. They are melt-in-your mouth delicious when warm, but still great when they cool to room temperature, making them easy to make ahead and just leave out for the grazers. They also provide quick energy for a busy cook.
**Vegan, gluten-free

Carrot Cake Chutney
“Carrot Cake” Chutney (Topping for Cream Cheese & Crackers)
This stuff is amazing on crackers, but also a fun carrot cake “mix-in” for yogurt or ice cream. An easy and unique treat to serve at your next party or bring to a hostess.
**vegetarian, gluten-free, (chutney is vegan and you can easily sub vegan cream cheese)

Pumpkin Spice Dip for Apples (with Extra Toppings for “Double Dipping”)
Pumpkin Pie Dip with “Autumn Leaf” Apples
This recipe is creamy and tastes exactly like pumpkin pie, but uses real food, and most of it is good for you! The fun thing about this recipe is that you get to “double-dip” your apple slices: once in the pumpkin pie fluff and again in any topping of your choice. A friend of mine has a daughter who can’t have dairy and she told me she’s almost embarrassed to admit how many times they’ve made this recipe. In her words, they “can’t get enough!”
**vegan, gluten-free
SIDE DISHES

Baked Macaroni & Cashew Cheese
Baked Macaroni and Cashew Cheese
Non-vegans love this dish too and are always shocked when they find out there is no cream or cheese. Compared to real mac & cheese, this is more like a creamy pasta casserole. With the addition of some chickpeas, I often serve it as an entree.
**vegan, gluten-free w/ gf pasta

Pecan Mushroom Stuffed Zucchini
Pecan Mushroom Stuffed Zucchini
We probably need to retake these pics. It looks much prettier than the picture shows and it tastes amazing. My mom made this for me and I made her promise me she didn’t sneak meat in it. The walnuts really transform into a meaty texture. We both love this dish.
**vegetarian, vegan variation listed

Roasted Red Pepper Quinoa
This is my go-to quinoa recipe. It’s so easy and with a rice maker, it basically cooks itself while you get the rest of dinner made.
**vegan, gluten-free

Balsamic Roasted Garlic Vegetables
Roasted veggies are delicious on any occasion and even the pickiest veggie eaters often find they like vegetables that have gotten crisp and sweet in the oven.
**vegan, gluten-free

Orange Glazed Carrots
Sweet, buttery orange glazed carrots are the perfect compliment to any Thanksgiving dinner.
**Vegan with sub of Earth Balance, gluten-free

Sweet n’ Sour Green Bean with Bacon
Sweet n’ Sour Green Beans and Bacon
A nice alternative to the traditional Green Bean Casserole at Thanksgiving.
**Vegan variation listed in recipe
SALADS

Creamy Vegan Fruit Salad Dressing
Fruit Salad with Creamy Dressing
Perhaps the best fruit salad dressing we’ve ever tasted. This easy delicious two ingredient recipe will be your new favorite topping for everyday and holiday fruit salads. We promise you we’re not exaggerating.
**vegan, gluten-free

Cranberry Orange Kale Salad
This sweet orange marmalade dressing goes perfectly with massaged kale greens, dried cranberries, and slivered almonds. Kale is a great green for serving at dinner parties or holidays because it holds up well in dressing. In fact, you can dress this the day before and it will only taste better the next day. Just pull it out of the fridge, and sprinkle with toppings.
**vegan, gluten-free

Fruit & Almond Kale Salad with Clementine-Maple Dressing
Fruit & Almond Kale Salad with Clementine Maple Dressing
Another yummy kale salad option. This one is packed with lots of nuts and seeds, making it a nice filling salad for those who may skip out on the turkey or for your health conscious dinner guests.
*vegan, gluten-free if you sub tamari for the soy sauce
DESSERTS

Luscious Pumpkin Mousse Pie
Coconut has become a best friend in the Laugh, Cry, Cook kitchens. Even though my mom eats dairy, she too is hooked on the wonders of the cold cream from a full-fat coconut milk. Whip it into a whipped cream topping, use it for a yummy pumpkin pie dip (see the snacks and apps), and even make this Luscious Pumpkin Mousse Pie with it. Don’t even bother telling the guests it’s vegan…they will NEVER know. We think it may be the best pumpkin pie either of us have ever had.
**vegan

Butternut Squash and Pumpkin Bread Cobbler
Pumpkin Spice Butternut Squash Cobbler
A grown-up autumn twist on an old easy summer favorite that called for a can of peaches and a yellow cake mix. This version uses butternut squash and pumpkin spice bread mix instead.
**vegan

Healthy Apple Crisp
Buttery, not-too-sweet, crunchy and rustic. It has no refined sugars, but is made with natural coconut sugar and tad of pure maple syrup. The topping has no flour: it is all oats and nuts and seeds, giving it a fabulous crunchy texture. It is loaded with fiber and protein, a comforting autumn dessert, and healthy enough to serve the next day for fruit-nut breakfast oatmeal – re-heated and served with a little milk, cream or almond milk.
**vegan, gluten-free w/ gf oats

Warm Chocolate Coconut Almond Cake
A vegan version of a German Chocolate Cake that my mom keeps bragging about. Mom, can I make this my official request for this to be served at our Thanksgiving? Thank you! 🙂
**Vegan
Honorable Mention Desserts:
We have so many yummy desserts, but this post is getting super long, so I’ve just linked to a few more worth checking out.
Refreshing Mandarin Orange and Pineapple Cake (vegan friendly)
No Bake Apricot Bars (vegan, gluten-free)
Blueberry Oat Nut Bars (vegan and gluten-free friendly — see Rachel’s variation in the comment section)
Coconut Covered Cherries (vegan, gluten-free)
Powerhouse Chocolate Pudding Pie (vegan, gluten-free option)
Pumpkin Cookie Butter Cookies (vegan)
Superfood Hemp Chocolate Treats (vegan w/ vegan chocolate)
BREAKFASTS
Yes, breakfast is still the most important meal of the day…even on Thanksgiving. No one wants the cook to pass out from low blood sugar levels in the middle of prepping dinner.

Kinda’ Healthy Vegan Apple Fritters
Kinda’ Healthy Vegan Apple Fritters (vegan)
Sweet Pecan Pie Breakfast Oatmeal (vegan, gluten-free friendly)
Healthy Cinnamon Raisin Oatmeal (vegan, gluten-free friendly)
Some hints for cooking for vegans
Some of your favorite dishes can be easily modified for a vegan guest if you just know a few tricks.
Eggs: 1 T. of flax meal mixed with 3 T. of warm water will gel up in a few minutes and can be used as an egg substitute in most baked goods. 1/2 a banana also usually works in sweet breads or muffins.
Butter: Earth Balance is a delicious vegan butter substitute. In fact, if you already use margarine, you’ll hardly notice a difference int the taste. It is readily available at Whole Foods and Krogers here. My small town Wal-Mart even started carrying it.
Milk: Unsweetened almond milk is my favorite substitute for most of my cooking. It has a very mild taste so it doesn’t overpower a dish. Soy milk seems to have the best results for baking cakes and cupcakes though I usually use almond milk anyway because it’s what I have on hand.
Buttermilk: Add 1 T. of vinegar or lemon juice to 1 c. soy milk (soy does work best for this trick) and let sit for about 10 minutes. (FYI, this trick happens to work with cow’s milk too, if you don’t have buttermilk on hand and aren’t dairy-free.)
Meat: Don’t assume that the vegans in your life will be thrilled with a fake chicken breast as their main entree. Some will, but many of us, especially the ones who technically try to follow a plant-based diet, don’t actually eat many of those processed fake products. I have found a few that I like: Field Roast Applewood Sausages are my favorite meat substitute. They are GMO and soy-free and taste delicious. I’ve used the Chick’n Strips a few times too and those are pretty good on a pizza or something. Whole Foods has a Chick’n Salad in their deli that is quite good. I like cooking with tofu, but it’s taken me some time to learn how to make it taste good. Really, you don’t need fake meat or even soy to have a filling meal. Lentils, split-peas, chickpeas, and beans are all healthy filling options and can easily replace the meat in a lot of recipes.
Cheese: Vegan cheese substitutes are getting better and better all the time. Daiya is the most common shredded cheese substitute. It’s pretty good. We like it on our pizza. Though I don’t think it will fool anyone into thinking it’s real cheese. There are also cream cheese and sour cream substitutes that are pretty good, especially if used in a recipe or dip. I have a recipe on the blog for Nacho Cheese using cashews and sunflower seeds. The cashew cheese for the macaroni (above) could be used for any other casserole type dish as well. Their are also lots of recipes online for different cheeses, like ricotta cheese or parmesan. One of our readers even left a tip that you can make your own sour cream and cream cheese. If you can think it, some food blogger has probably blogged it. 🙂
I hope you find this helpful as you prepare a Thanksgiving meal that includes all the different palates in your family at one table. May the food join your family together in love and respect for one another. May we all honor each other and our differences on this day of gratitude and thanks.
Honey & Lime Tortilla-Sopapillas
Posted: November 1, 2012 Filed under: Desserts, Fruit Dishes, Mexican Dishes, Snacks, Uncategorized, Vegan, Vegetarian | Tags: bananas, brown sugar, dessert burrito, dessert tortillas, honey, lemon, lime, raw sugar, sopapillas, sugar, tortillas Leave a comment
(Becky, the Mama.)
Sometimes the simplest things really are the best. I call this recipe Vacation Sopapillas because I usually have the ingredients lying around the condo or timeshare. If I were a person of the camping persuasion (which I am not), I would definitely be cooking these babies up around the campfire, using an iron skillet. Hopefully, however, I’ll never be forced to do that. My husband bought me this greeting card, and truer words have never been spoken.

I also call these my Vacation Sopapillas because they are so ridiculously addicting that I don’t allow myself this treat on a regular basis. So I try to only make them on vacation. Seriously, if you cook these… try to eat just one and let me know if it is humanly possible.
This is a recipe you can throw together with minimum mess in a couple of minutes, just for little ol’ marvelous you. Since they are best eaten fast and warm, I don’t even try to serve these to a crowd. This a gift you give to yourself, and maybe, just maybe, one other person who you love very, very much.
The trick is to use uncooked tortillas. If you’ve never tried them, boy, are you in for a treat. You’ll never go back the pre-cooked varieties again. The brand I like best is called Tortilla Land (click link for $1.00 off coupon) and typically you find them in the refrigerator section of Costco and sometimes Sam’s or Wal-mart. If I can’t find this brand of tortillas, however, it seems I can almost always find Guerrero brand (click on link for $1.00 coupon) which are soft semi-cooked tortillas, and they are not refrigerated. They just hang out on the shelves with the other regular tortillas in almost any major grocery store. Be sure to look for the yellow packaging (as pictured below); they should look very thin, not quite cooked all the way.
The beautiful thing that happens when these uncooked or semi-cooked tortillas hit a very hot skillet with a little olive oil/butter is that they puff up, very much like a big sopapilla. Only without all the work and the frying. My favorite version of these tortilla sopapillas is simple. After cooking I quickly slather it with a little butter, honey, a squeeze of lemon or lime, and light sprinkle of raw sugar. To eat it – you can tear it up in little pieces; roll it up enchilada style; or cut it in fourths, bending it in half, and eating it the way Italians eat flexible pizza.
For variety, I also like filling the puffy tortillas with sliced bananas that have been gently cooked in a skillet with a little butter and brown sugar. Then I roll it up like a burrito and drizzle with a bit of honey. Cooked apples with cinnamon and sugar make a fabulous filling as well. The only limits to this simple recipe is your imagination.


Lime & Honey Tortilla-Sopapillas
Ingredients:
1 raw or semi-cooked tortilla (Tortilla Land brand or Guererra preferred)

1 t. olive oil
2 t. soft butter (vegan butter for Vegans)
2 t. honey
small squeeze fresh lemon or lime
1 t. raw sugar
Instructions:
Put 1 t. olive oil and 1 t. soft butter in a hot skillet, and stir until blended. Put one uncooked tortilla in the pan. When it puffs up and browns on one side, flip it and brown the other side.

Immediately put tortilla-sopapilla on a plate, spread with butter, then honey, a quick squeeze of fresh lime and a sprinkle of raw sugar.

For banana sopapillas: slice one small banana and put in a skillet with a teaspoon of butter and a teaspoon of brown sugar. Stir just until bananas are warm and absorb butter and sugar. Proceed as above, only fill the tortilla with warm banana slices, roll like a burrito and serve with a little more honey. Eat with knife and fork. A dollop of ice cream and sprinkle of cinnamon couldn’t hurt either.

This was printed from: We Laugh, We Cry, We Cook
The site URL: http://welaughwecrywecook.com
The Title: Honey & Lime Tortilla-Sopapillas
The URL: http://wp.me/p1UwM9-Mz
This was printed from: We Laugh, We Cry, We Cook
© Copyright 2012 – All Rights Reserved


