
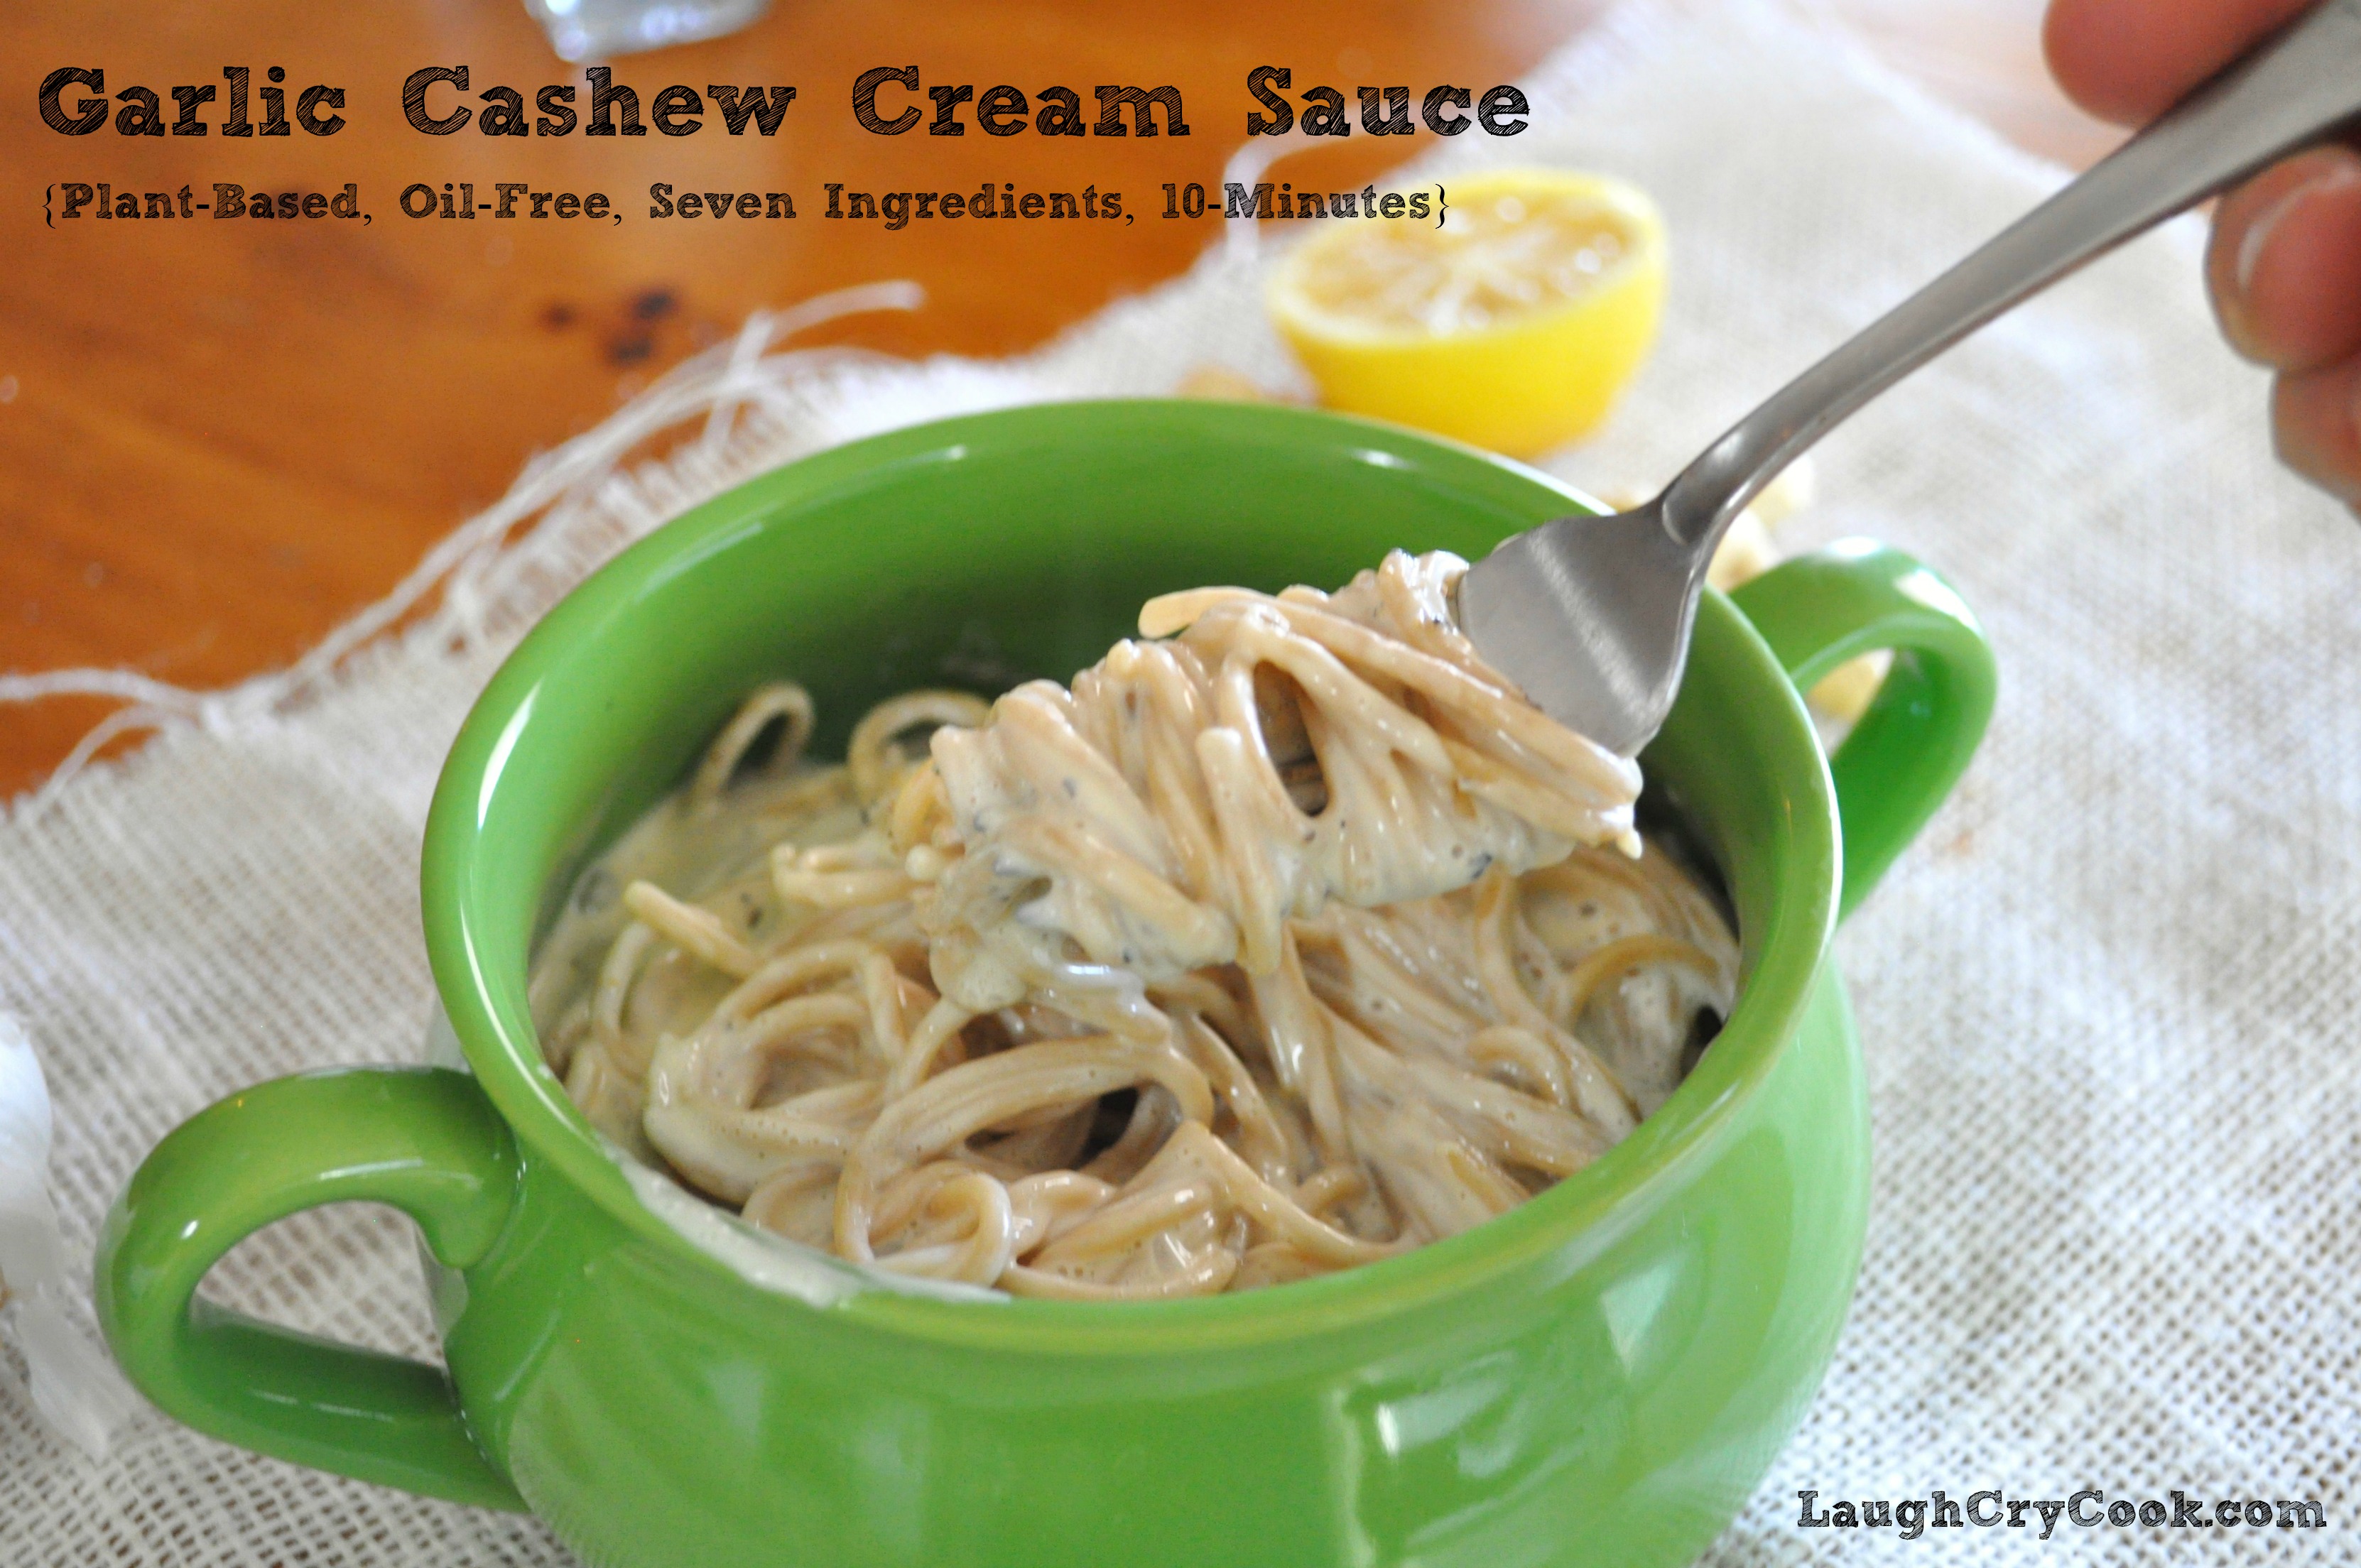
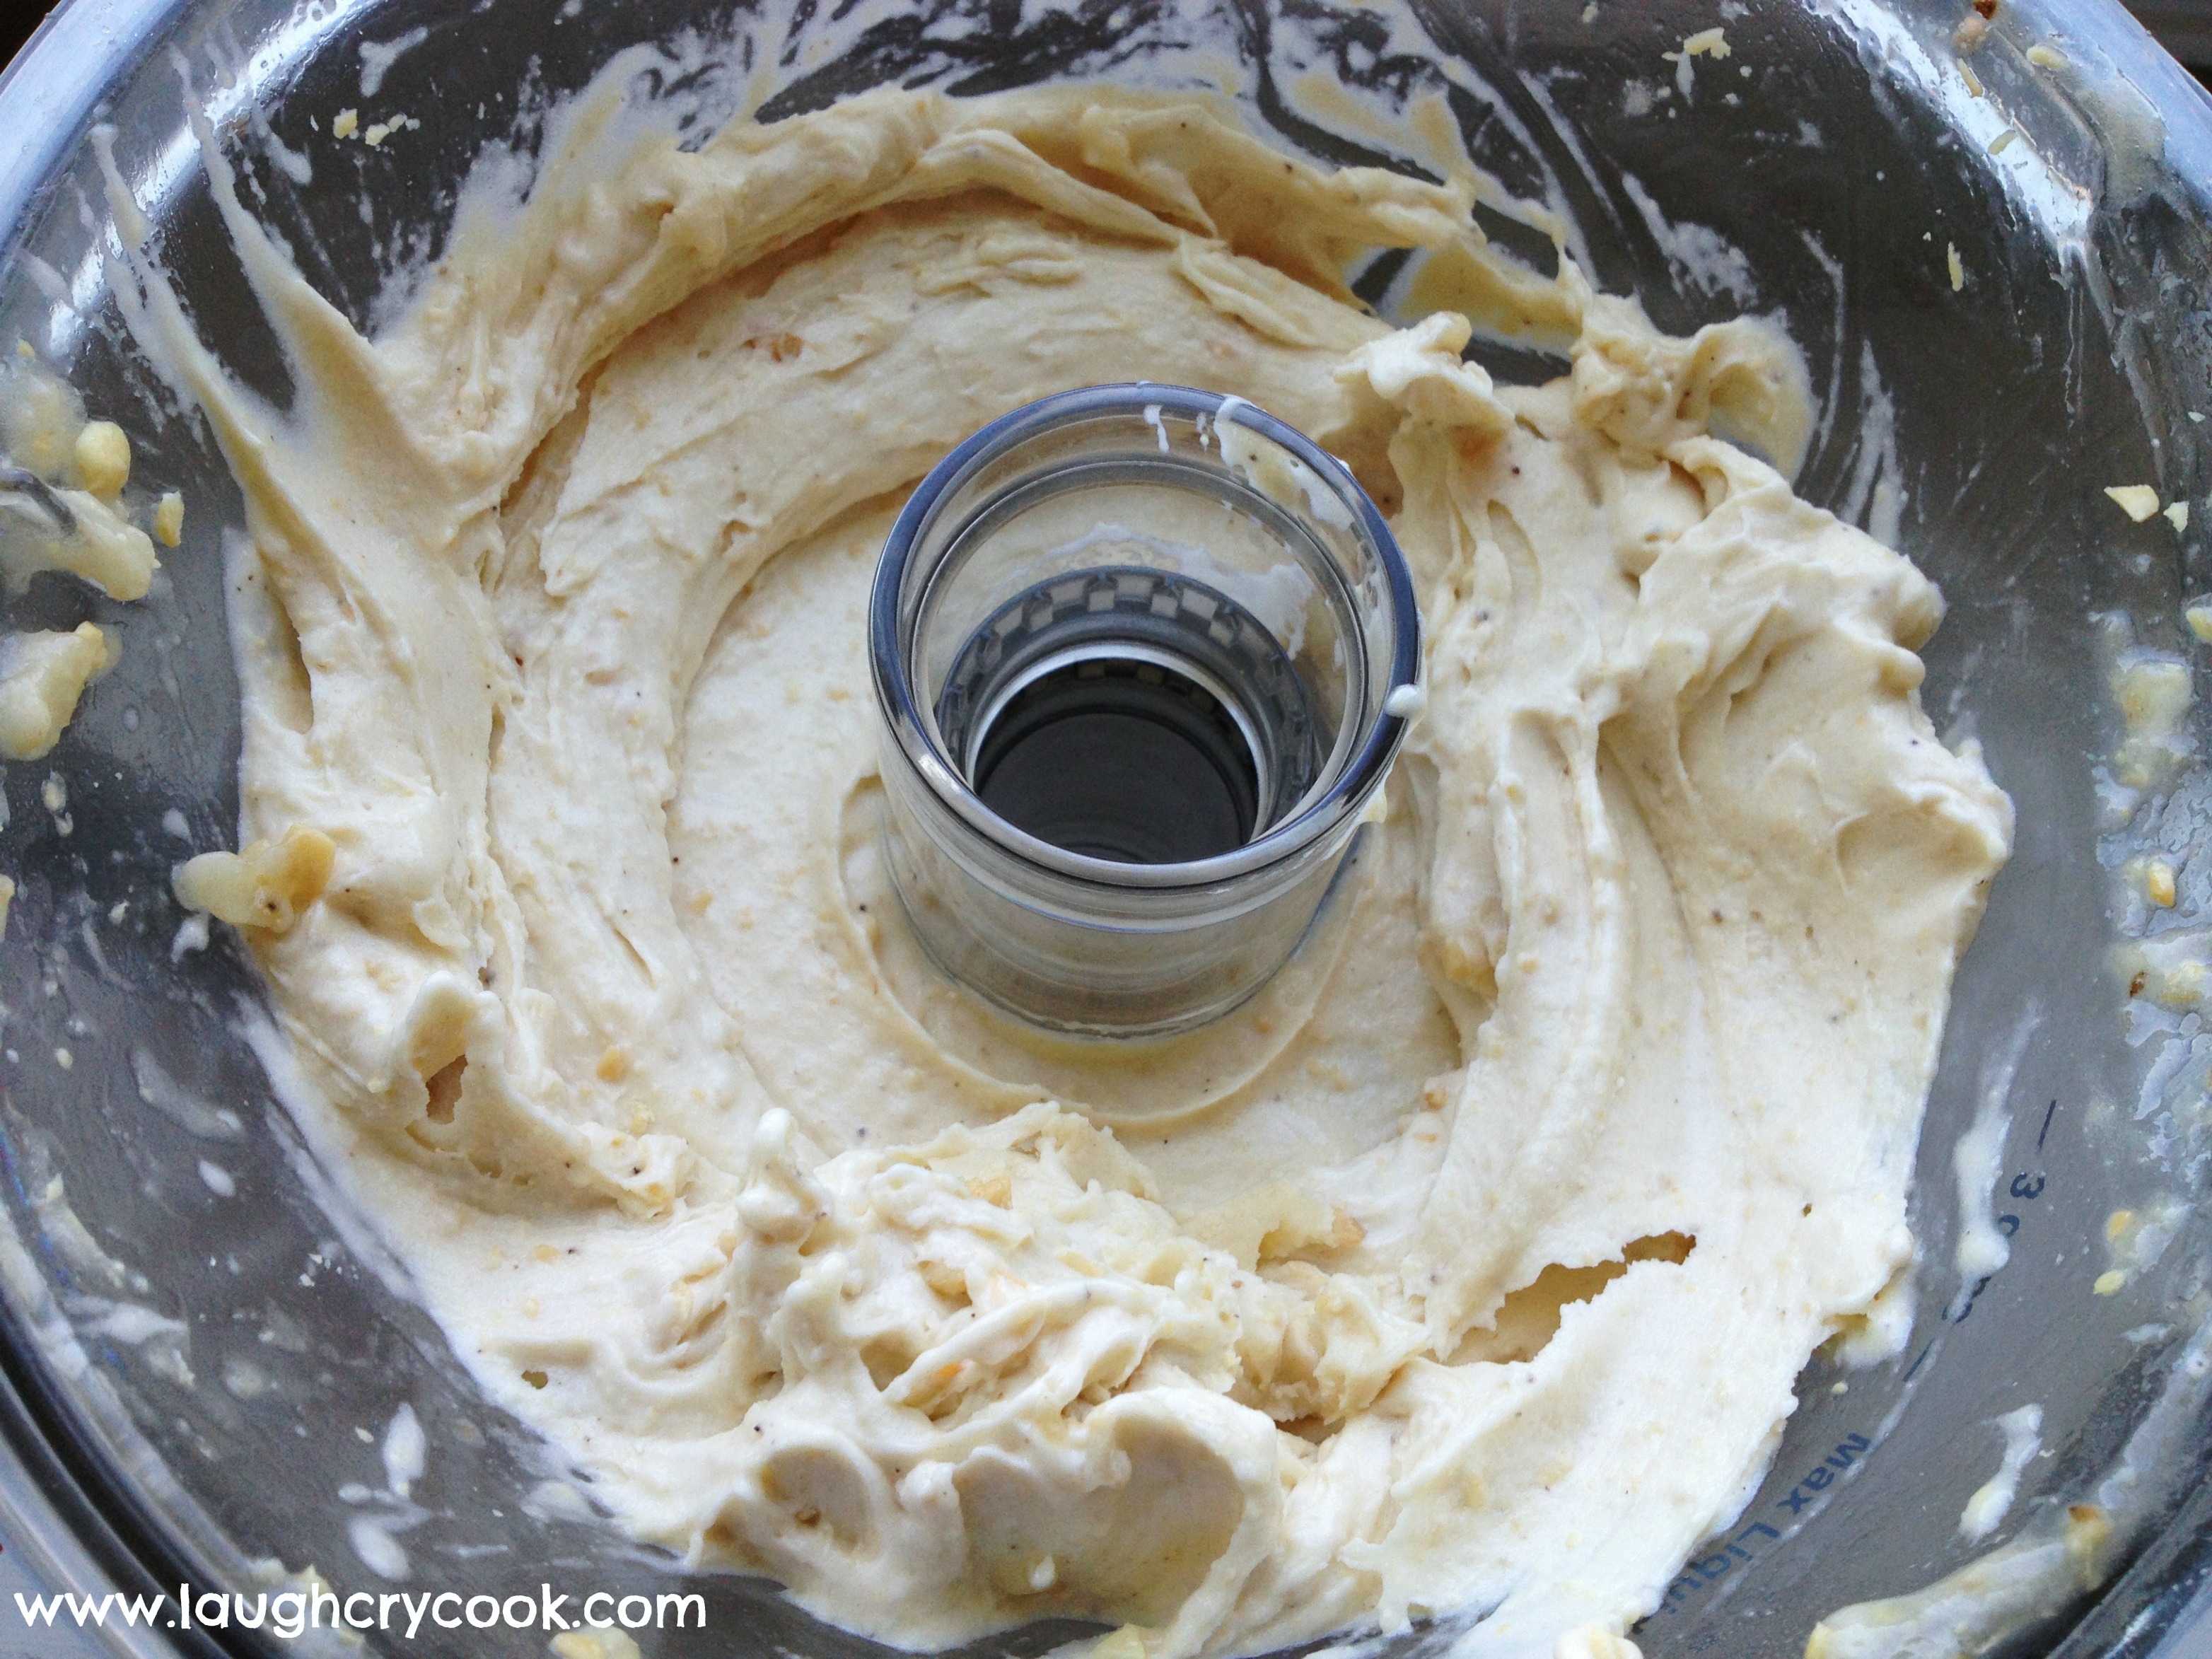
Garlic Cashew Cream Sauce (oil-free, vegan, plant-based)
Posted: January 9, 2014 Filed under: Italian, Main Dishes, Pasta, Sauces and Dressings, Toddler-Approved, Uncategorized, Vegan, Vegetarian, Vitamix | Tags: dairy-free cream sauce, garlic cashew cream sauce, oil-free italian dish, plant-based pasta sauce, vegan alfredo 2 Comments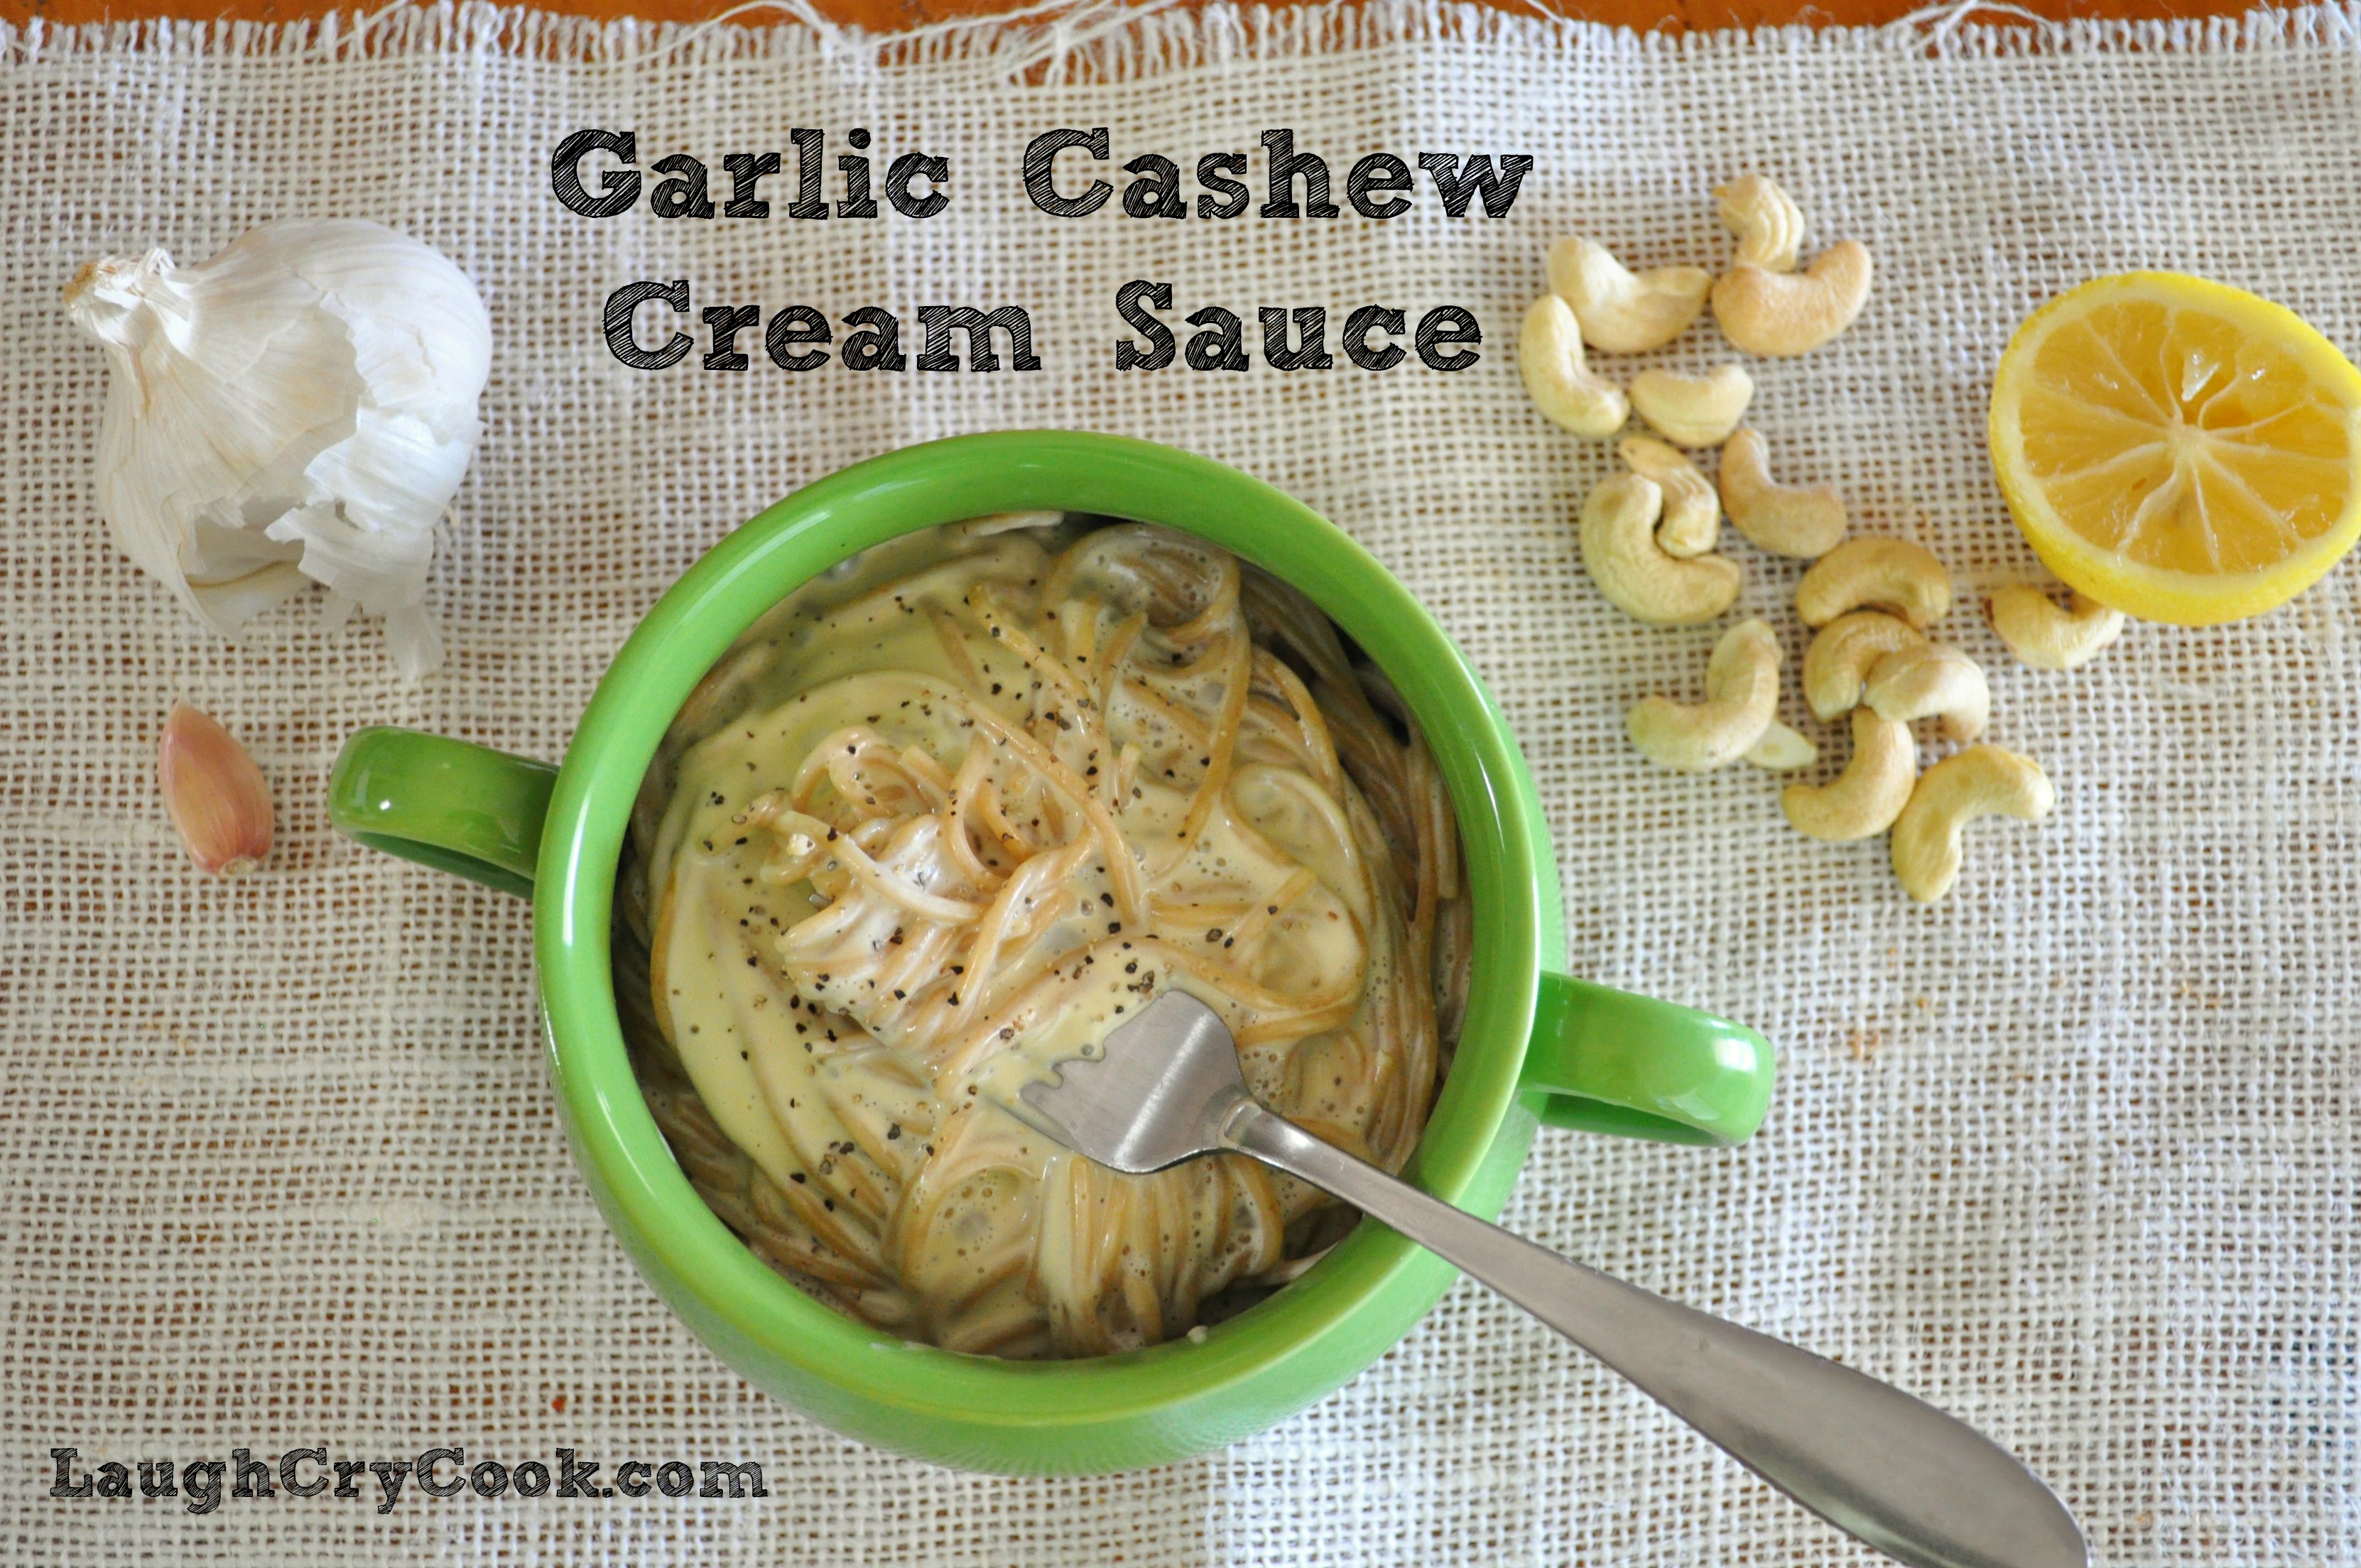
When I worked at the Olive Garden in college, the biggest temptation was the bread drawer, the place where the fresh-out-of-the-oven garlicky bread sticks keep warm until they are to be swaddled in cloth like little dough baby Jesuses and placed in a basket, then delivered to anxious guests alongside a family-sized salad with large clumsy tongs.
Here’s a little server secret: to maximize your salad and breadstick dining pleasure, don’t bother asking for extra dressing or scooping up the last bit swimming at the bottom of the salad bowl. The real indulgence comes in dipping them into a boat of alfredo sauce, it’s a combination you won’t long forget. And the only thing it will cost you is $2.50, 380 calories and 35 grams of fat! Yeah sorry….total buzz kill. But good news is ahead.
This morning, an idea for a simple garlic cream sauce recipe popped into my head. It sounded so easy that right there at 10am, I whipped it up in my Vitamix. And when I opened the blender top ten minutes later, the steaming creamy sauce brought me right back to my shifts at the OG. The smell of garlic filling the air as you opened the bread drawer and winked to the cook for a little ramekin of alfredo. The combination so naughty, yet so irresistible. Hungry servers gathered around to share the quick indulgence, all the while looking out of the corner of our eyes to make sure a manager wasn’t swinging through the kitchen door or the skinny girl with self-control wasn’t looking down on us with judgement.
Somehow this sauce captures that naughty thrilling indulgence – the taste of garlic and cream dancing on your tastebud – but it’s oh so right in so many ways. No oil, no dairy, no cholestorol, just healthy fats from cashews. And with a rich creamy sauce like this, who really needs a refined white flour breadstick to dunk in it? Serve it over whole wheat pasta or vegetables or dip your favorite toasted whole grain baguette in it and you’ll be every bit as satisfied. It’s mind blowingly delicious and the easiest cream sauce I’ve made yet. I see many spin-offs of this in my future. Add a little cayenne for some heat, roast the garlic, garnish with some basil to brighten it up for spring, maybe even add some spinach and artichokes and cook it down to a thick appetizer dip. Oh the potential!
Note: I did not pre-saute the garlic, so it has a little bit of that raw garlic bite…that will stay the evening with you. I am a sucker for garlic, but if you like your garlic a little more milder and not as an overnight guest, then you may want to mince and saute it in a touch of water or olive oil before adding it in.
Garlic Cashew Cream Sauce
Recipe from http://www.laughcrycook.com
Makes enough for 16 ounces of cooked pasta (about four large servings)
1 cup raw cashews
1/4 cup nutritional yeast (available at health markets)
1/4 – 1/2 teaspoon salt
2 large or 3-4 small garlic cloves
2 teaspoons cornstarch (flour will probably work too, but you’ll probably need 3-4 teaspoons)
2 cups milk (I used unsweetened almond milk)
4 teaspoons lemon juice
Vitamix or High-Speed Blender Directions
1. Blend cashews, nutritional yeast, and 1/4 teaspoon of salt into a powder. Scrape corners down.
2. Add garlic, cornstarch, 1/2 of milk. Blend until combined.
3. Add remaining milk and blend on high speed until hot and steamy (about five to seven minutes) and to the thickness desired.
4. Blend in lemon juice and check for seasoning. Add more salt if desired.
5. Serve over pasta or vegetables or as a dipping sauce for bread. Sprinkle individual servings with a touch of pepper.
Vitamix is having a sale on their reconditioned models this month (January 2014). I bought the standard reconditioned model in November when they had the same sale and have officially fallen into the “How did I ever live without it?!” camp. You can use the code 06-009318 at Vitamix.com to get free shipping and to help support Laugh, Cry, Cook.
Food Processor/Stove Top Instructions
1. In a food processor blend cashews, nutritional yeast, and 1/4 teaspoon of salt into a powder. Scrape down sides as needed.
2. Mince garlic finely or use microplaner to grate into food processor.
3. Stir cornstarch into 1cup of milk. Add to food processor and blend until well combined.
3. Add remaining milk. Blend again.
4. Transfer to stovetop sauce pan and heat on medium to medium high, stirring often until it is heated through and reached the desired consistency (like a thick alfredo sauce).
4. Stir in lemon juice and check for seasoning. Add more salt if desired.
5. Serve over pasta or vegetables or as a dipping sauce for bread. Sprinkle individual servings with a touch of pepper.
Roasted Butternut Squash Mole Enchiladas
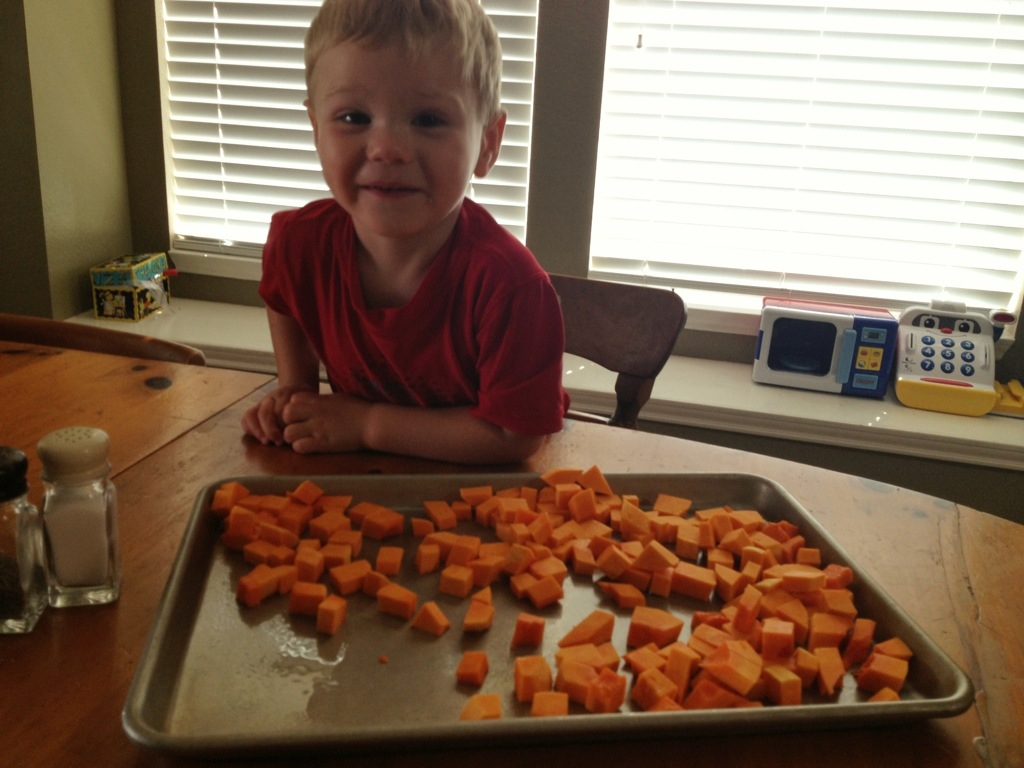
Posted: October 30, 2013 Filed under: Gluten Free, Main Dishes, Mexican Dishes, Toddler-Approved, Uncategorized, Vegan, Vegetarian, Veggies | Tags: Gluten-Fre, mole sauce, raisins, Roasted Butternut Squash Enchiladas, vegan, vegetarian 2 CommentsPeople often ask me how I cook with Jackson around. In We Laugh, We Cry, We Cook, I wrote about how cooking with him was kind of like cooking on an obstacle course. For a long time, that was what it felt like. But recently, I realized at this stage–the two’s–cooking with him is one of the easiest things on my to-do list to accomplish with him around. Not easy…but it’s something he’s come to feel at ease around. It’s kind of “our” thing.
I left him with a friend the other day for a few minutes and when I returned she shared this little conversation they had.
Sarah: Do you have a dog?
Jackson: No, I have a mommy.
Sarah: Oh, well that’s almost as good as a dog.
Jackson: Yeth, I cook with mommy.
Well, there you have it. Dogs don’t make very good cooking companions for kids, but mommies are very good for that.
My other to-dos don’t have the same smiley affect on him. Writing with him around. Yeah right. Phone calls. Let’s just say, the last conference call I was on with our editor, I had to muffle the phone while I hollered, “Jackson, don’t stick your head through the fence” and then again while he hollered, “Noooooo! Don’t wipe meeee!” as I was trying to discreetly potty train mid-call.
Cooking is mostly a piece of cake…because he can participate, he can be a helper. And even when he can’t help with something like chopping onions, he’s still content because we’re together and I’m talking to him, not somebody else on the phone or looking at a computer screen.
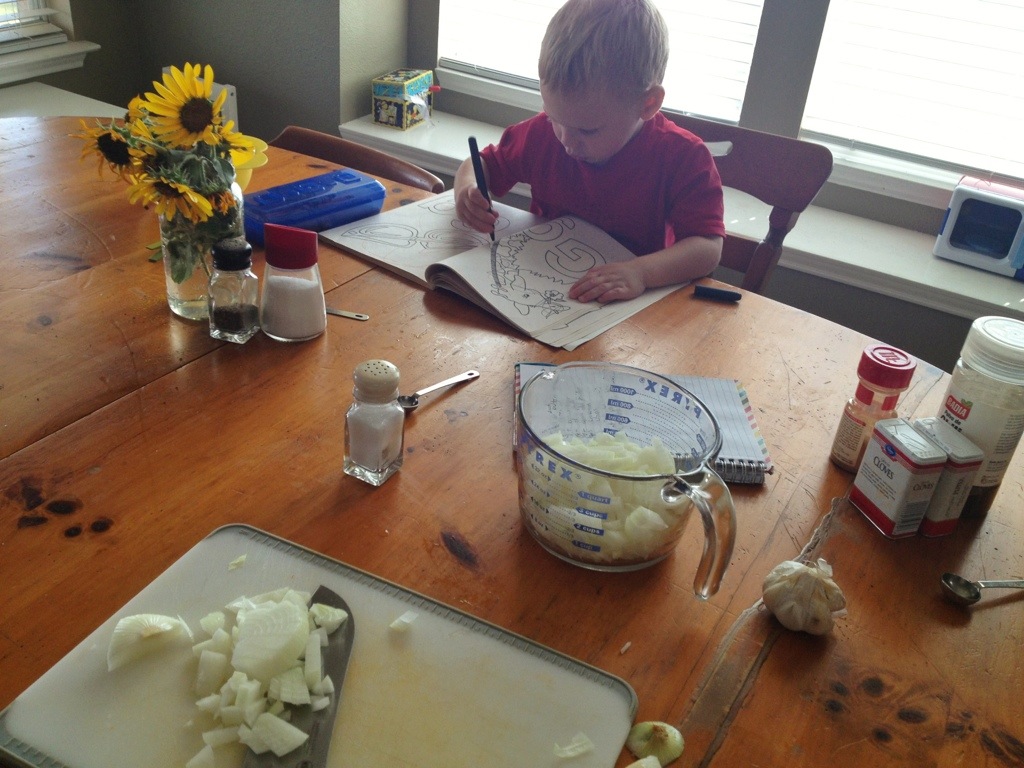
And with a little creativity, there’s almost always a way to get a child involved in the cooking if they want to be.
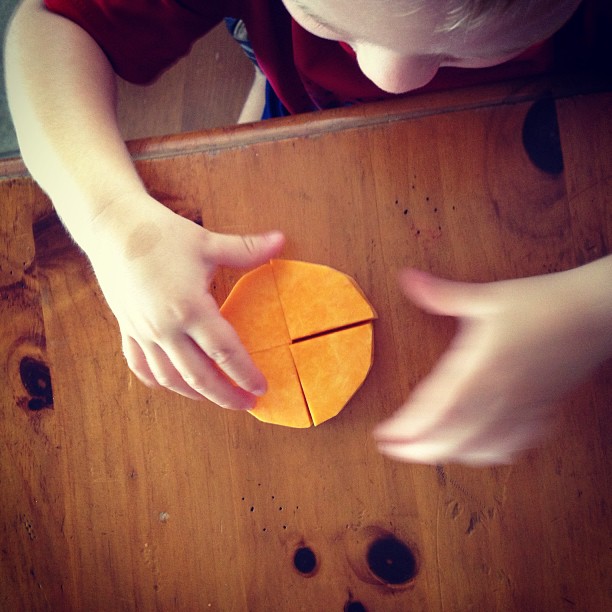
I don’t cook every day, but the days I do, the moments we are in the kitchen together, are often the moments we enjoy the most. The kitchen is a place where our lives intersect, where my almost 30-year old female joys and interests cross with my two-year old little boy’s interests. I don’t have to pretend that the lego tower we just built is the tallest most amazing piece of architecture I’ve ever seen. He doesn’t have to be patient with me as I make a quick call or pick up groceries. The smells of cloves and cinnamon, the colorful block puzzle from butternut squash, the sound of the blender engine purring excite us both. We don’t have to pretend. We just have to be. Together.
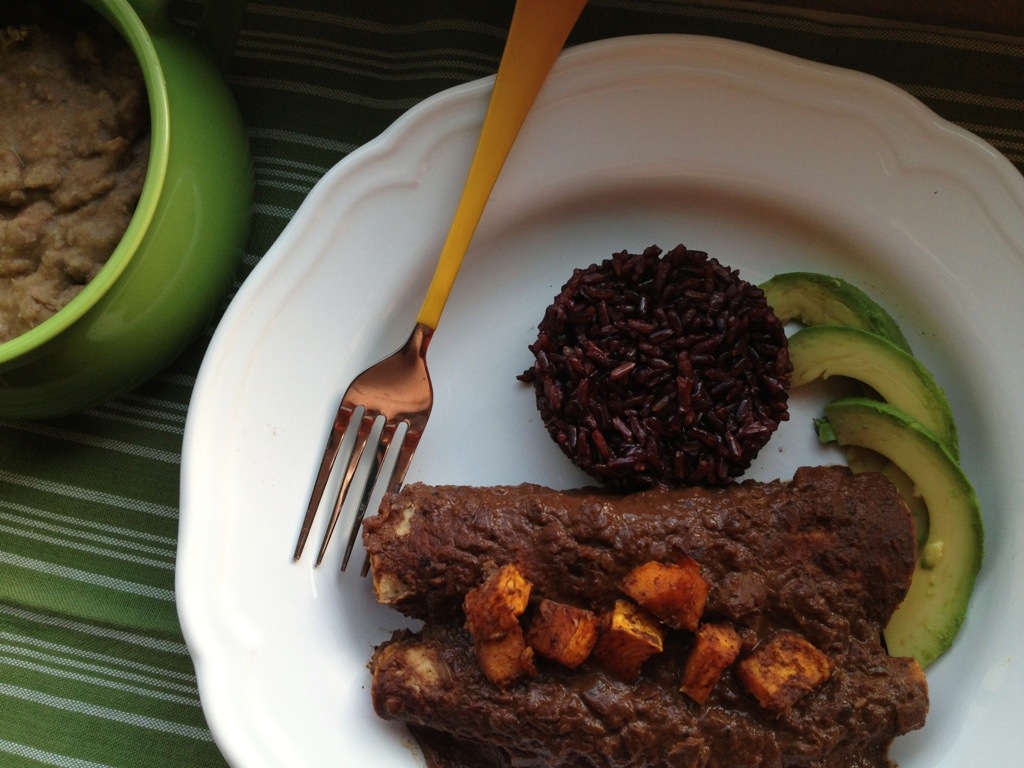
Roasted Butternut Squash Mole Enchiladas
Serves 4
5 cups diced butternut squash
1 tablespoon oil (canola, olive, grapeseed)
1 teaspoon brown sugar
1/4 teaspoon chili powder
1/4 teaspoon cinnamon
8-10 corn tortillas
1/2 cup raisins, soaked for 10 minutes in warm water and drained (optional)
2 cups Mole Sauce (I used this easy recipe from Vegetarian Times)*
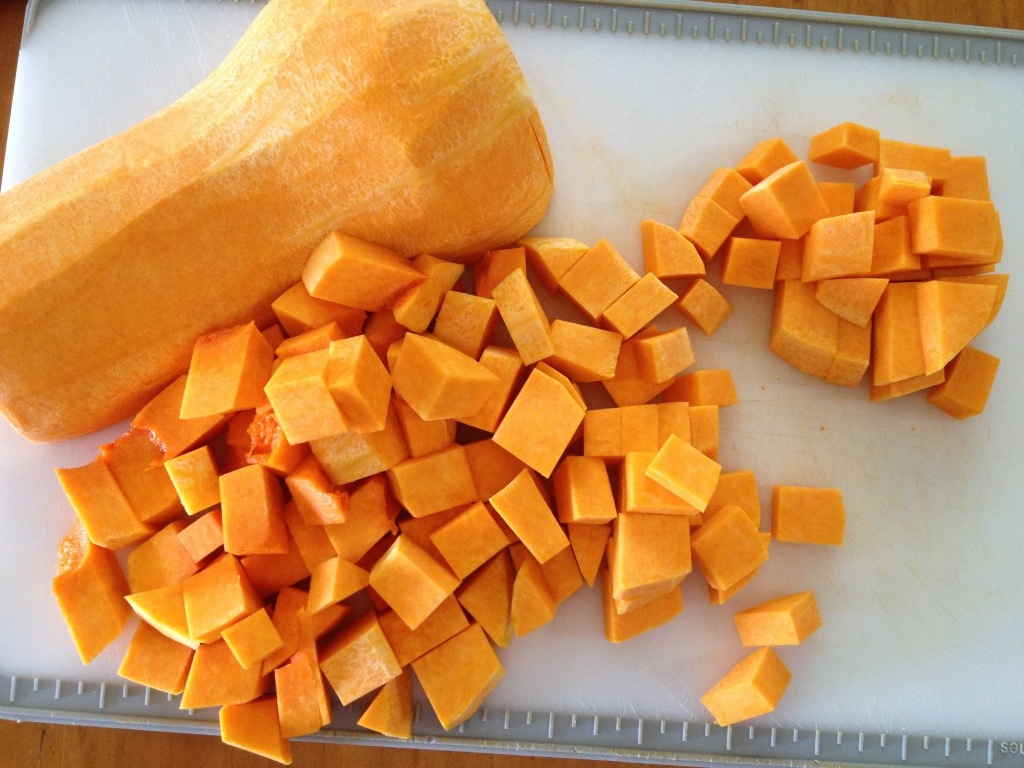
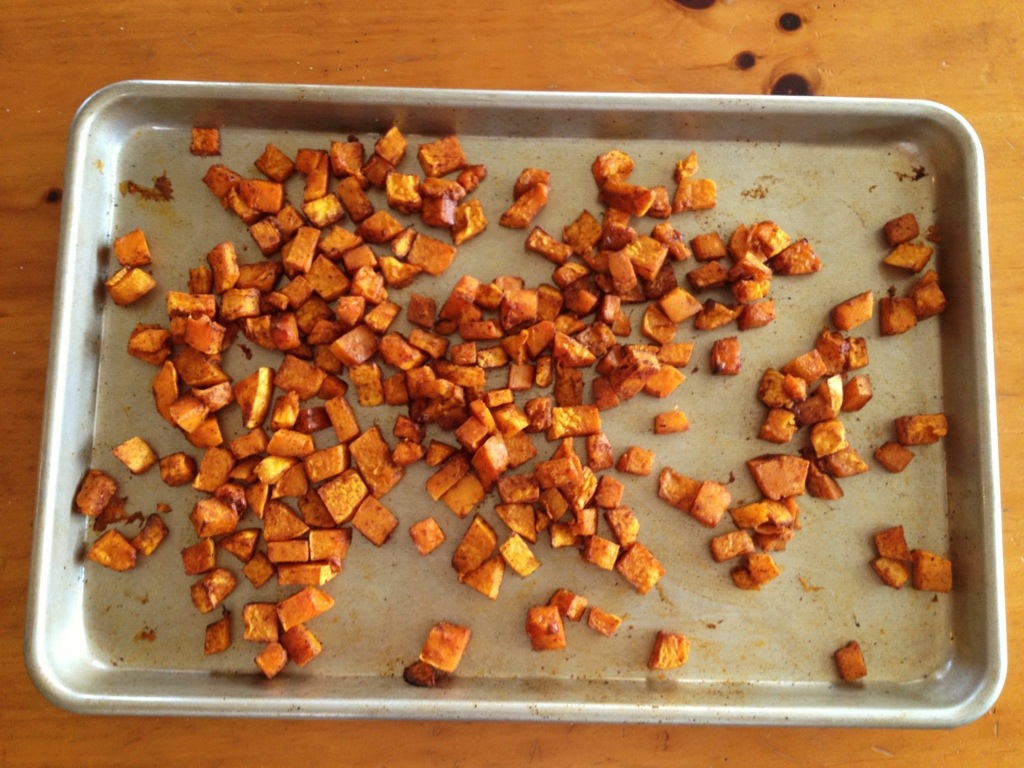
Preheat oven to 400. Toss butternut sqaush with canola oil, brown sugar, chili powder, and cinnamon. Bake at 400 for 20 minutes or until tender and cooked through. Resist temptation to eat all the squash now.
Reduce oven temp to 350. Ladle 1/2 cup mole sauce into bottom of a 9×13 casserole dish. Wrap corn tortillas in a damp paper towel and heat in microwave for about 30 seconds, just enough to warm them up and make them pliable. Dip corn tortilla into mole sauce. Fill with about two tablespoons of butternut squash and a sprinkle of raisins. Roll up. Repeat. Ladle a generous amount of sauce on top. Bake at 350 for 15 minutes.

I didn’t put the raisins in when I took pictures, but I should have! I added them to the top and it really made the dish, so I incorporated them into the final recipe.
Serve with black or wild rice. The nuttiness from the black rice went perfectly with this dish.
*I blended half of the sauce this time. I think I’d leave it unblended next time though, because it was a lot prettier unblended.
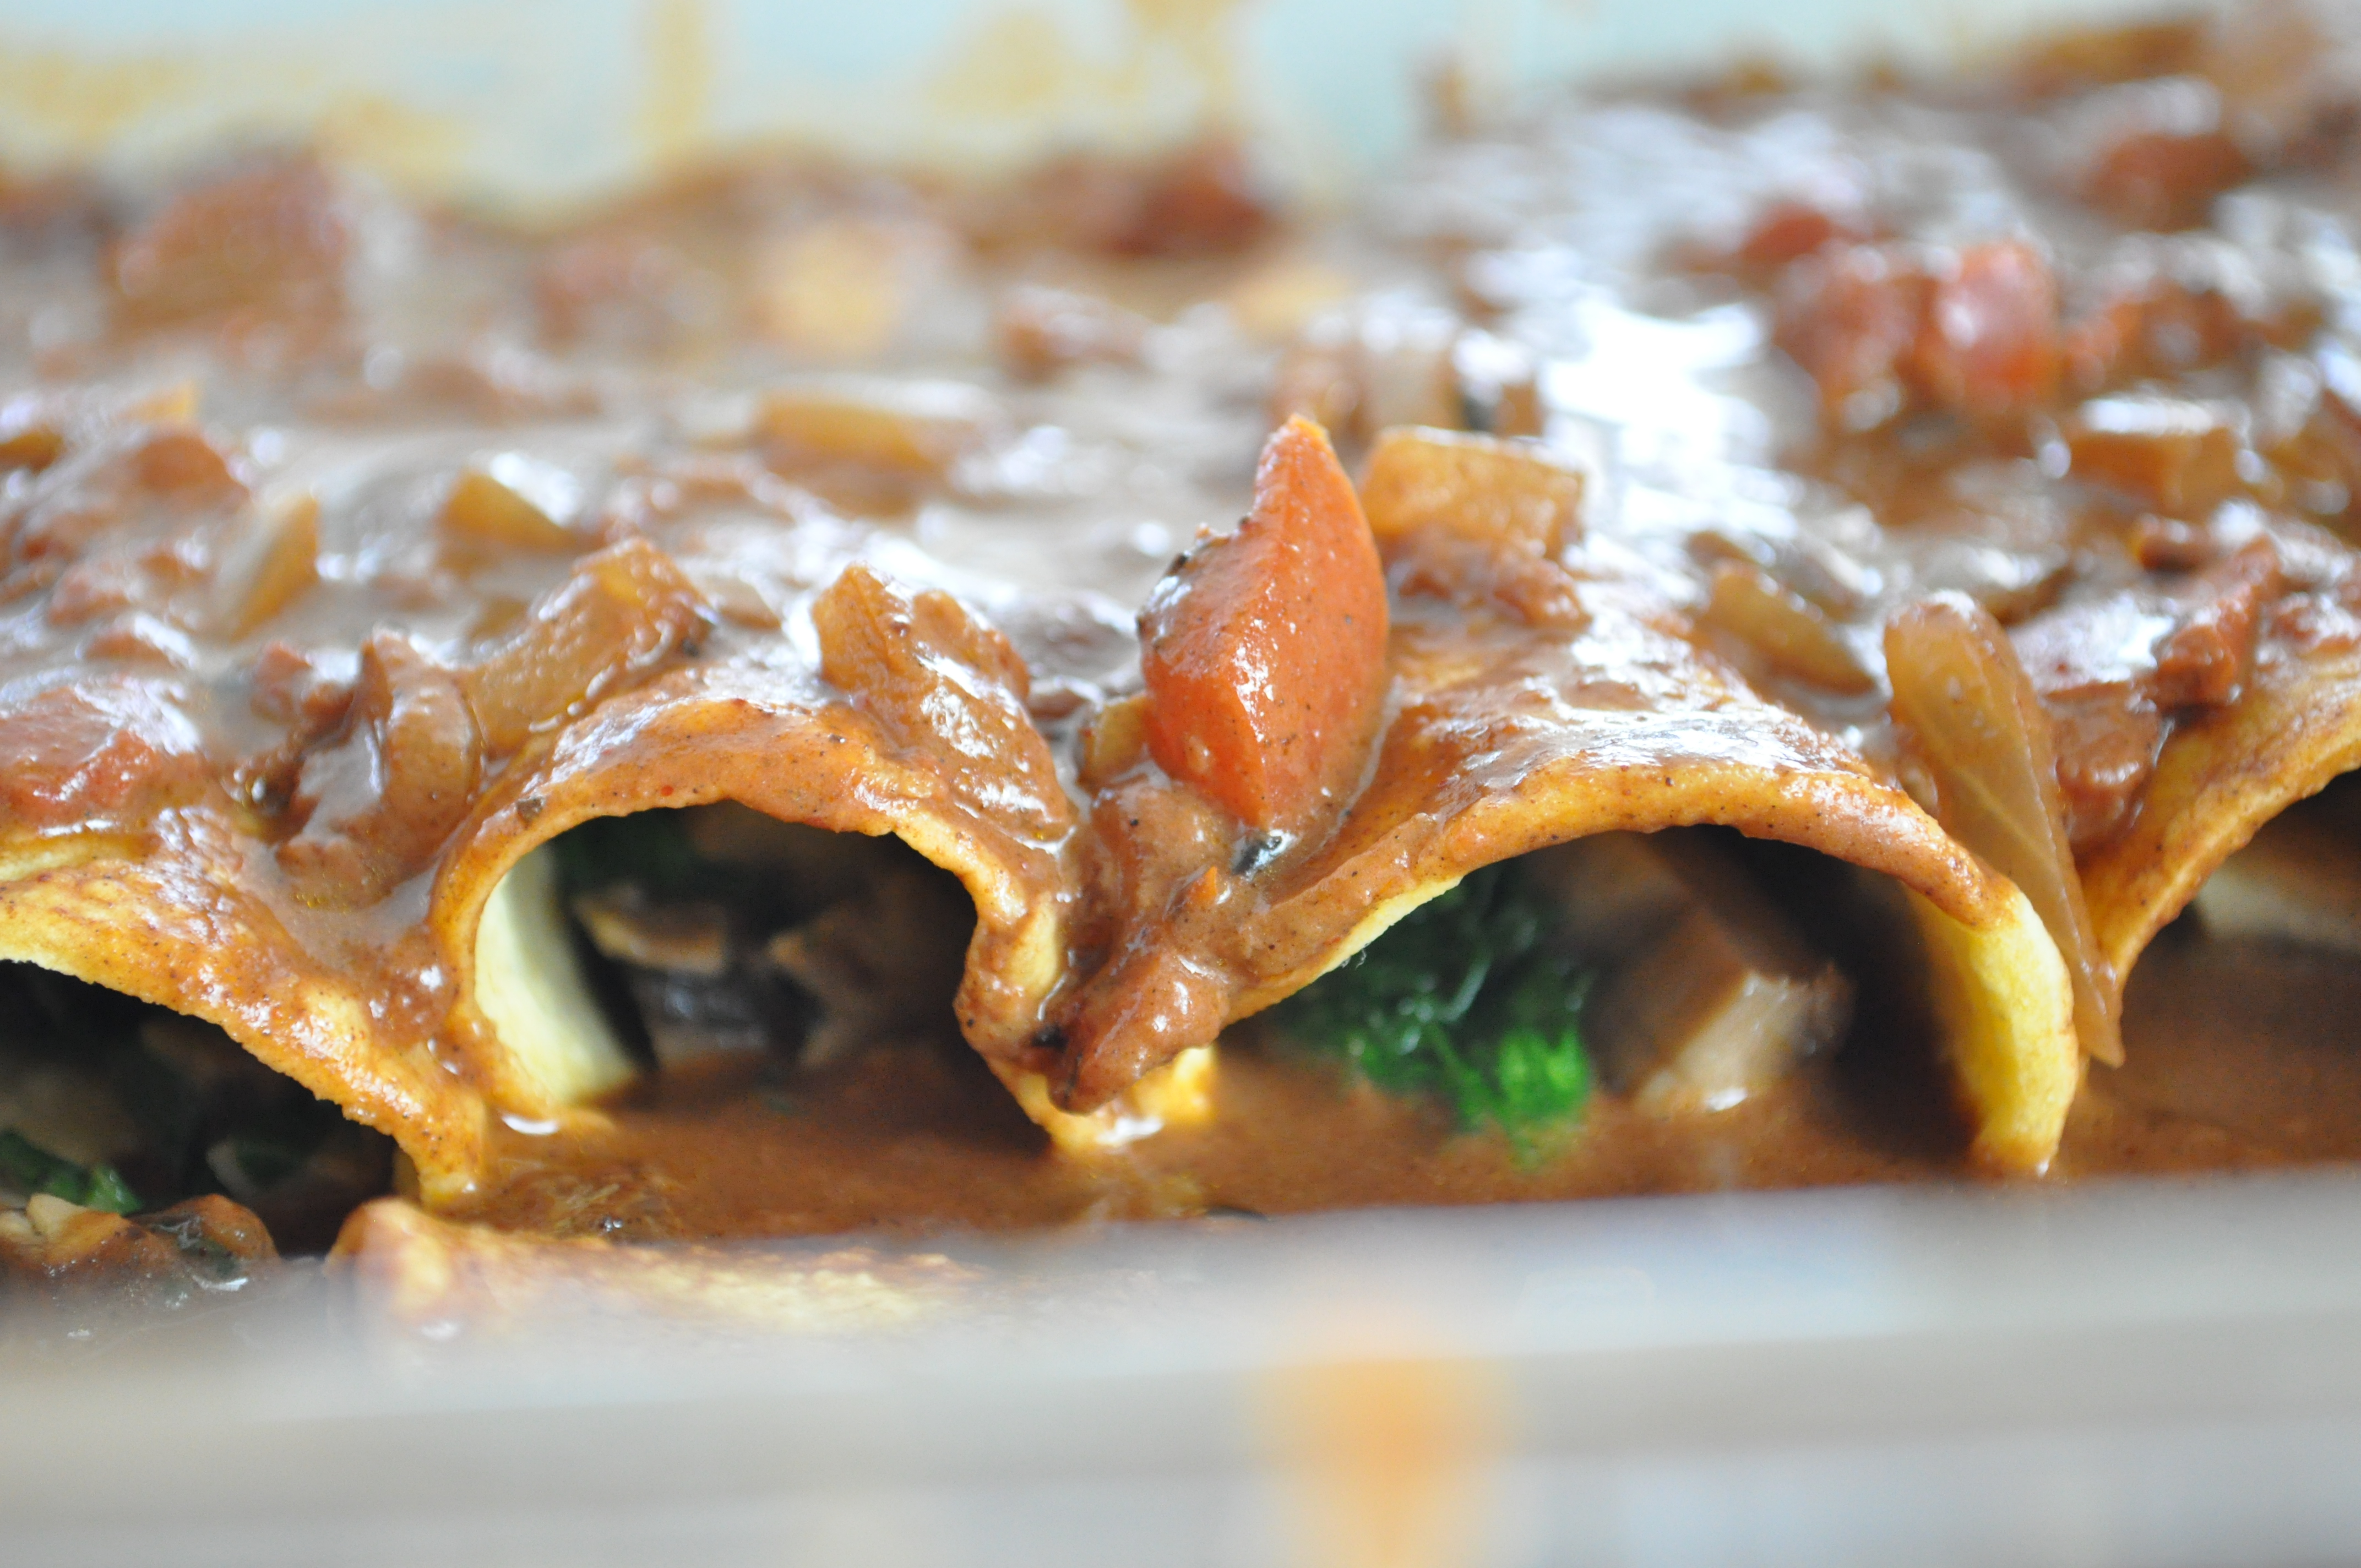
Same sauce unblended on spinach and mushroom enchiladas. Much much prettier, eh?
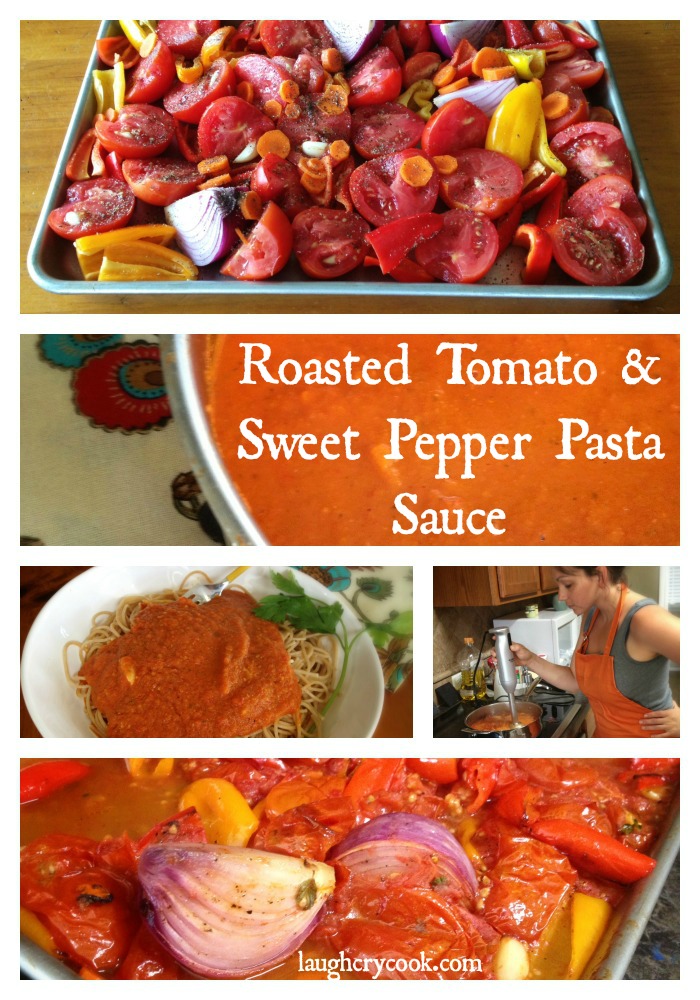
Roasted Tomato and Sweet Pepper Pasta Sauce
Posted: June 25, 2013 Filed under: Gluten Free, Italian, Main Dishes, Pasta, Toddler-Approved, Vegan, Vegetarian, Veggies | Tags: Garden Tomato Recipes, Roasted Pepper Tomato Pasta Sauce, Roasted Tomato Sauce 2 Comments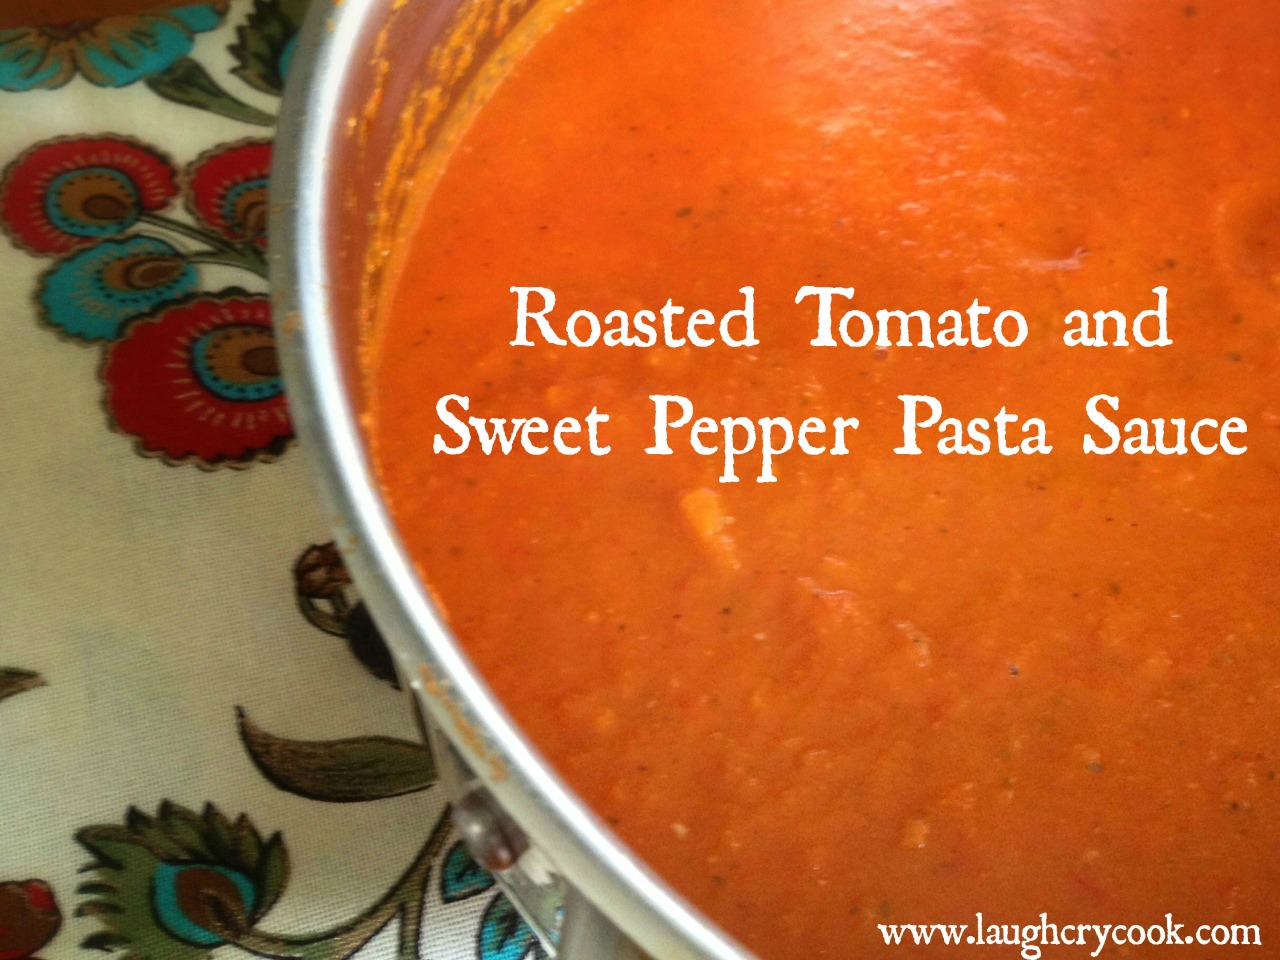
There comes a time in every gardener’s life when they ask themselves, “What am I going to do with all these tomatoes?” And until that day comes for me, I will pull up my dead plants with my black thumbs, quietly curse those gardeners under my breath, and smile graciously when they offer up some of their overwhelming bounty to me.
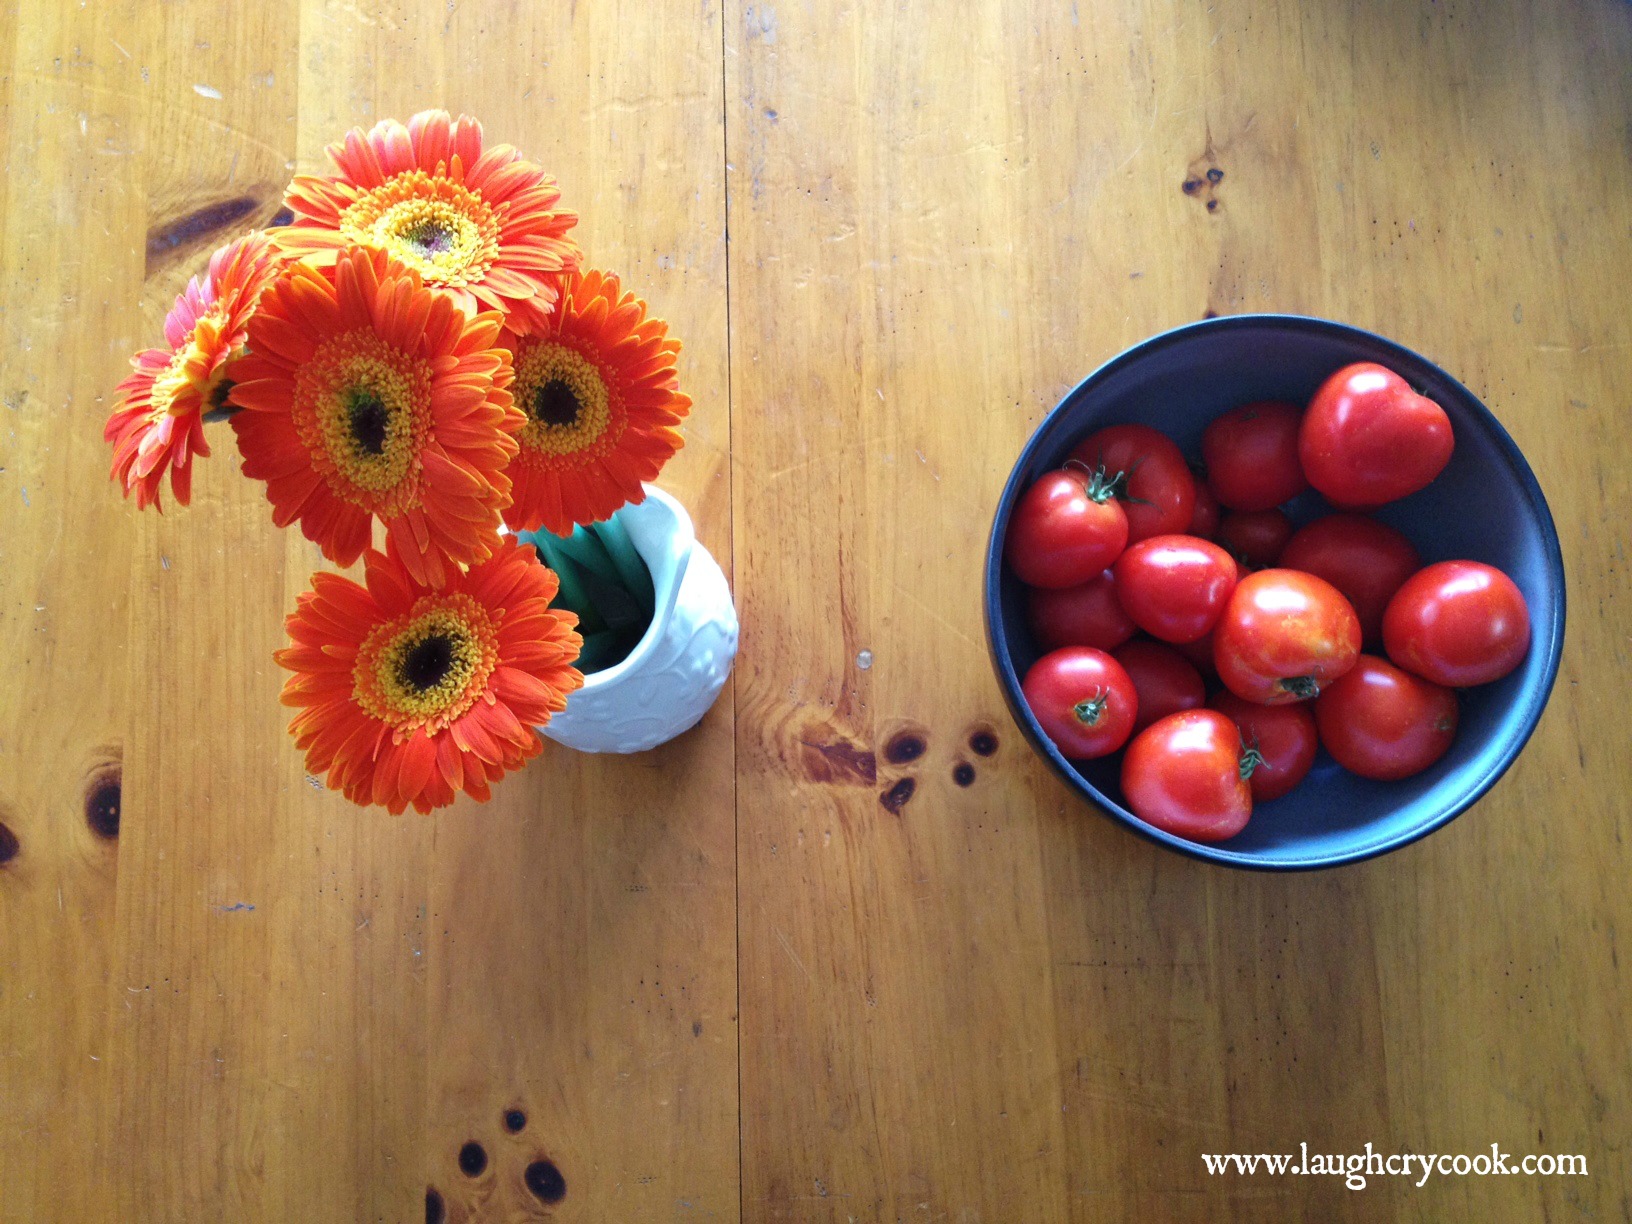
I’ll display them on the counter for a day or so until I can’t take their mockery anymore.
And then I will cook my way out of despair.
And remember the gifts I can offer my family, even if a plentiful vegetable garden is not one of them.
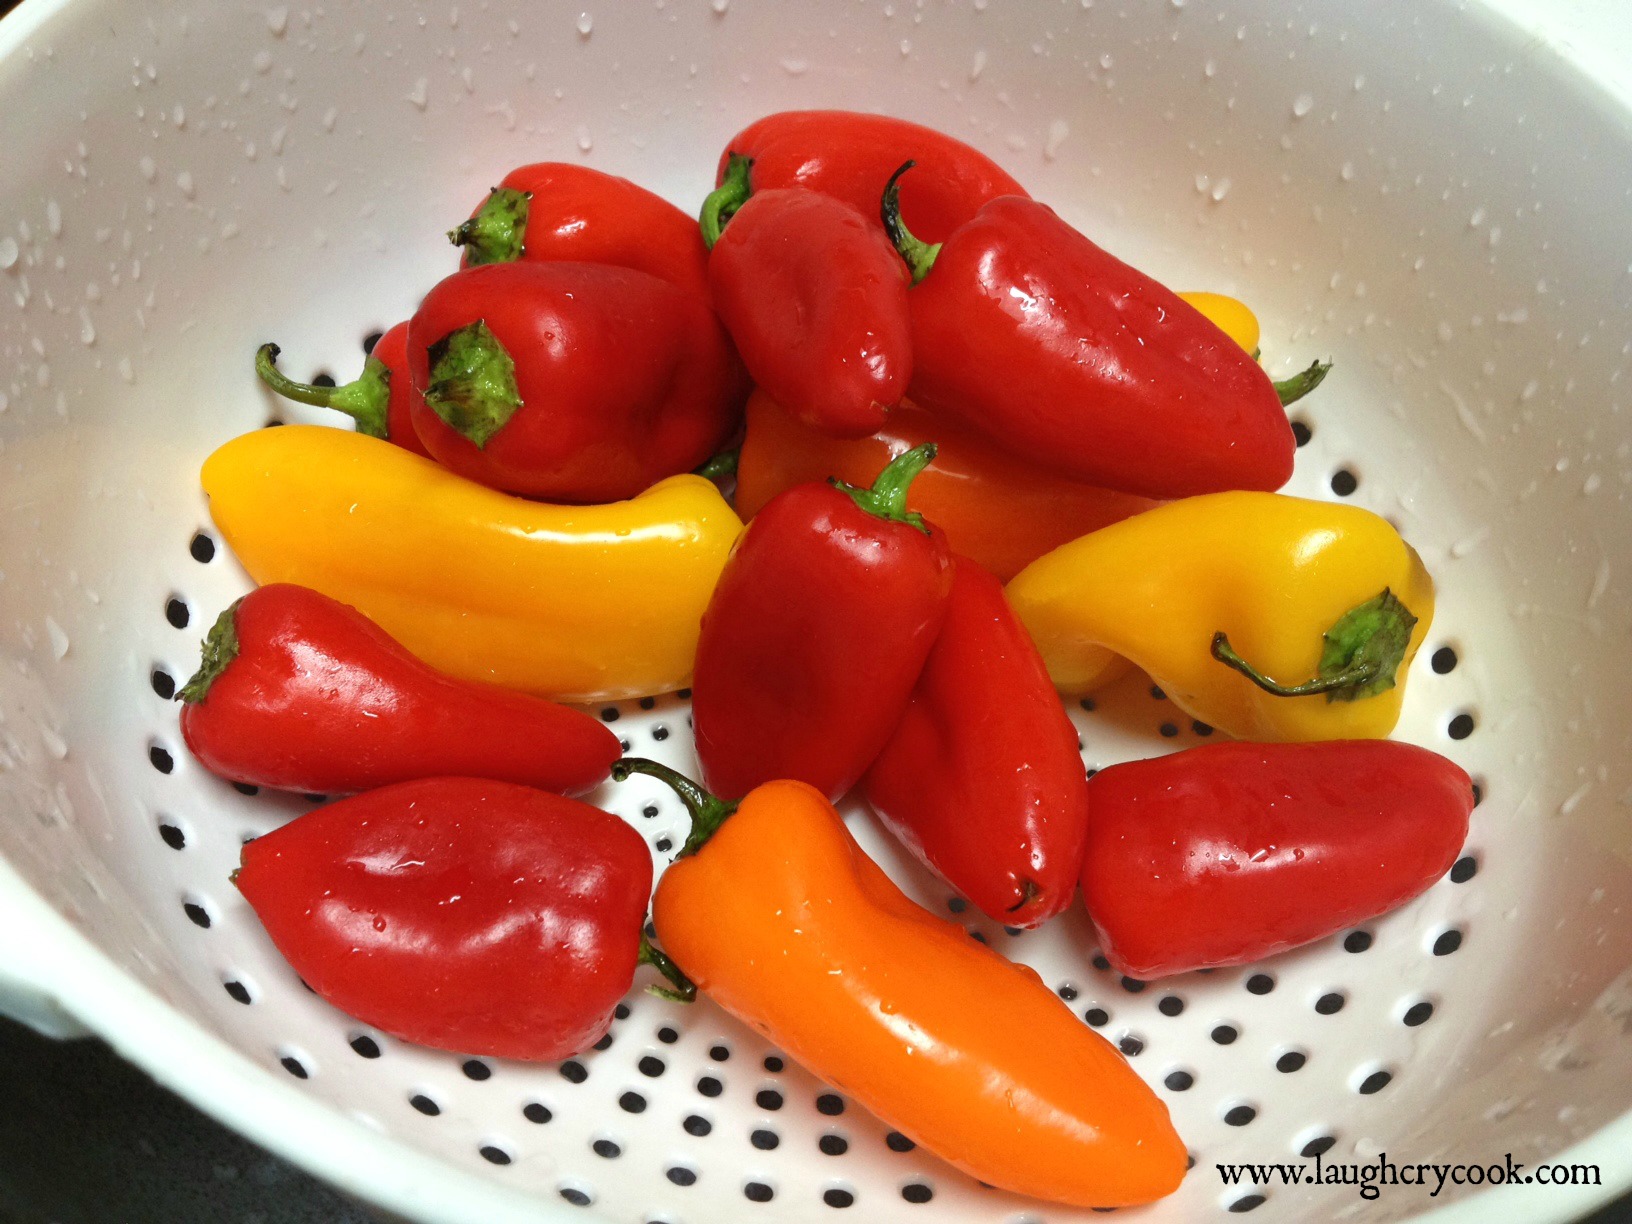
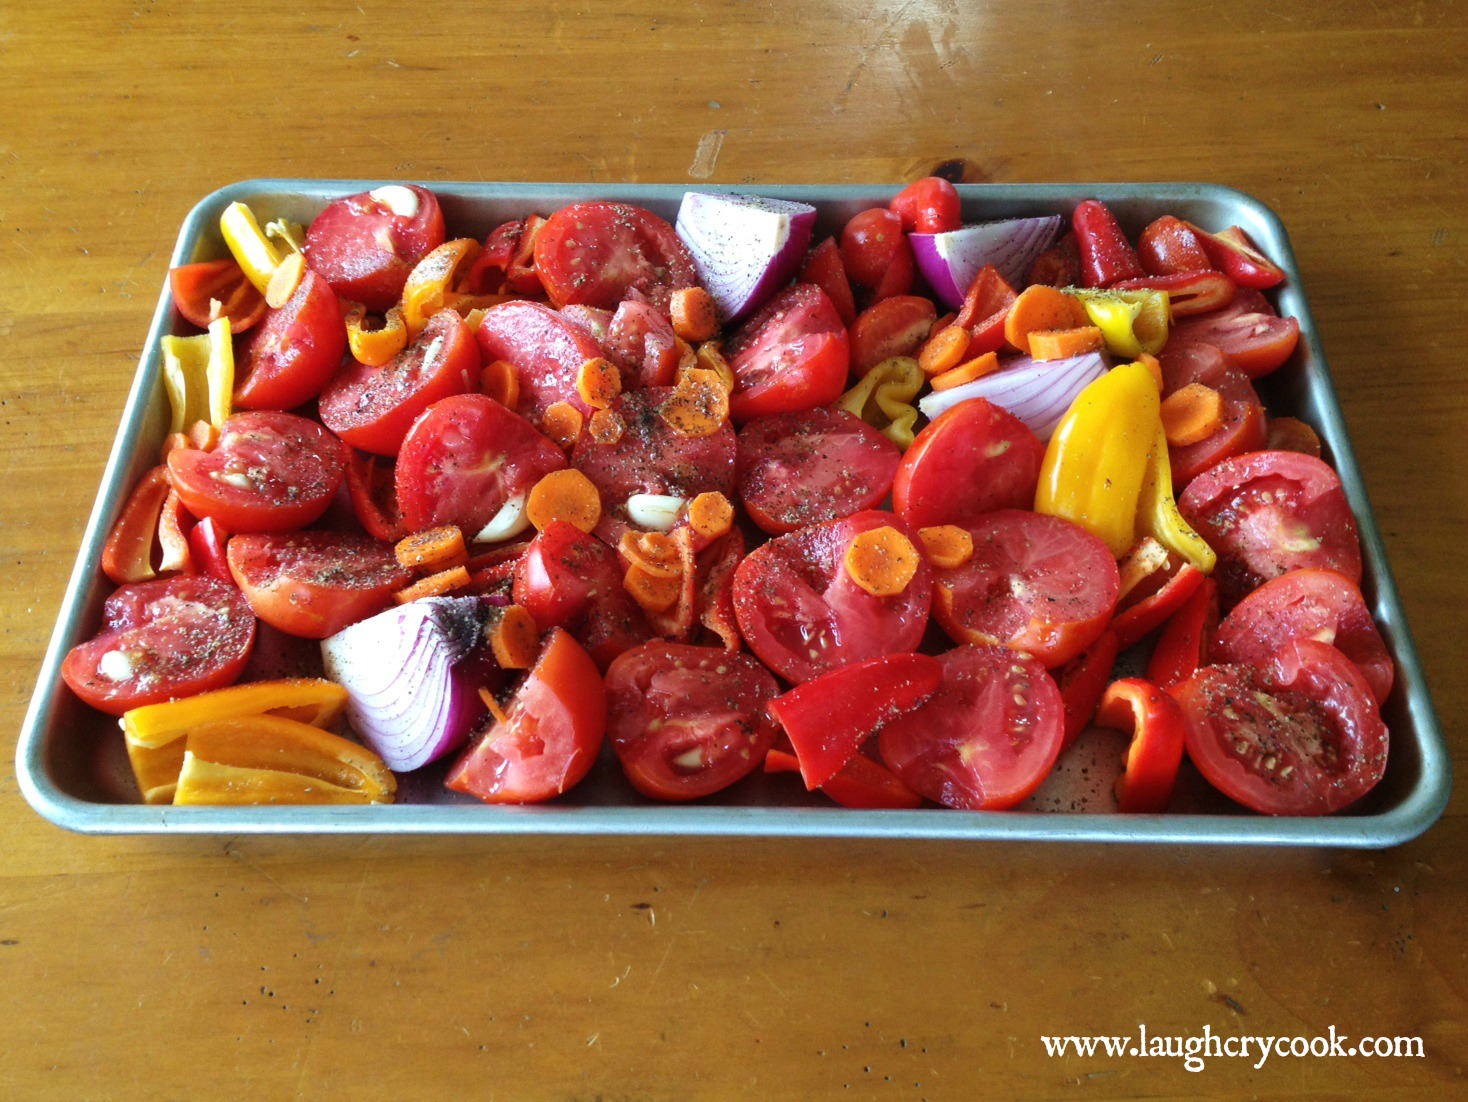
Instead, I will slow roast my way into their hearts with sweet peppers, carrots, onions, and garlic (store bought, but flavorful nonetheless), garden tomatoes (generously given to this less fortunate gardener), and a few sad looking twigs of rosemary and oregano (just barely surviving in my garden of doom).
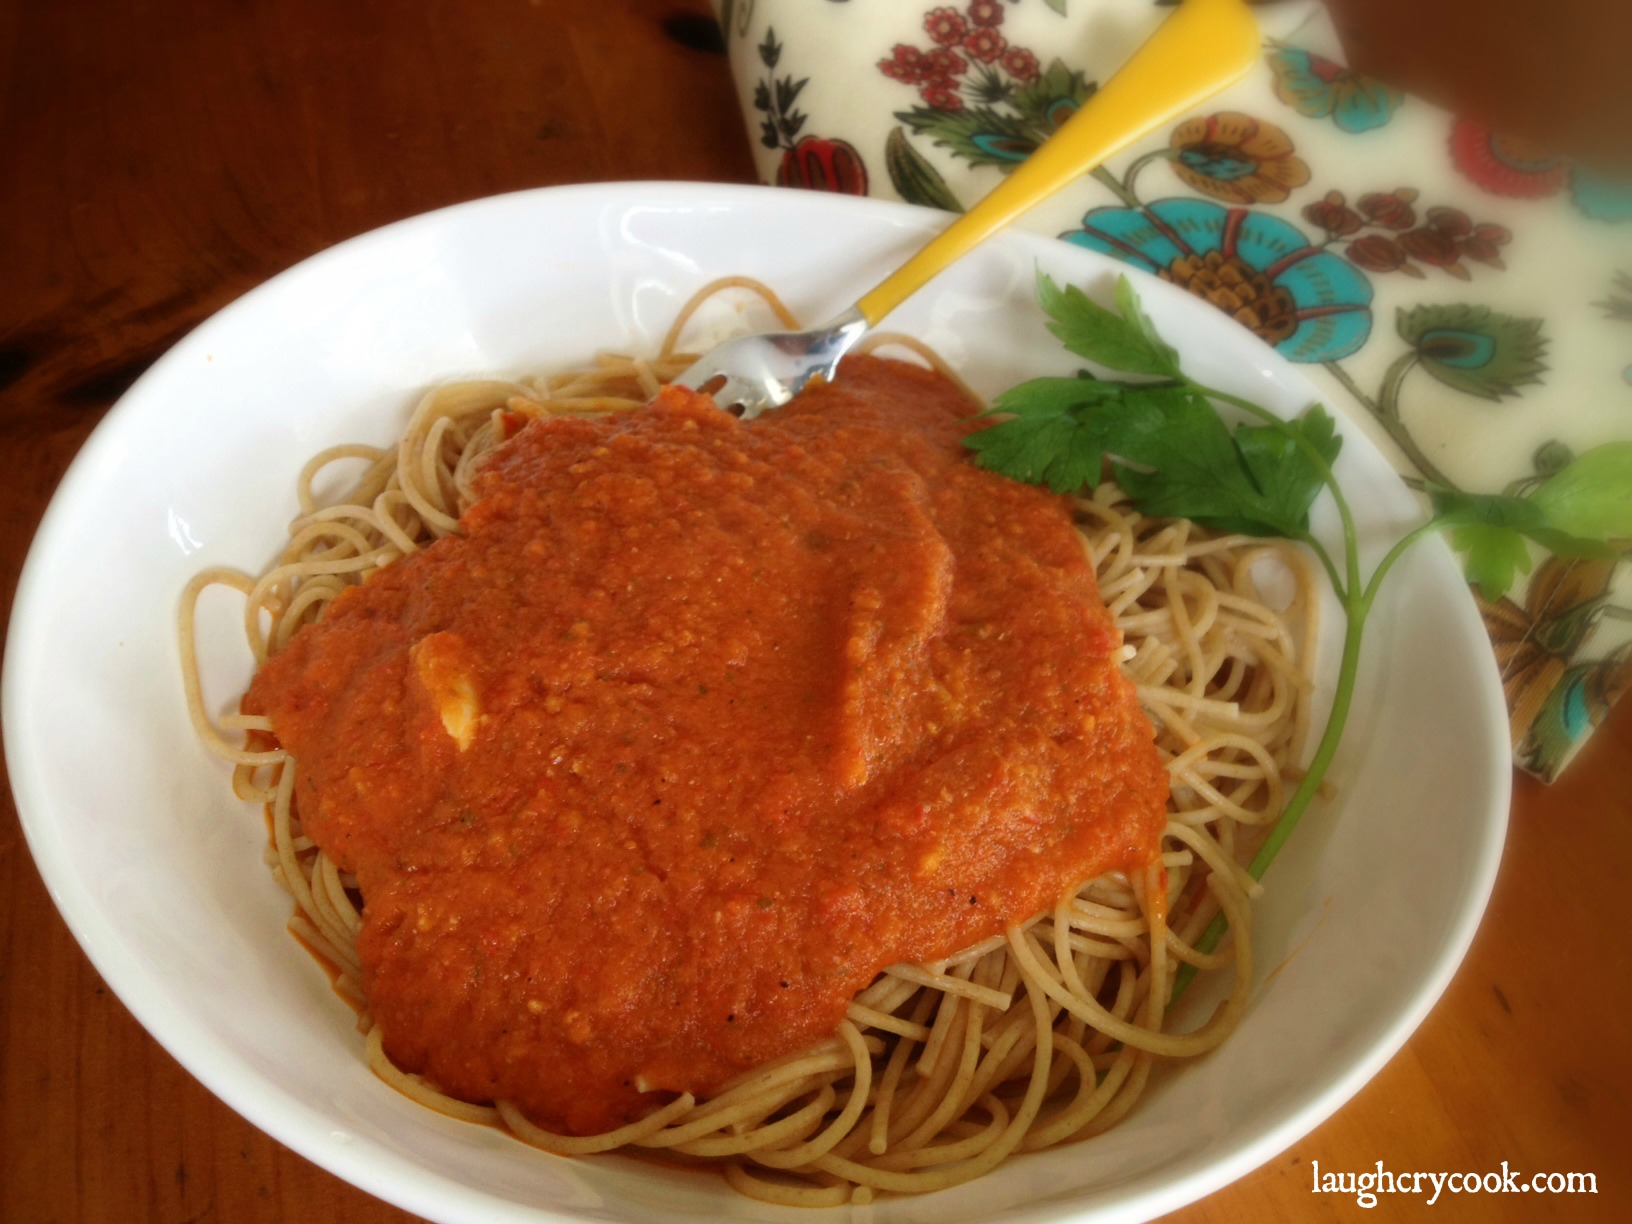
And I’ll bring those flavors together in one delightful pureed sauce. My husband will declare that he may never eat jarred sauce again. My toddler will slurp his pasta up with messy reckless abandon. And I will stand over the pot eating the sweet rich roasted sauce by the spoonful, my self esteem having made a complete (near manic) turn for the better.
For those of you who feel the need to do something good and right by your family, I give you this recipe. It will restore their faith in you, and your faith in yourself.
Roasted Tomato and Sweet Pepper Pasta Sauce
Serves 6
Ingredients
- ~ 3 pounds of tomatoes (I don’t have a scale, but I used about 12-15 smallish tomatoes), cut in half
- ~15 mini sweet peppers (or 3 red, yellow, or orange bell peppers), cut in half and seeded
- 1 carrot, peeled and sliced thin
- 1 red onion, quartered
- 8 garlic cloves, peeled
- 2 twigs fresh rosemary, removed from stem (or 1 teaspoon dried)
- 1 tablespoon fresh oregeno, removed from stem (or 1 teaspoon dried)
- 2 tablespoons olive oil
- 1 teaspoon kosher salt
- Generous sprinkle of fresh cracked pepper
- 1/2 teapoon salt
- 1/2 teaspoon molasses (or brown sugar)
- Handful of fresh parsley, rough chopped (or 1 teaspoon dried)
Other: 1 lb pasta, cooked (I used whole wheat thin spaghetti, use gluten-free if needed)
Directions
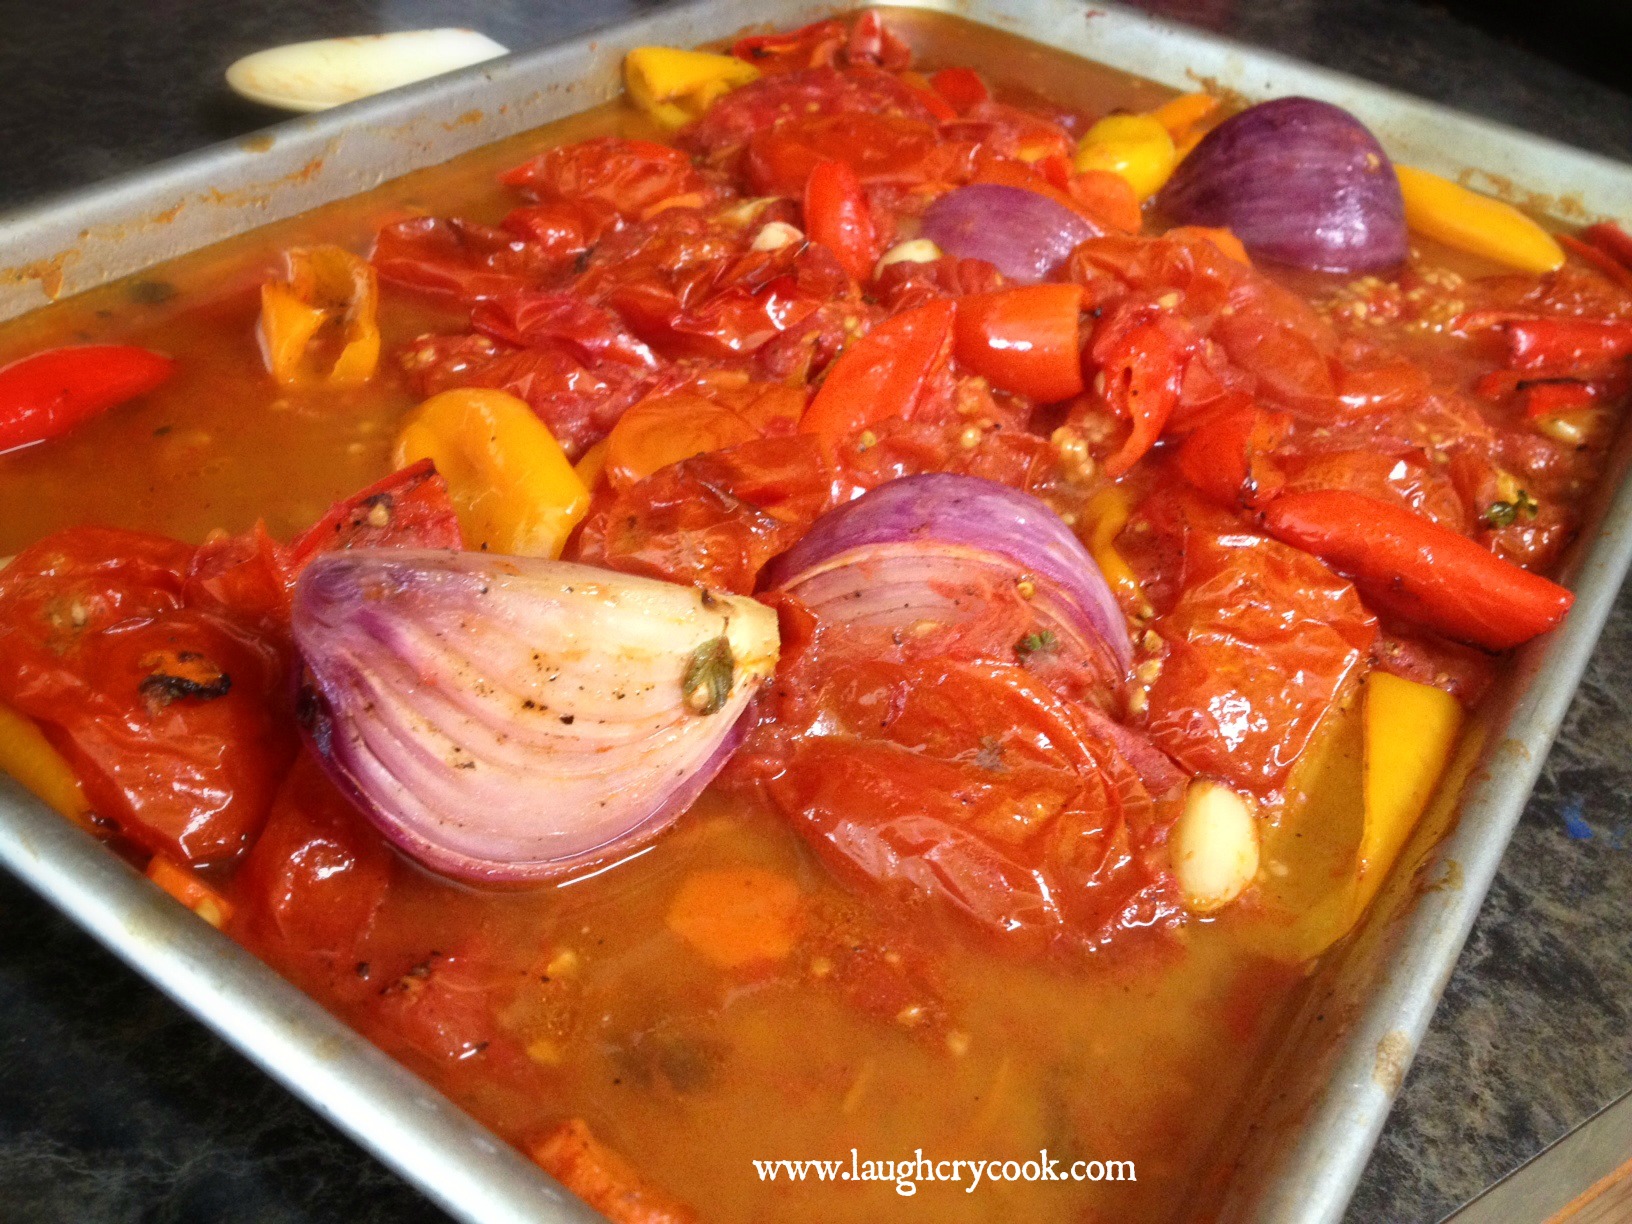
Heat oven to 400. Put chopped vegetables and herbs on a large deep-sided sheet pan. Stuff the garlic cloves into the tomatoes so they don’t burn. Drizzle with olive oil and toss with salt and pepper. Roast for 45 minutes, stirring every 15 minutes.
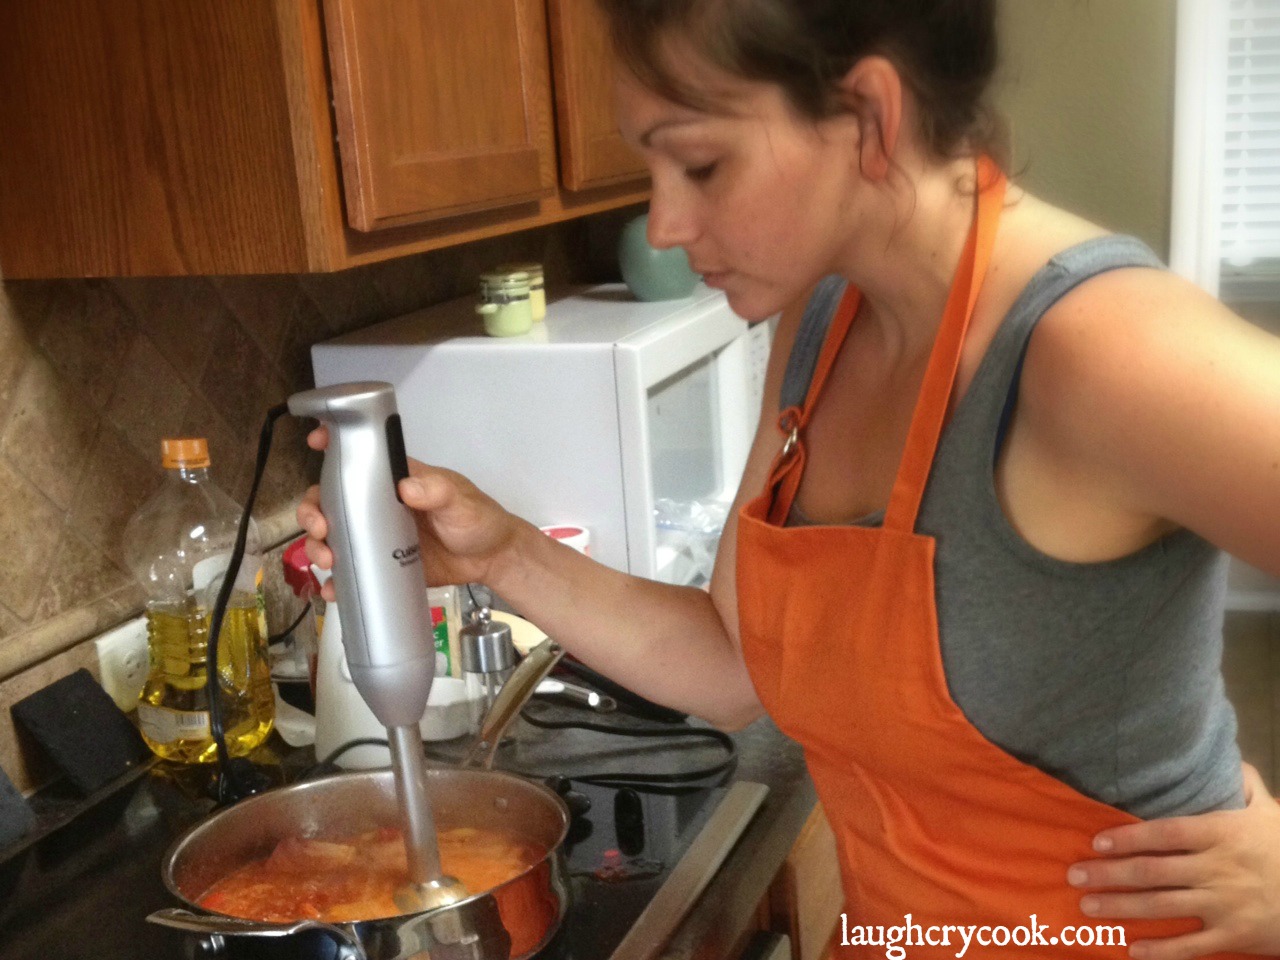
Carefully pour the veggies and their sauces into a pot on the stove and use an immersion blender to puree the vegetables. (If you don’t have an immersion blender, let the veggies cool to room temperature, then transfer to a blender or food processor and puree. Then pour into a pot on the stove.) Add parsley, salt, and molasses. Bring to a boil and then reduce to low heat. Simmer for 30 minutes. My sauce was thick already, so I simmered with the lid on, but if you have really juicy tomatoes, you may want to simmer with the lid off until you reach the desired consistency. Check for seasoning. Adding more salt or molasses (adds sweetness and cuts acidity) as needed.
Variations
Make it Salsa: This base recipe could easily be turned into a salsa by switching up the seasonings — add a few jalapenos and cilantro, omit rosemary, oregeno, and parsley. Pulse in the food processor for a chunkier version. Would be delicious served hot or cold with chips.
Make it Soup: Add a little broth or cream for a delicious roasted tomato and pepper soup.
Make it a Meal: While you’re simmering the sauce and the oven is still hot, roast up some chickpeas tossed in olive oil and Italian seasoning for a crunchy protein-filled topping. Wilt some spinach into the sauce in the last five minutes to sneak in some greens.
This was printed from: We Laugh, We Cry, We Cook
The site URL: http://welaughwecrywecook.com
The Title: Roasted Tomato and Sweet Pepper Pasta Sauce
The URL: http://wp.me/p1UwM9-10a
Disclosure: This post contains affiliate links.
Banana Nut Soft Serve [Two Ingredients, Dairy-Free, Sugar Free]
Posted: June 8, 2013 Filed under: Breakfast Foods, Desserts, Fruit Dishes, Gluten Free, Snacks, Toddler-Approved, Uncategorized, Vegan, Vegetarian | Tags: banana nut soft serve, banana soft serve recipe, dairy-free, gluten-free, peanuts, sugar-free, vegan Leave a comment
Jackson is 22 months old now and at that stage where he’s learning new words every day and starting to string together words to make phrases and sentences like these:
“Hoo Hoo” (Whoohoo whith his hands thrown in the air.)
“Cool man” (I don’t know where he picked up this phrase, but it’s super cute.)
“Yayyy, I did it!” (Even if he didn’t actually do whatever IT is, he celebrates every little effort with such enthusiasm. It’s contagious.)
“Leeeeeet’s GO!” (That combined with “Run momma” is turning him into a little personal trainer!)
“Yes.” (Finally, he is saying “yes,” instead of always “no,” in the most adorably assertive and confident way.)
Of course, with this precious phase, also comes the less than adorable phrases, like “Chur turn” (Your turn…which actually means my turn. And it’s always “chur turn”) and “Miiiine!”
My favorite phrase of late, though, is “Tank choo ma ma.” He emphasizes each syllable and I can tell he really has to work to say it. It’s a sweet labor of love and it’s reserved for his truly most satisfying moments of deep gratitude, like when I served him chocolate “ice cream” made of bananas and cocoa for a morning snack last week. “Choc! Tank choo ma ma!”
This idea for banana soft serve has been circulating for years. It’s not new, but I’ve turned a few people toward it this week with my Instagram picture of Jackson enjoying his morning ice cream treat and thought maybe some of our readers have yet to try it as well. The basic recipe is just frozen bananas processed in a blender. It’s magical! The bananas just whip right into a thick creamy soft serve that is delicious on it’s own. You can make all sorts of flavors: chocolate peanut butter, strawberry banana, cinnamon and sugar…wherever your taste buds take you. This version is one of my favorites. You can use peanut butter instead of peanuts, but I really love the texture and flavor from the whole peanuts.
Ready in under five minutes, it makes the perfect healthy summer snack, or even breakfast. You’ll earn some serious cool mom or dad points putting a bowl of this in front of your kids first thing in the morning!

Banana Nut Soft Serve
Serves 2
Ingredients
2 frozen bananas, cut into 1-2 inch pieces
2 tablespoons peanuts (I used organic unsalted)
sprinkle of sea salt (unless peanuts are salted)
Directions
Put ingredients in a food processor and blend, stopping and scraping the sides as needed until it turns to the texture of a thick soft serve ice cream. Then stop. You don’t want to over blend or it will have more of a melty soft serve texture (not bad, but not as good either).
For this portion size, I use the smallest bowl on my food processor so I don’t have to stop and scrape the sides as often. (It will be very loud at first, that’s okay, just be prepared.)
Serve immediately with a few extra peanuts and another sprinkle of sea salt on top for some extra crunch. I’ve heard this does not refreeze well, though I’ve never had any left to try. 🙂 You can buy yourself a little time keeping it chilled in the freezer, but it’s best to serve right away.
This was printed from: We Laugh, We Cry, We Cook
The site URL: http://welaughwecrywecook.com
The Title: Banana Nut Soft Serve
The URL: http://wp.me/p1UwM9-ZP
Have you made Banana Soft Serve?
What are your favorite flavor combinations?
What are your favorite toddler phrases and phases?
A little book update:
Zondervan, our publisher, has been so supportive of our book (coming out August 6). We’re having such a great publishing experience! They just decided to do an audio version of We Laugh, We Cry, We Cook and invited my mom and I to record it. One of us will be recording in the studio most of the week, each of us having two 5-7 hour days in studio. Prayers for good health appreciated. The following week I’m heading to Colorado (with Jackson in tow) to join mom for a photo shoot for a major Christian publication. We’re so grateful for all the encouragement and support we’ve received…and for our fabulous readers at the blog.
We also got all of the endorsements in for the book. Wow! We are floored by the generosity of our fellow authors. Click on the picture of the book above to read the endorsements and find lots of knew authors to friend and follow.
Simple Lentil Soup
Posted: May 9, 2013 Filed under: Gluten Free, Main Dishes, Soups, Toddler-Approved, Uncategorized, Vegan, Vegetarian | Tags: 30 minute meals, gluten-free, high protein vegan meal, simple lentil soup, vegetarian lentil soup 4 Comments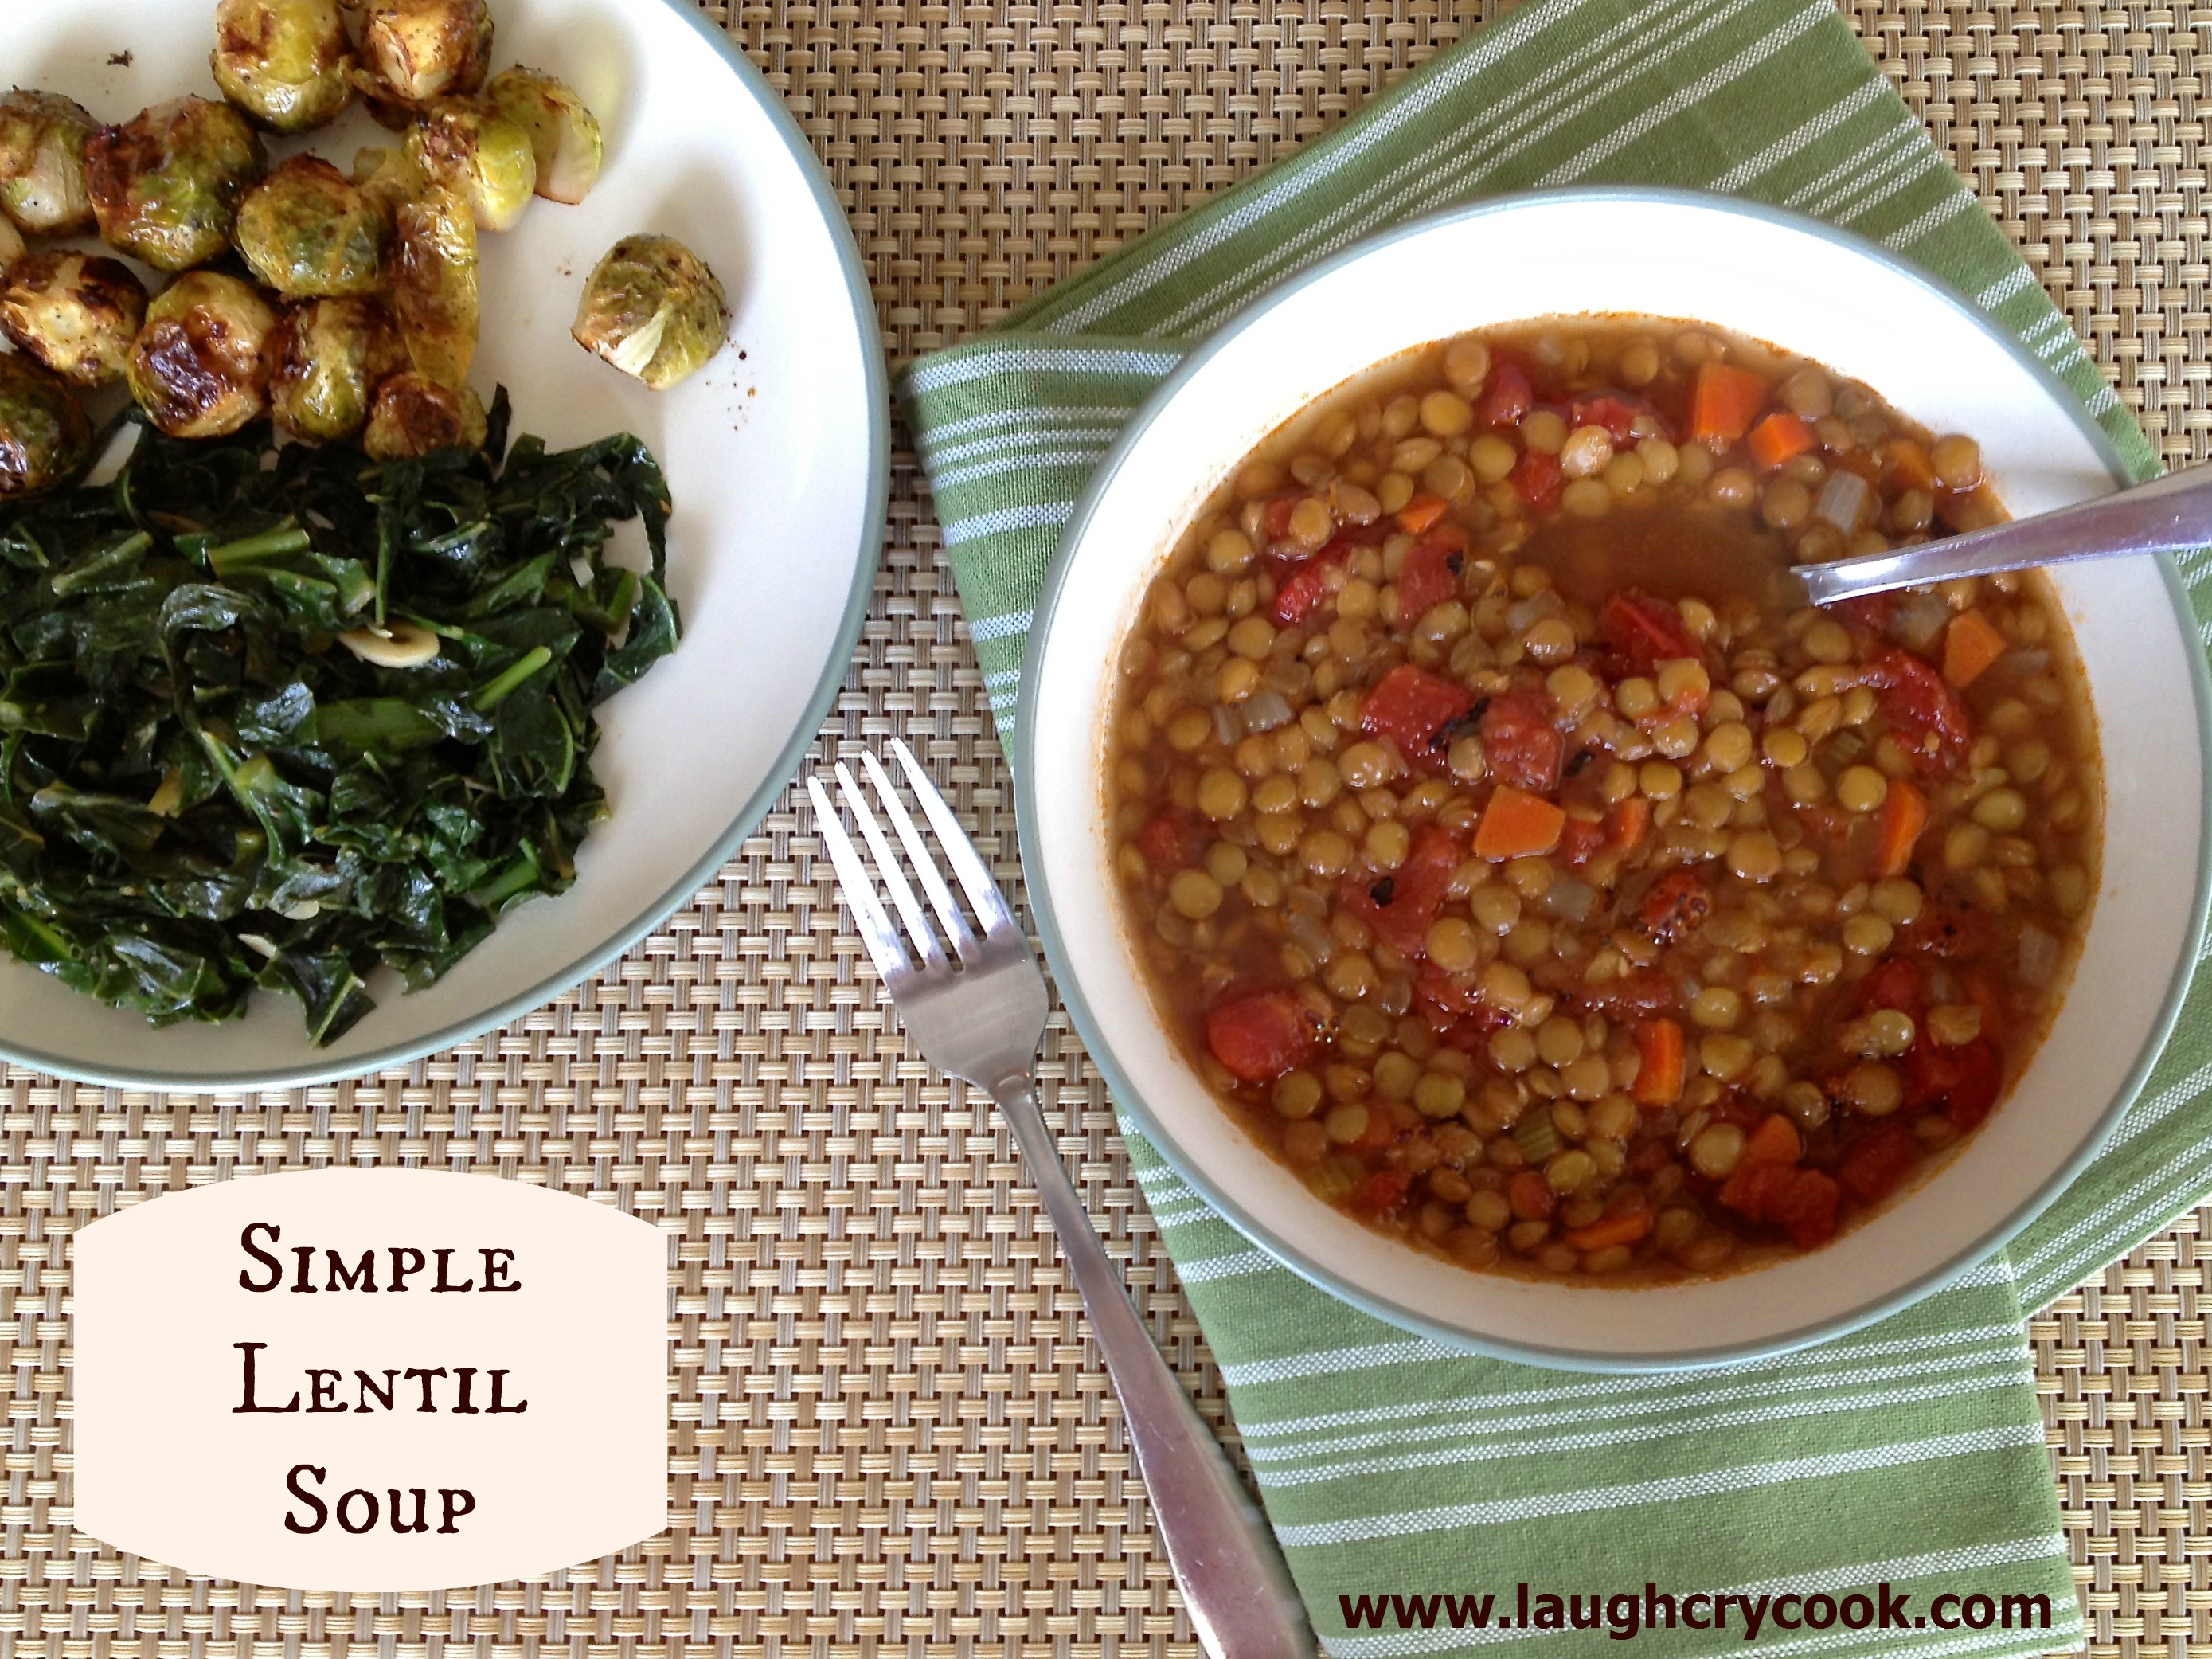
Last week Jackson and I flew to Colorado to stay at my mom’s for a few days. It was one of the best visits we’ve had there. Jackson adores his Nonny and Poppy and he’s finally big enough to really play with his big cousin George, whom he thinks hung the moon. Jackson asks for George every day. Every single day. So we watch a lot of videos to hold him over between visits. And George is so good and patient with his little cousin.
The day we flew in, May 1, it snowed and snowed and snowed all day. Not your typical spring visit, but we made the best of it. It’s not every year you see snow in May.

Cousins George and Jackson, buddies for life.
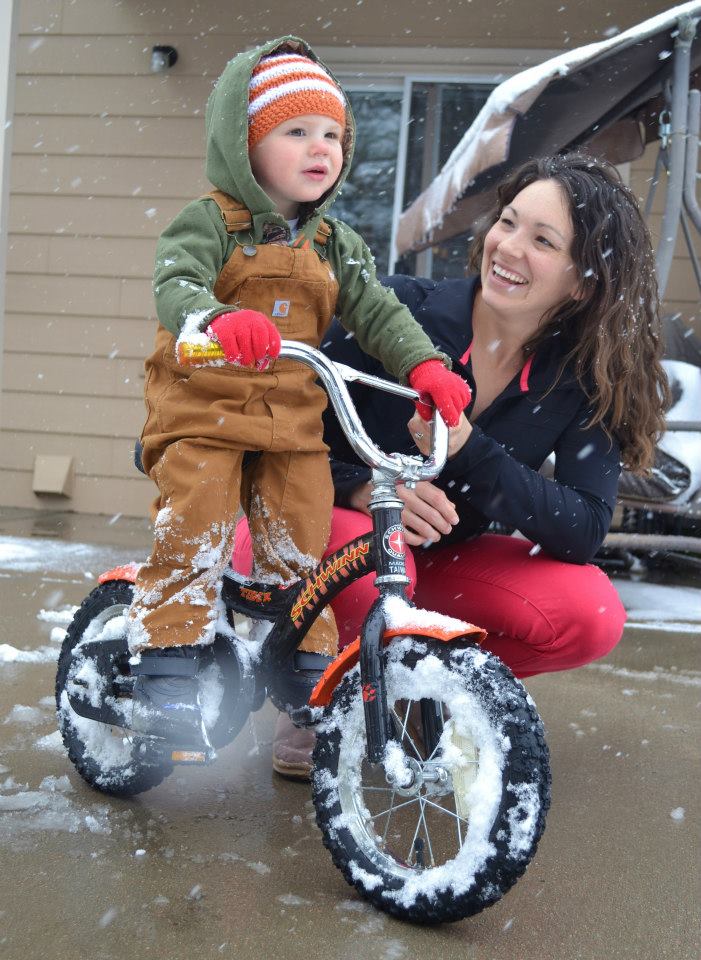
No time like snow time to learn to ride a bike.

This Texas boy has never seen this much snow. He loved it.
The next day, we had pictures scheduled for the book. The sun came out, the snow mostly melted and we were able to get some great shots thanks to our fabulous photographer Molly McMillan. This one will be used for the back cover.

Because one of us is usually behind the camera, I don’t have many pictures of me and my mom. These pictures are one of the many blessings that have come from doing this blog and book together.
After the photo shoot, we were pretty wiped out…and hungry! We both declared we were retiring from our one-day modeling career. Way too much work and not enough food!
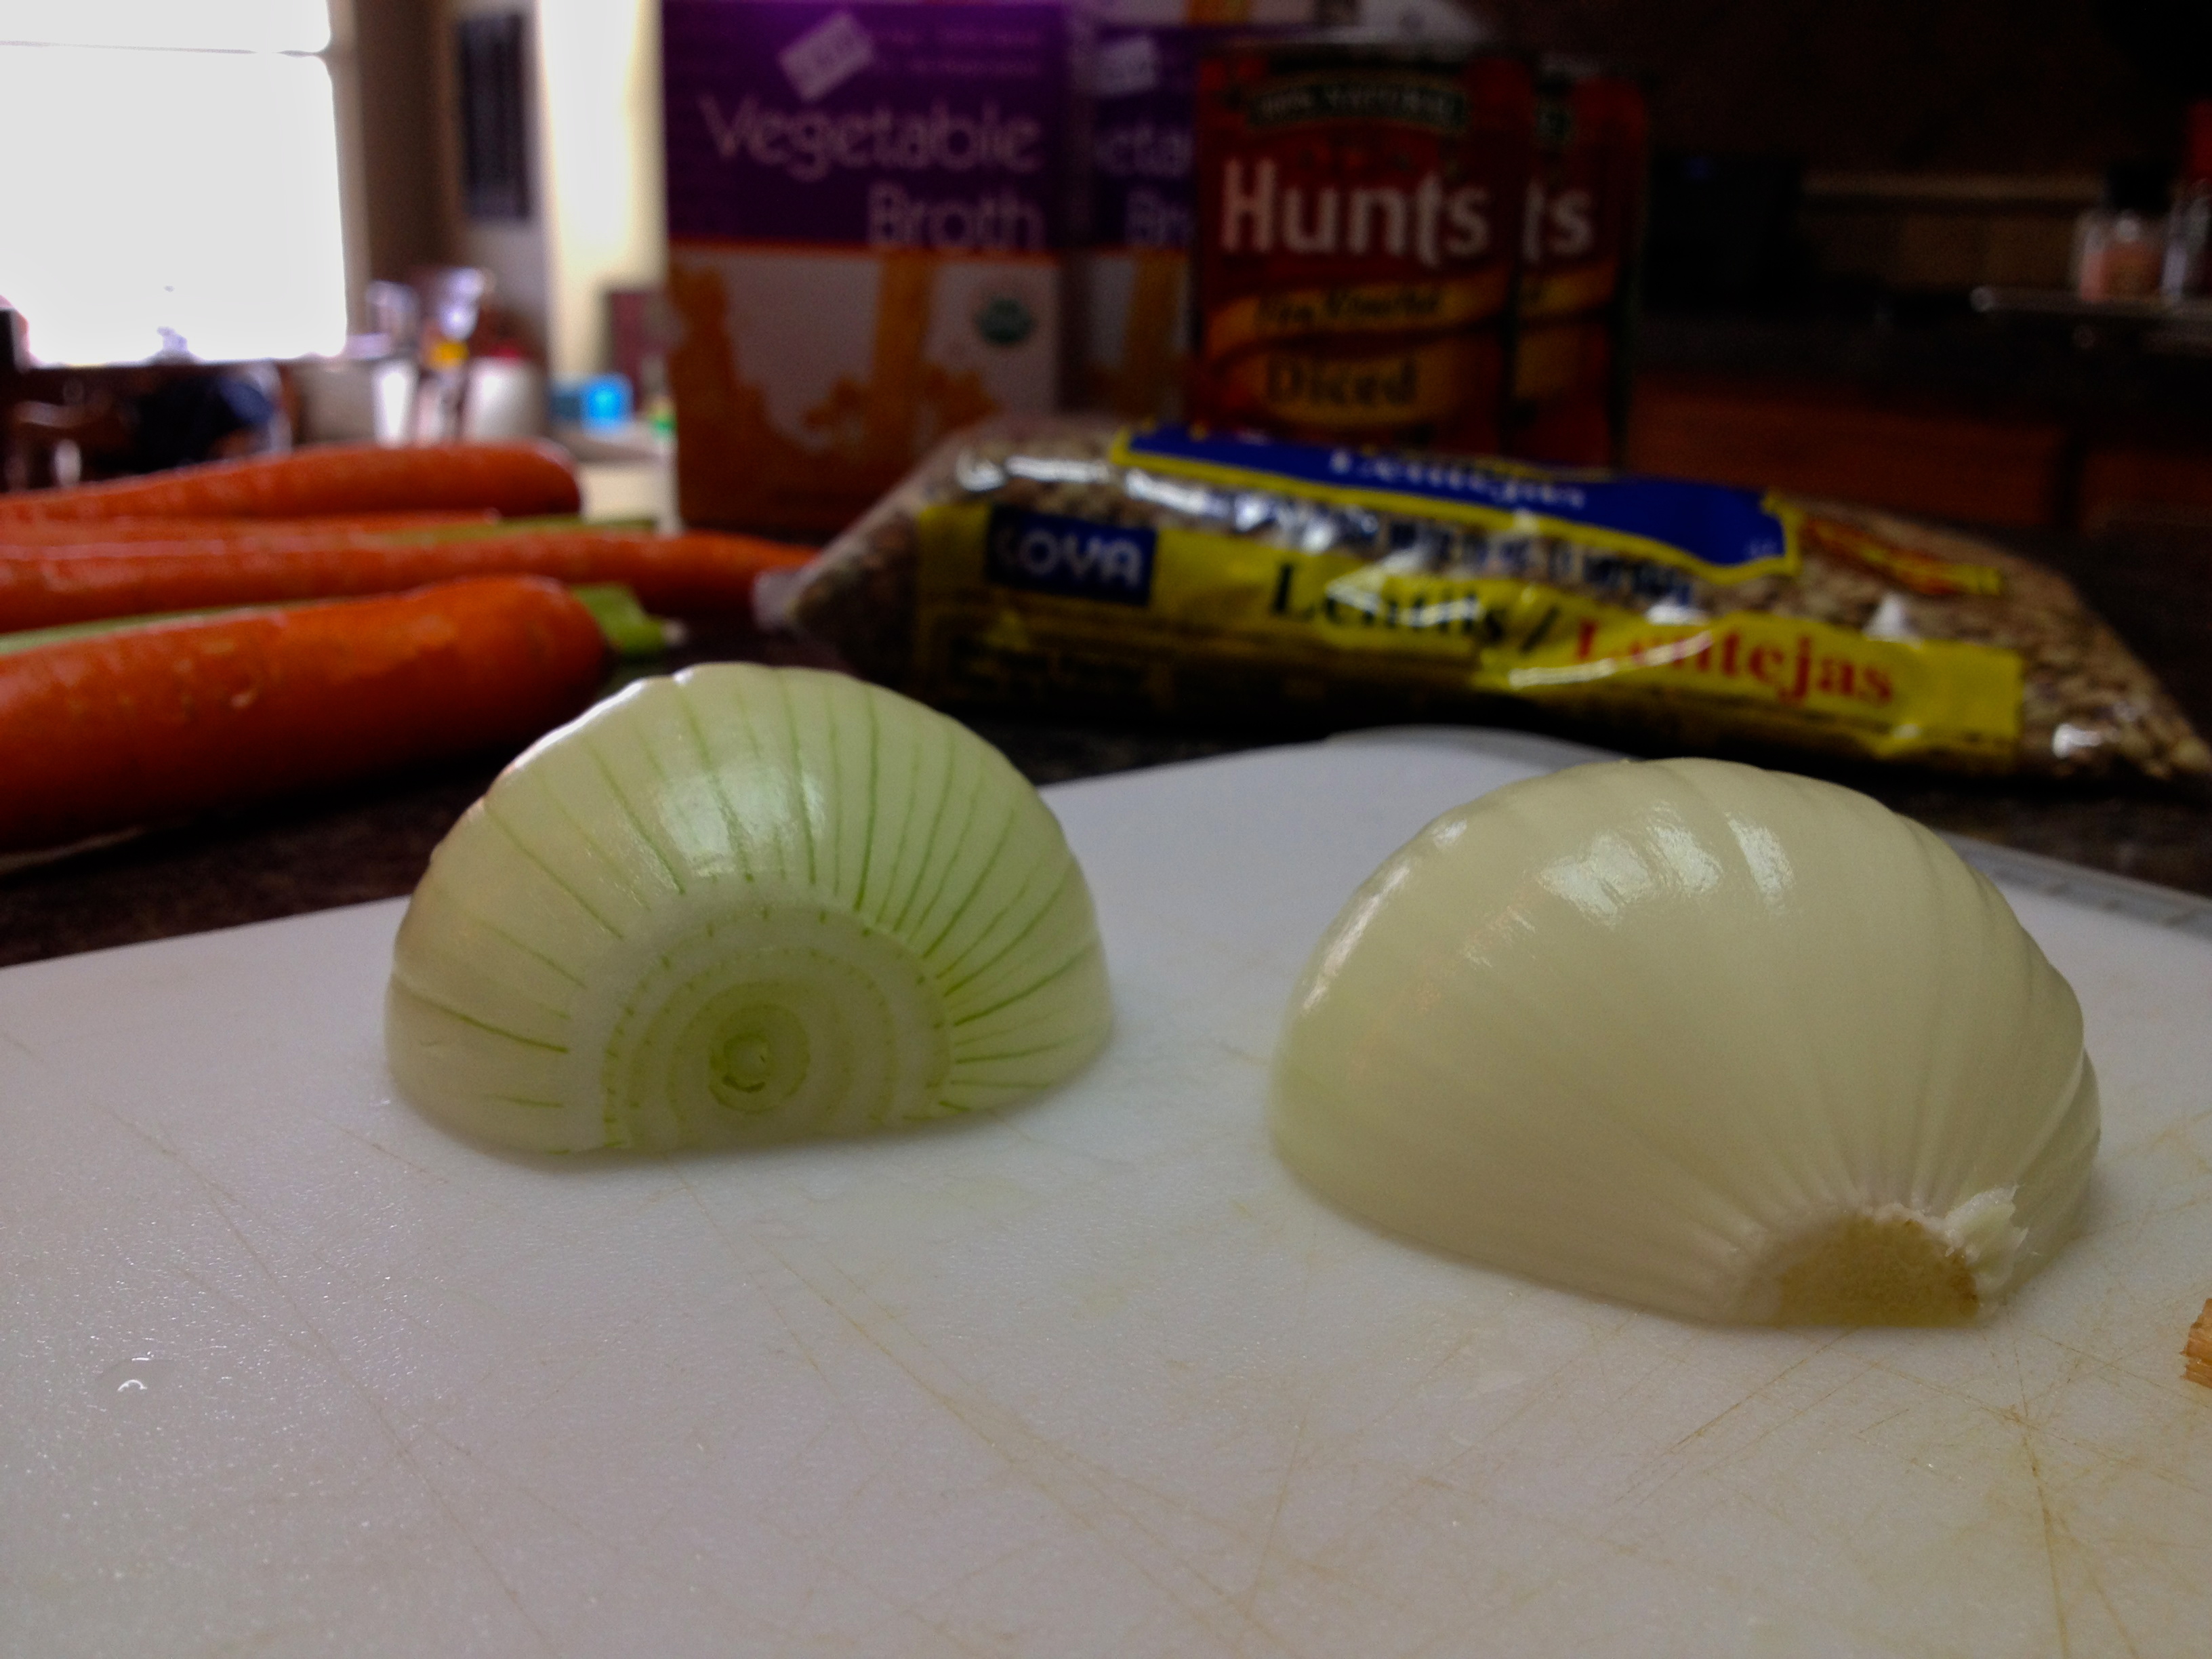
With my sister-in-law Julie heading back to the house with the boys and Greg (mom’s husband) on his way home, we quickly transitioned from top models to cooks in the kitchen. Mom was going to run to the grocery store to get fixins for Messy Greek Sandwiches and Reubens and I’d get started on some kind of soup to go along. I rummaged through her pantry and held up a bag of lentils, “How about lentil soup?” “Perfect! I’ve had those lentils for months and wasn’t sure what to do with them,” she admitted. “Oh it’s so easy,” I told her. “It takes no time to get started and will be finished simmering by the time you’re back from the store.” Mom headed to the grocery store and I got started chopping onions and carrots. By the time Julie walked in with Jackson and George, I had the soup covered and simmering, happy to step out of my author/foodie hat and into mommy and auntie role again.
Mom came home from the store and said the house smelled just like her Nonny’s, my great grandmother’s, kitchen. I didn’t know her well, but I’ve heard story after story of her in the kitchen. She was quite the cook. One of my favorite pictures of her is one of her standing in her old 1950s kitchen with a yellow apron tied around her neck. Something about recreating the comforting tastes and smells from her kitchen makes me feel connected to her. I can imagine her cooking up a simple soup like this to feed her nine children on their very tight budget.
What foods and smells bring back childhood memories for you?
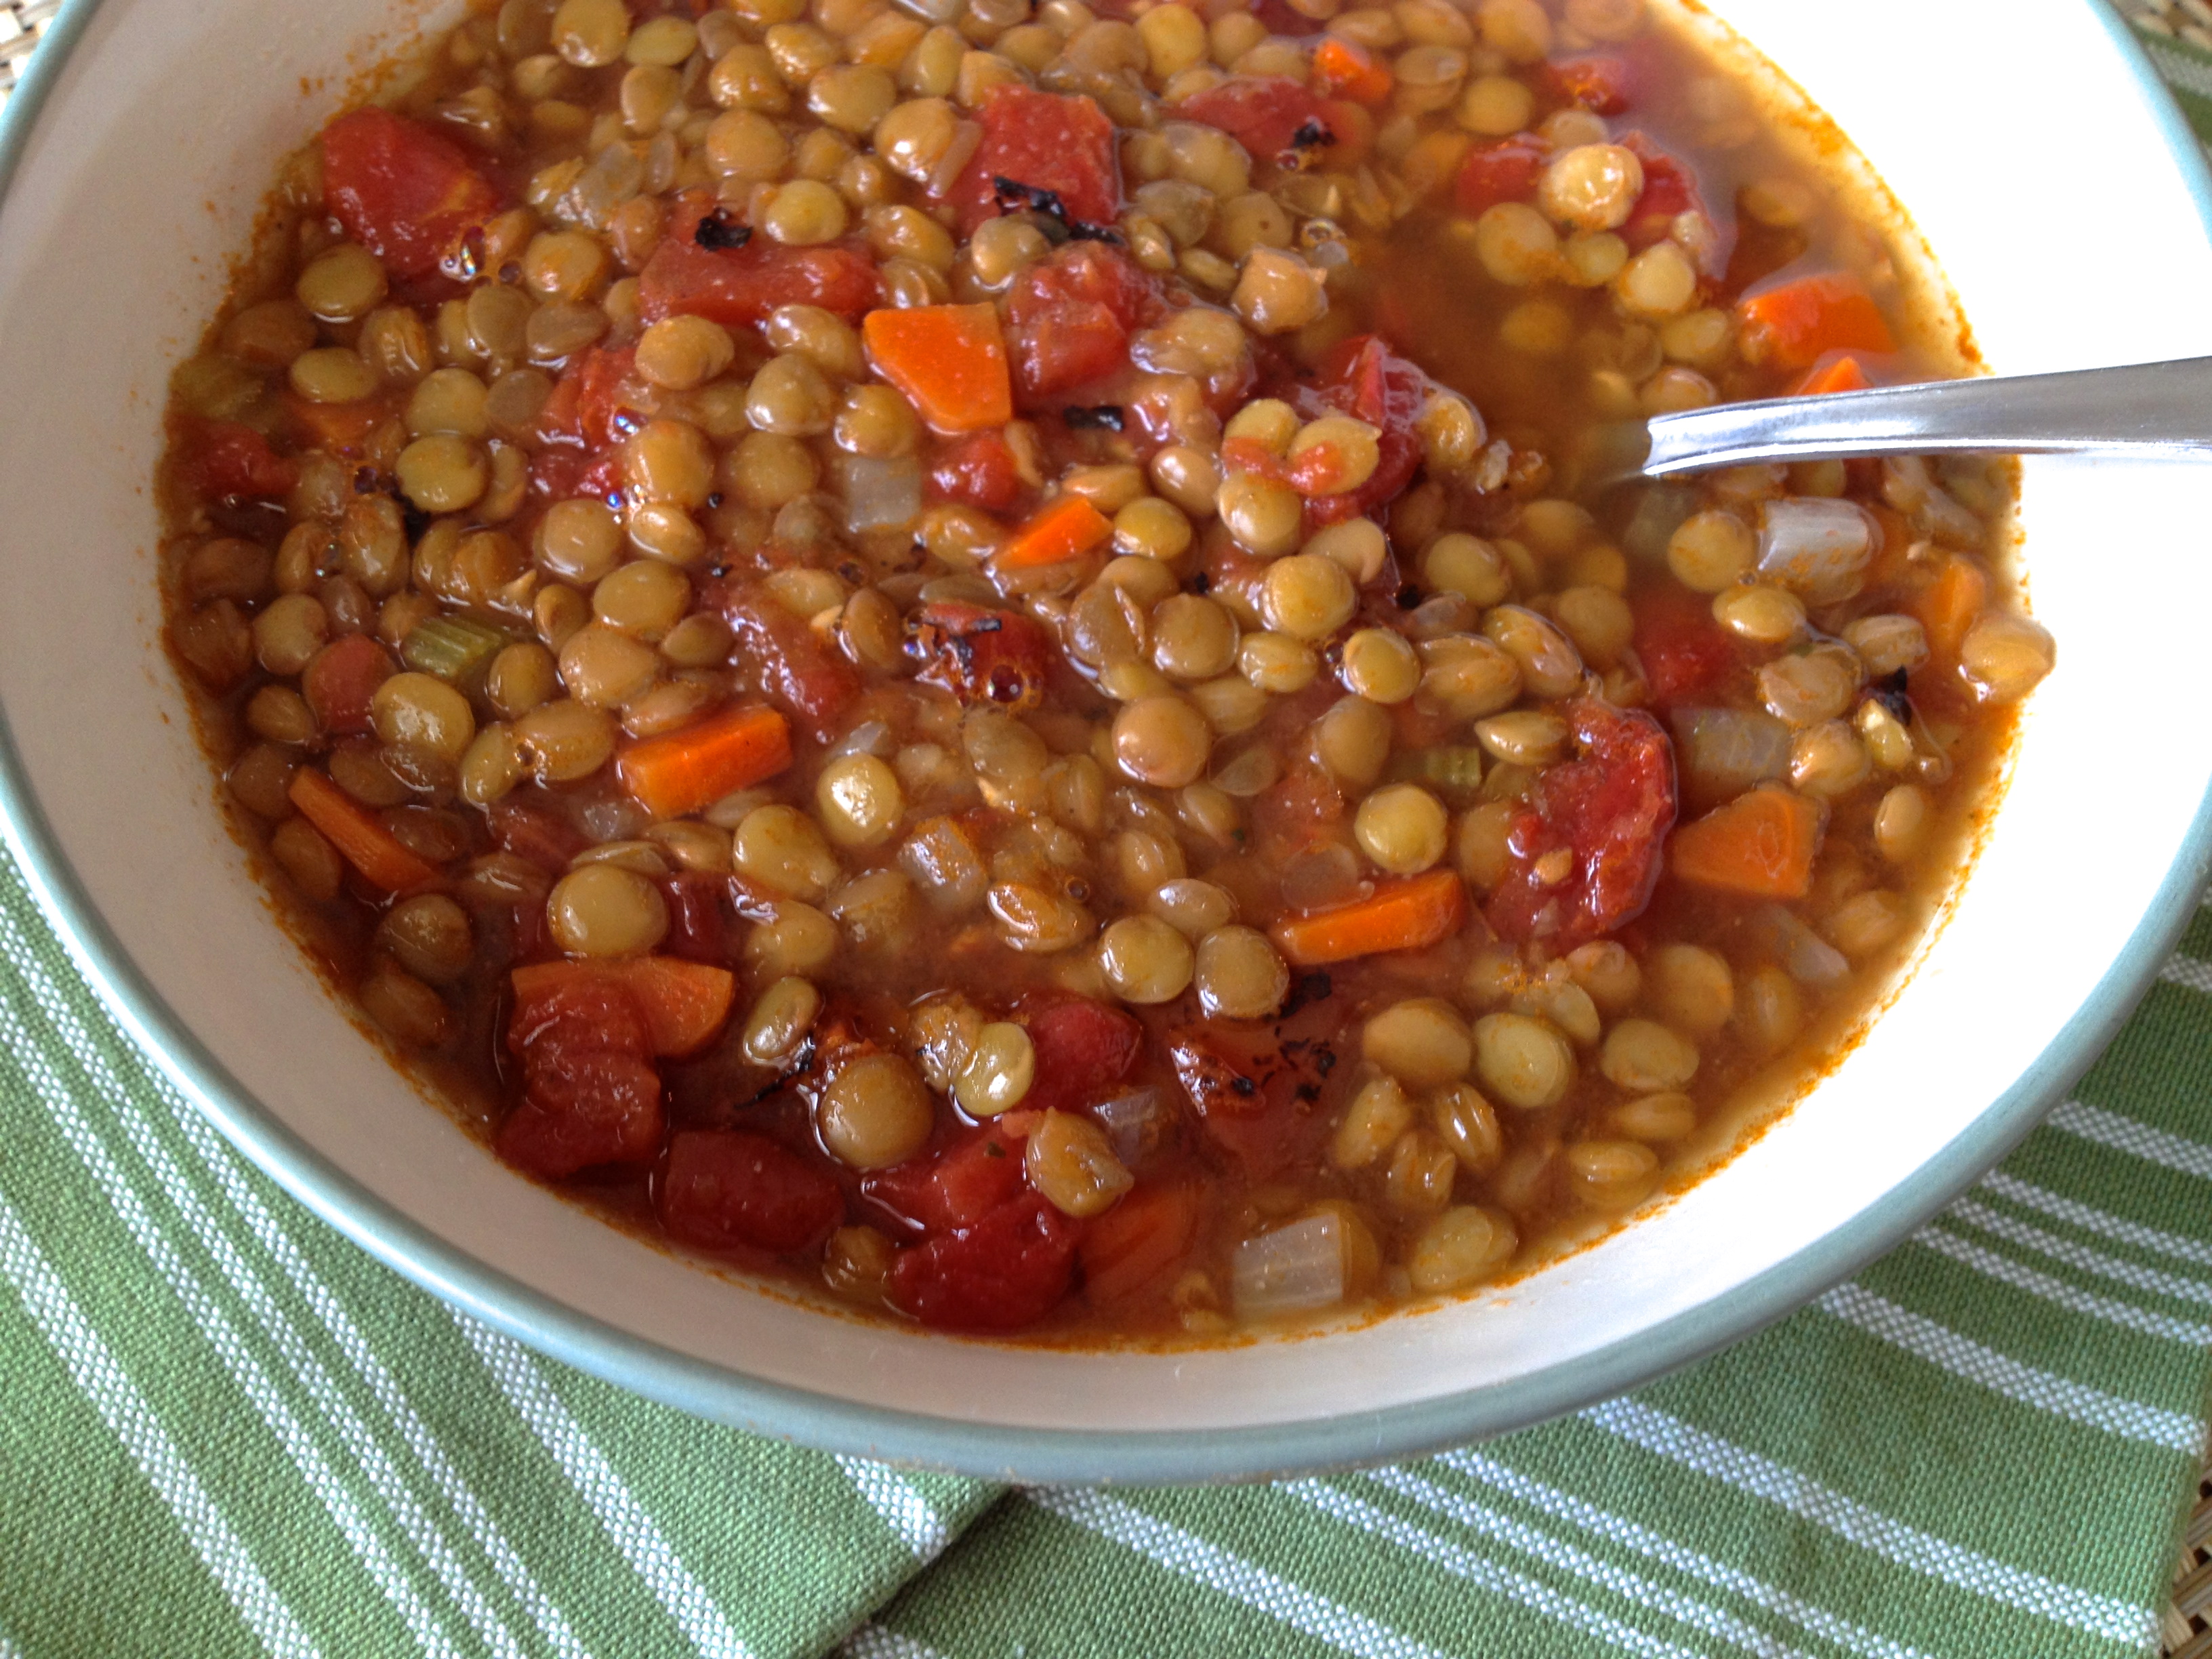
Simple Lentil Soup
Makes 3.5 quarts
1/2 cup onion (~1 small or 1/4 big onion), diced
4 carrots, diced
2 celery sticks, diced
Olive oil (enough to coat pan)
1 lb lentils, sorted for rocks and rinsed
8 cups veggie broth (2 quarts)
1 32 oz can diced fire roasted tomatoes
2 teaspoons steak seasoning
Salt to taste (may not need if broth has salt)
In a large pot, sauté onions, carrots, and celery in olive oil (or 1/2 cup of broth for a no fat version) with a pinch of salt until softened. Add lentils and tomatoes and broth. Cover and bring to boil. Uncover and lower to a simmer. Cover and simmer on med low for 20-30 min until lentils are cooked through. Season with steak seasoning and salt if needed.
I served this with crackers, roasted brussel sprouts, and smoky garlicky collard greens. It was husband and toddler approved.
Notes: I’ve found the type of pan and burner I use causes cook times to vary a lot. My heavy duty pans cook much quicker on my flat top stove than my old cheapies that don’t have that nice heavy flat bottoms…so cooking times may vary. It took closer to 45 minutes to cook on my mom’s gas stove top, but I think I may have left the pot uncovered there. If your pots tend to heat up slowly, give yourself some extra time.
This was printed from: We Laugh, We Cry, We Cook
The site URL: http://welaughwecrywecook.com
The Title: Simple Lentil Soups
The URL: http://wp.me/p1UwM9-YF
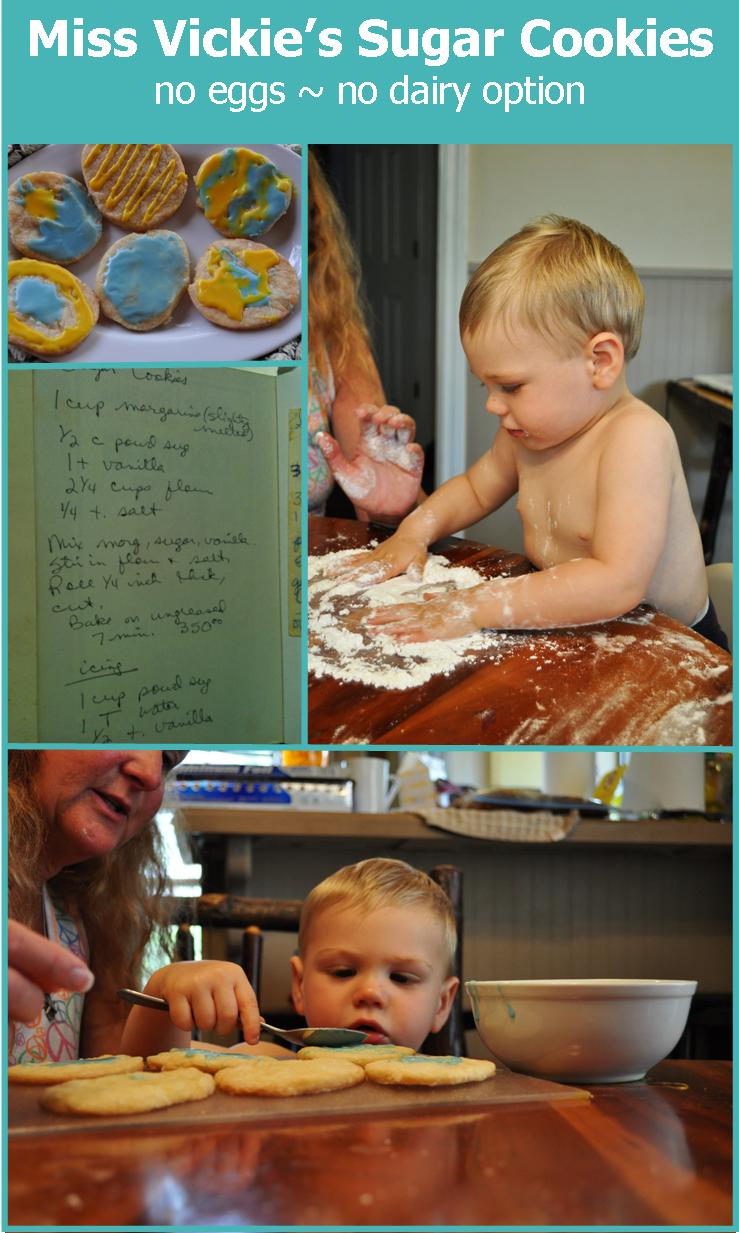
Miss Vickie’s Sugar Cookies (Egg-free and optionally dairy-free)
Posted: April 7, 2013 Filed under: Cooking with Love, Desserts, Kids Cooking, Toddler-Approved, Uncategorized, Vegan, Vegan Options, Vegetarian | Tags: best sugar cookies ever, dairy-free sugar cookies, egg-free, eggless sugar cookies, made with powdered sugar, miss vickies sugar cookies, quick and easy, vegan sugar cookies 3 Comments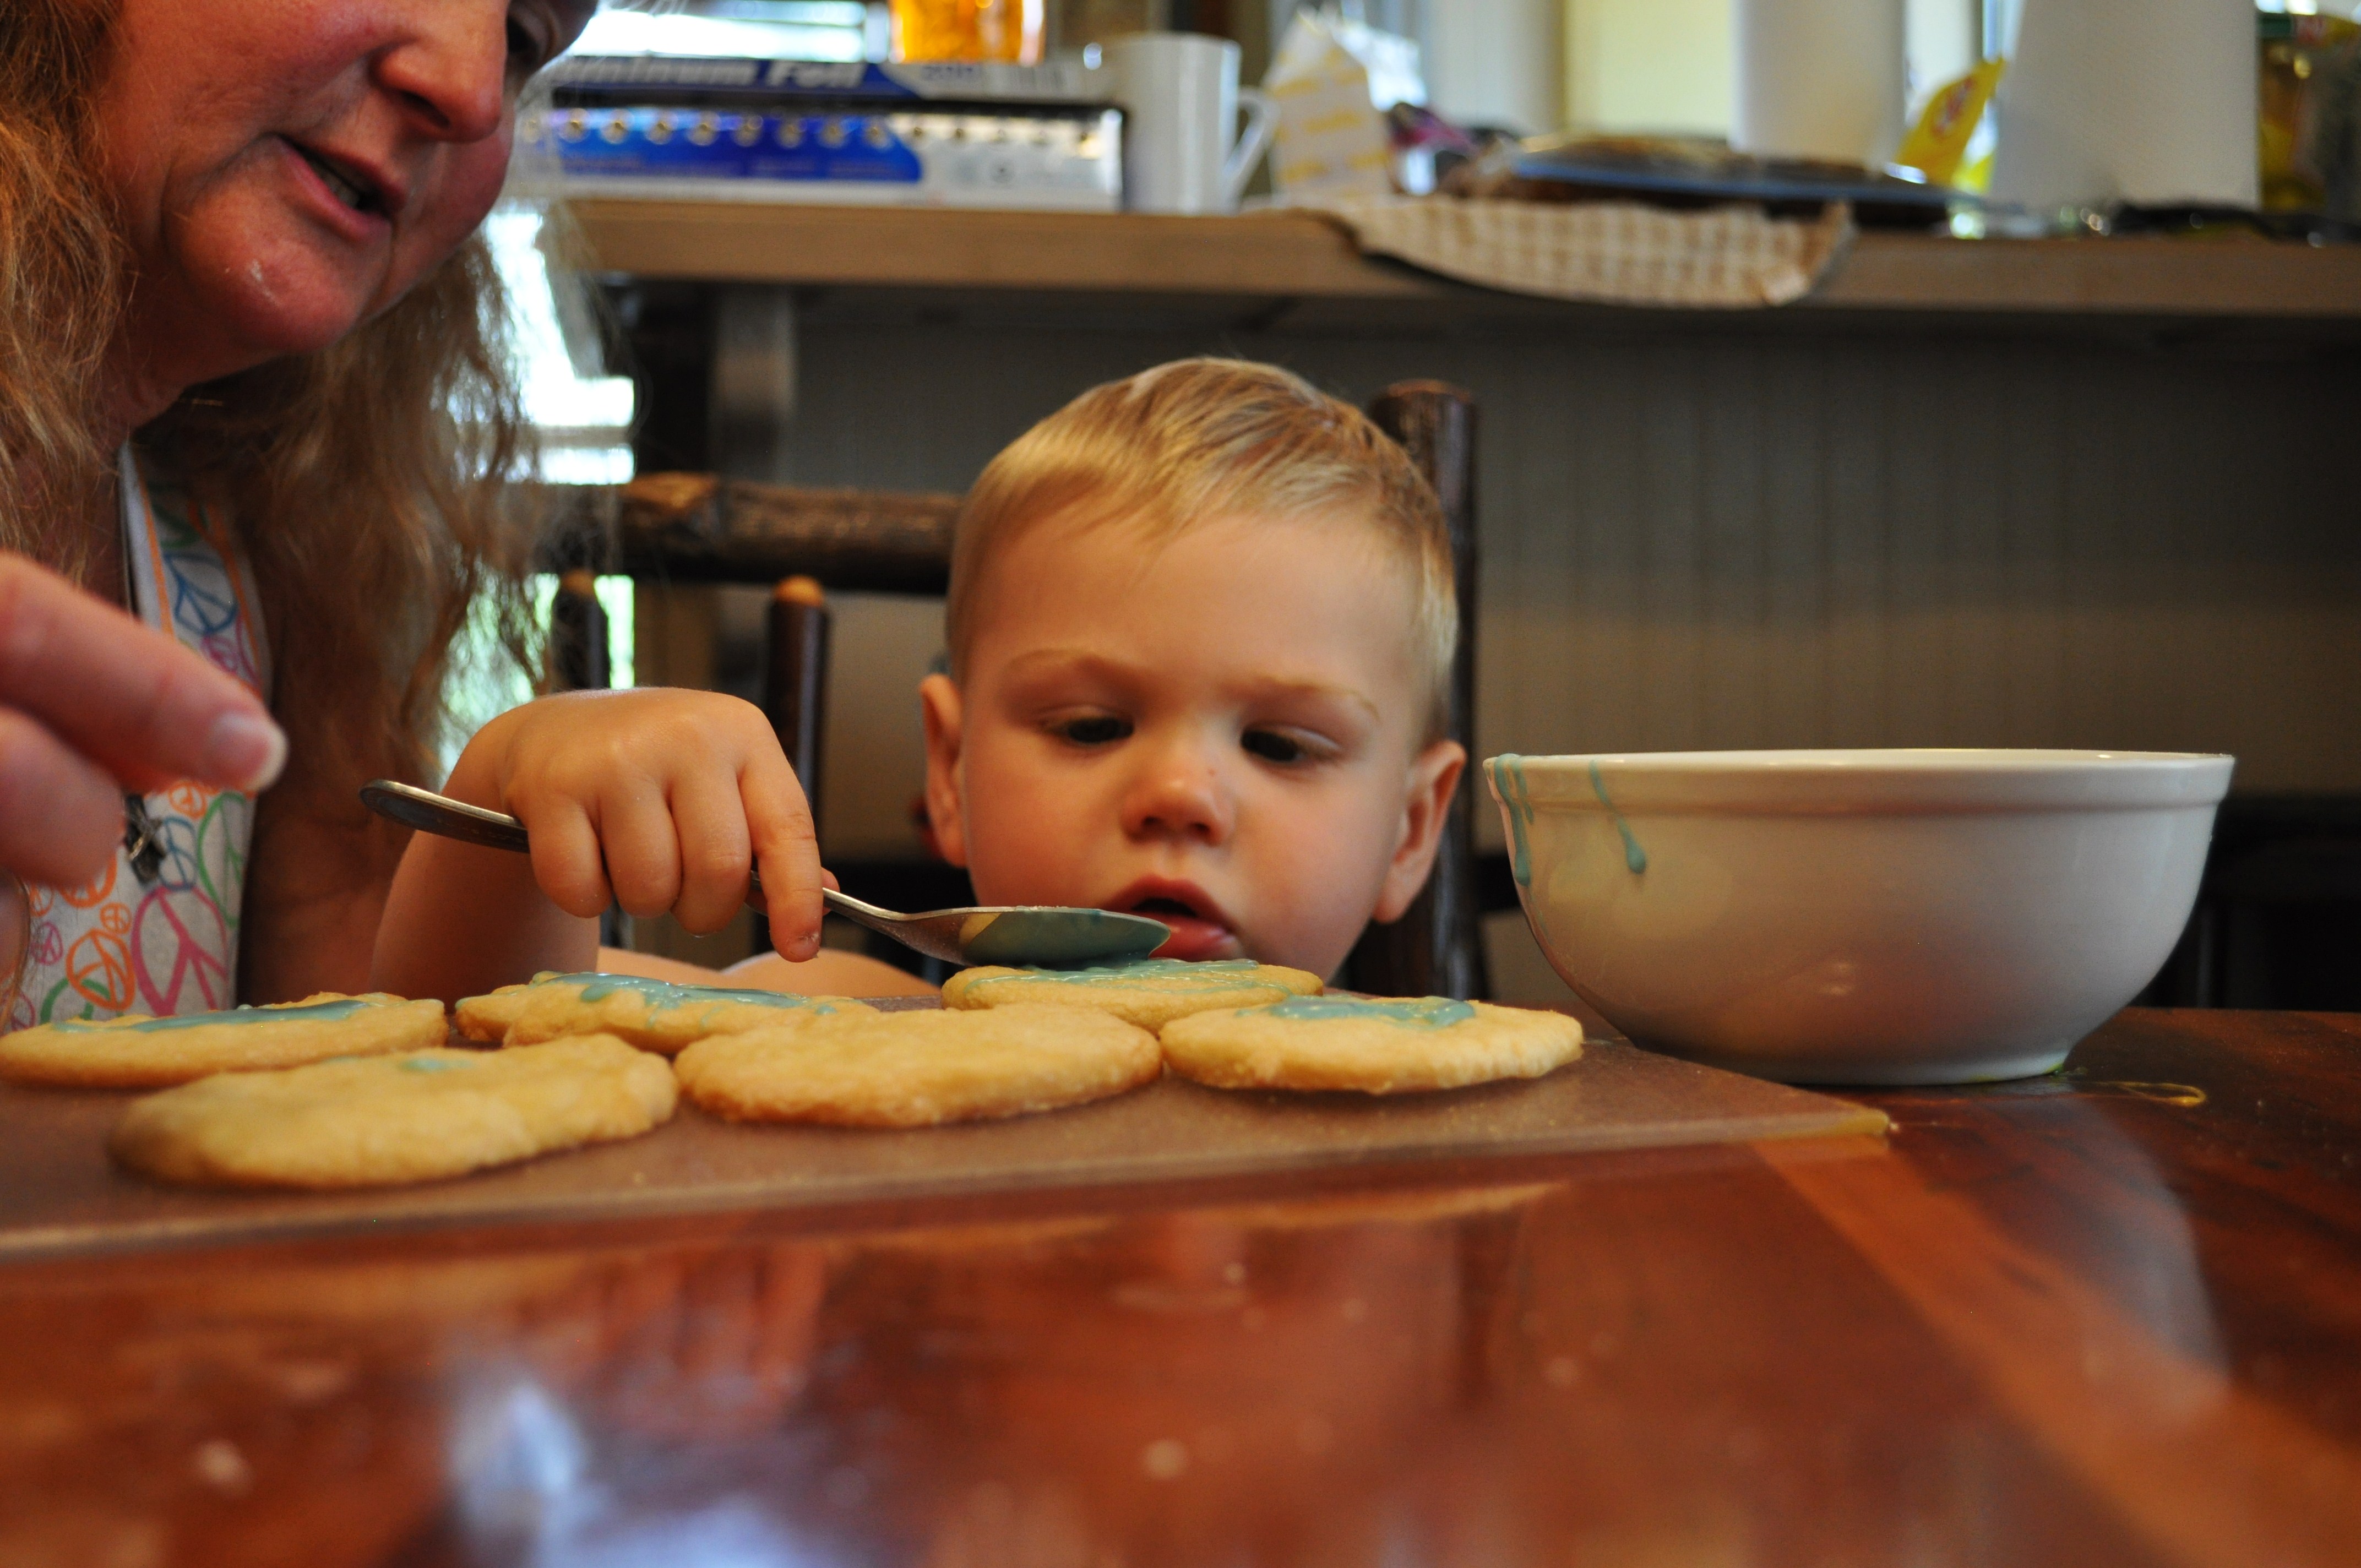
Jackson and his Mimi starting a tradition with these egg-free and optionally dairy-free sugar cookies.
Have you ever met a woman who was beautiful, had an equally beautiful family with grown children who are best friends with each other, whose home is fit for the cover of Southern Living magazine, who loves Jesus, who crafts and entertains and cooks, and well, who you just might hate for being so together if it weren’t for how kind and caring and generous she was; and instead of envying her, you kind of just hope she’ll adopt you? I have. Her name is Miss Vickie.
Miss Vickie is Jared’s best friend Nick’s mom. Vickie and her husband Roger own three Chick-fil-A’s in our area and have raised entrepreneur-minded, self-motivated, creative kids. I wrote most of We Laugh, We Cry, We Cook, at Nick’s co-working space in Dallas, Common Desk, the first of its kind in the metroplex. Natalie, Miss Vickie’s daughter, is one of the most creative people I know. Her blog is so inspiring for crafty (or wannabe crafty) mamas!
Apparently, the creative genes run deep. Miss Vickie is kind of famous in these parts for her sugar cookies. If you’ve been to her house, you’ve probably seen a jar full of these soft, buttery cookies in an array of pastel colors and cute shapes, and may have even been sent home with a mason jar full of them. The recipe was created and passed down by her Italian family, the Spinelli’s, years ago.
How much do you love this handwritten recipe?
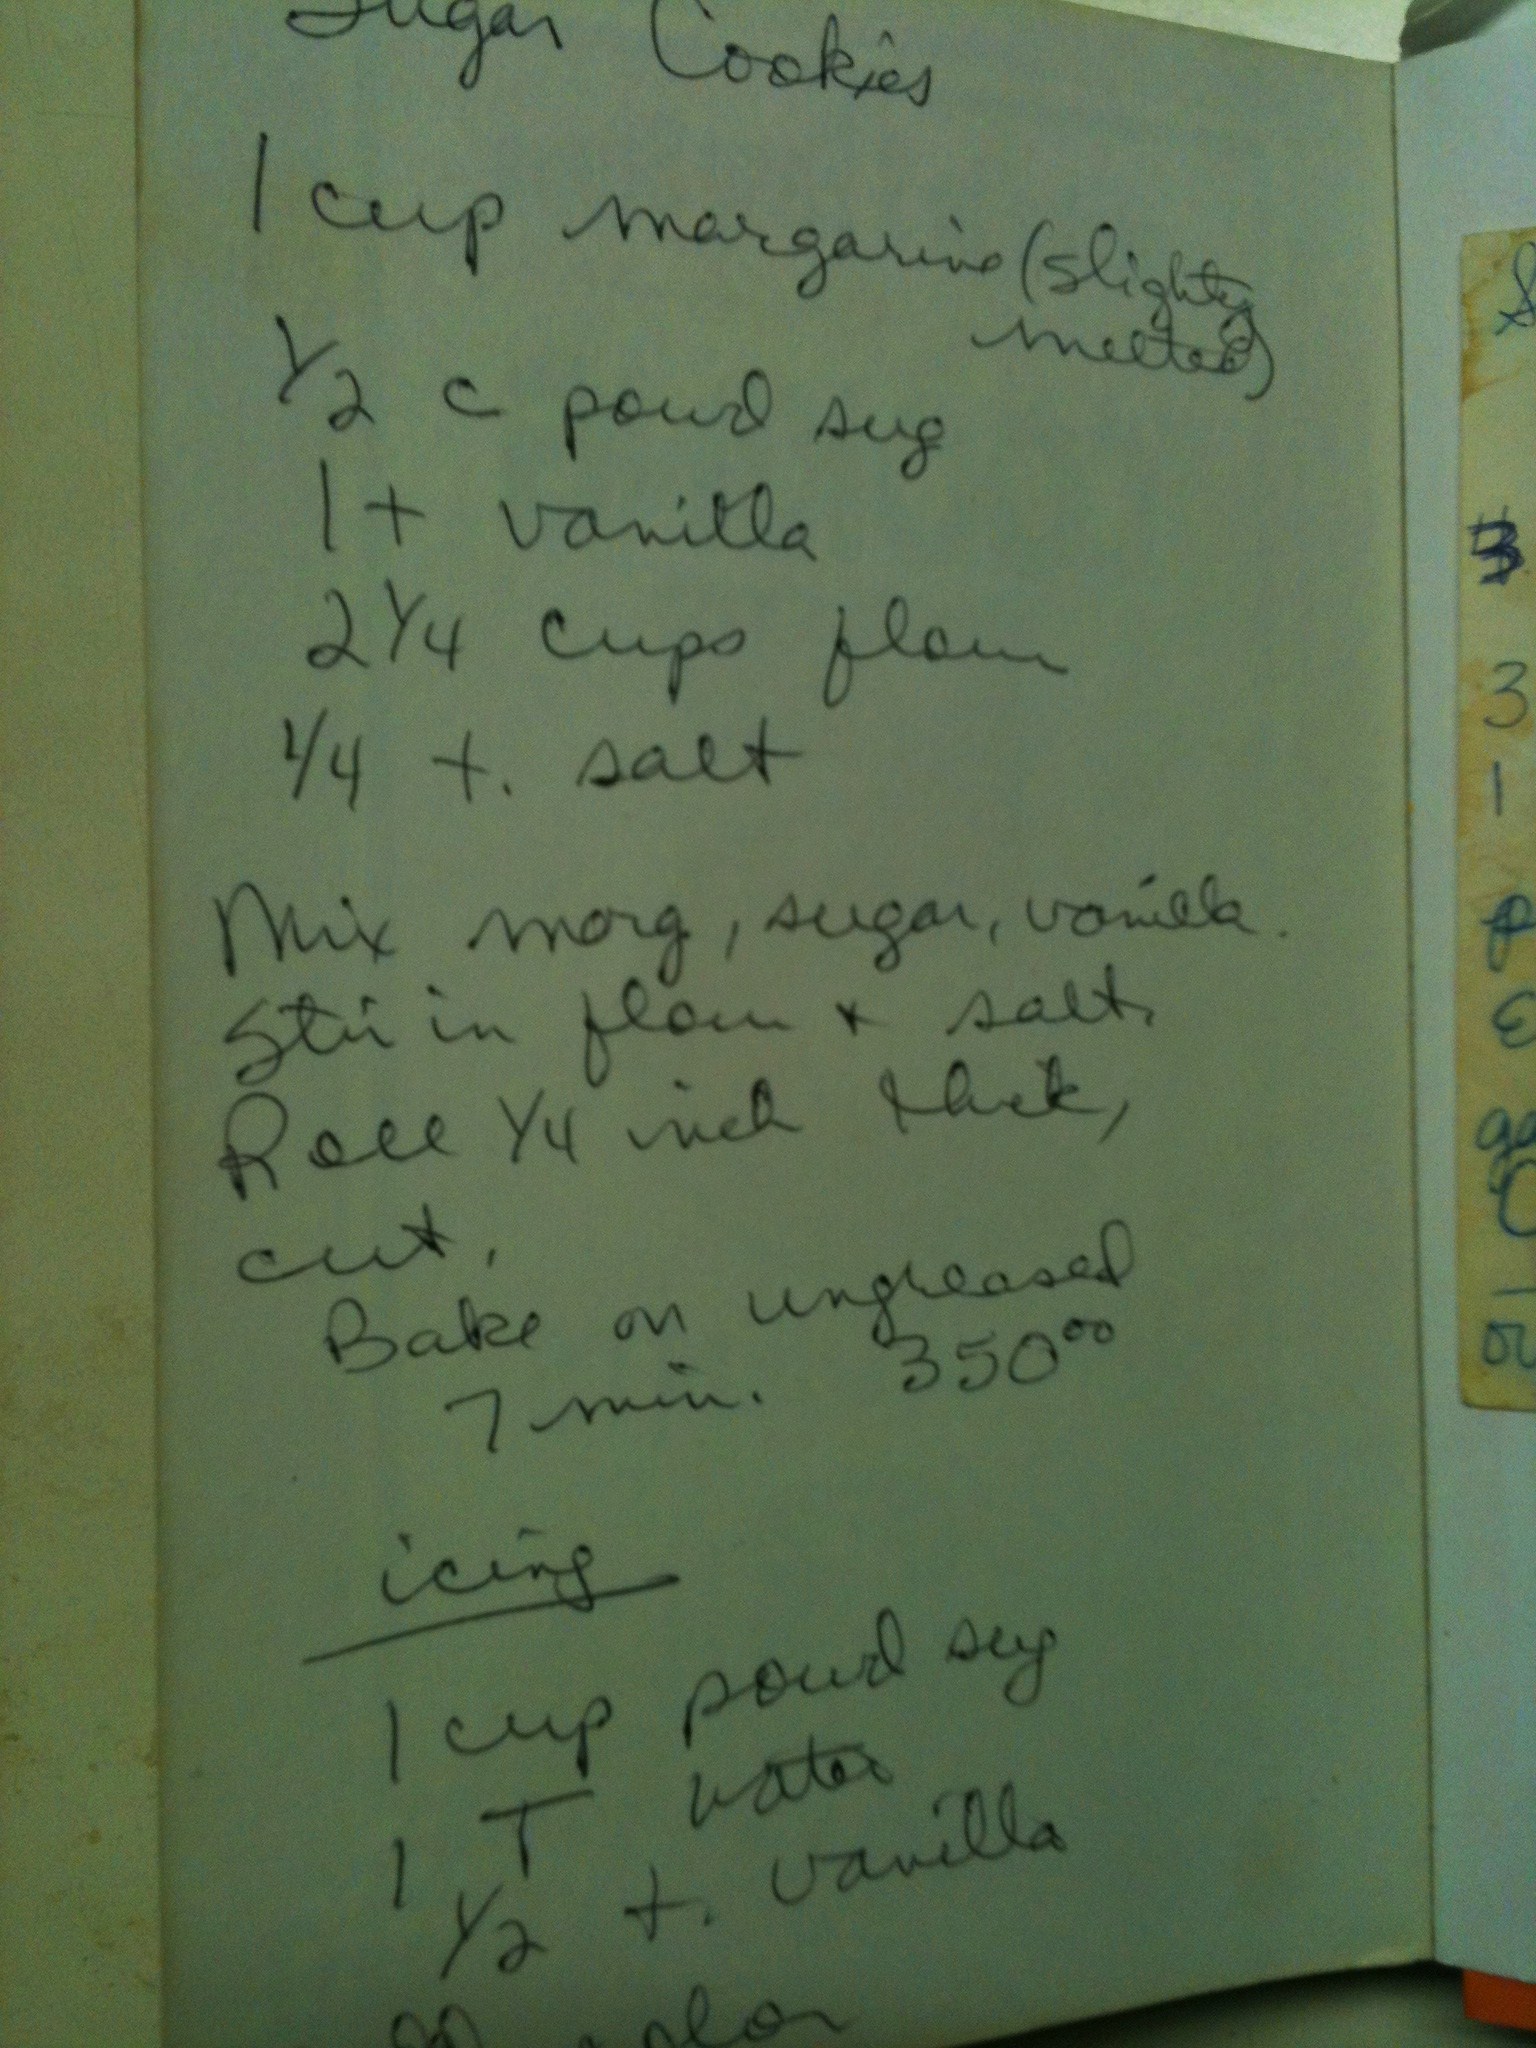
Surprisingly, it doesn’t call for any eggs and since it calls for margarine, swapping Earth Balance is a no-brainer to make them dairy-free too. She says she’s never come across a recipe quite like it and neither have I. They are so light and almost melt in your mouth.
My mother-in-law Rhonda and Vickie have been friends for as long as Jared and Nick have been buds. Through vacations and ball games and girlfriend getaways, they’ve shared a few of these cookies over the years. And now they are sharing them, as Nonna and Mimi, with their grandkids. Nostalgia.
We went to one of our favorite getaways out in East Texas over Easter weekend with Jared’s parents. Early Saturday, it was rainy and cold, so Mimi and Jackson baked the morning away, while I snapped photos. We declared it an official Easter tradition.
Mix the ingredients.

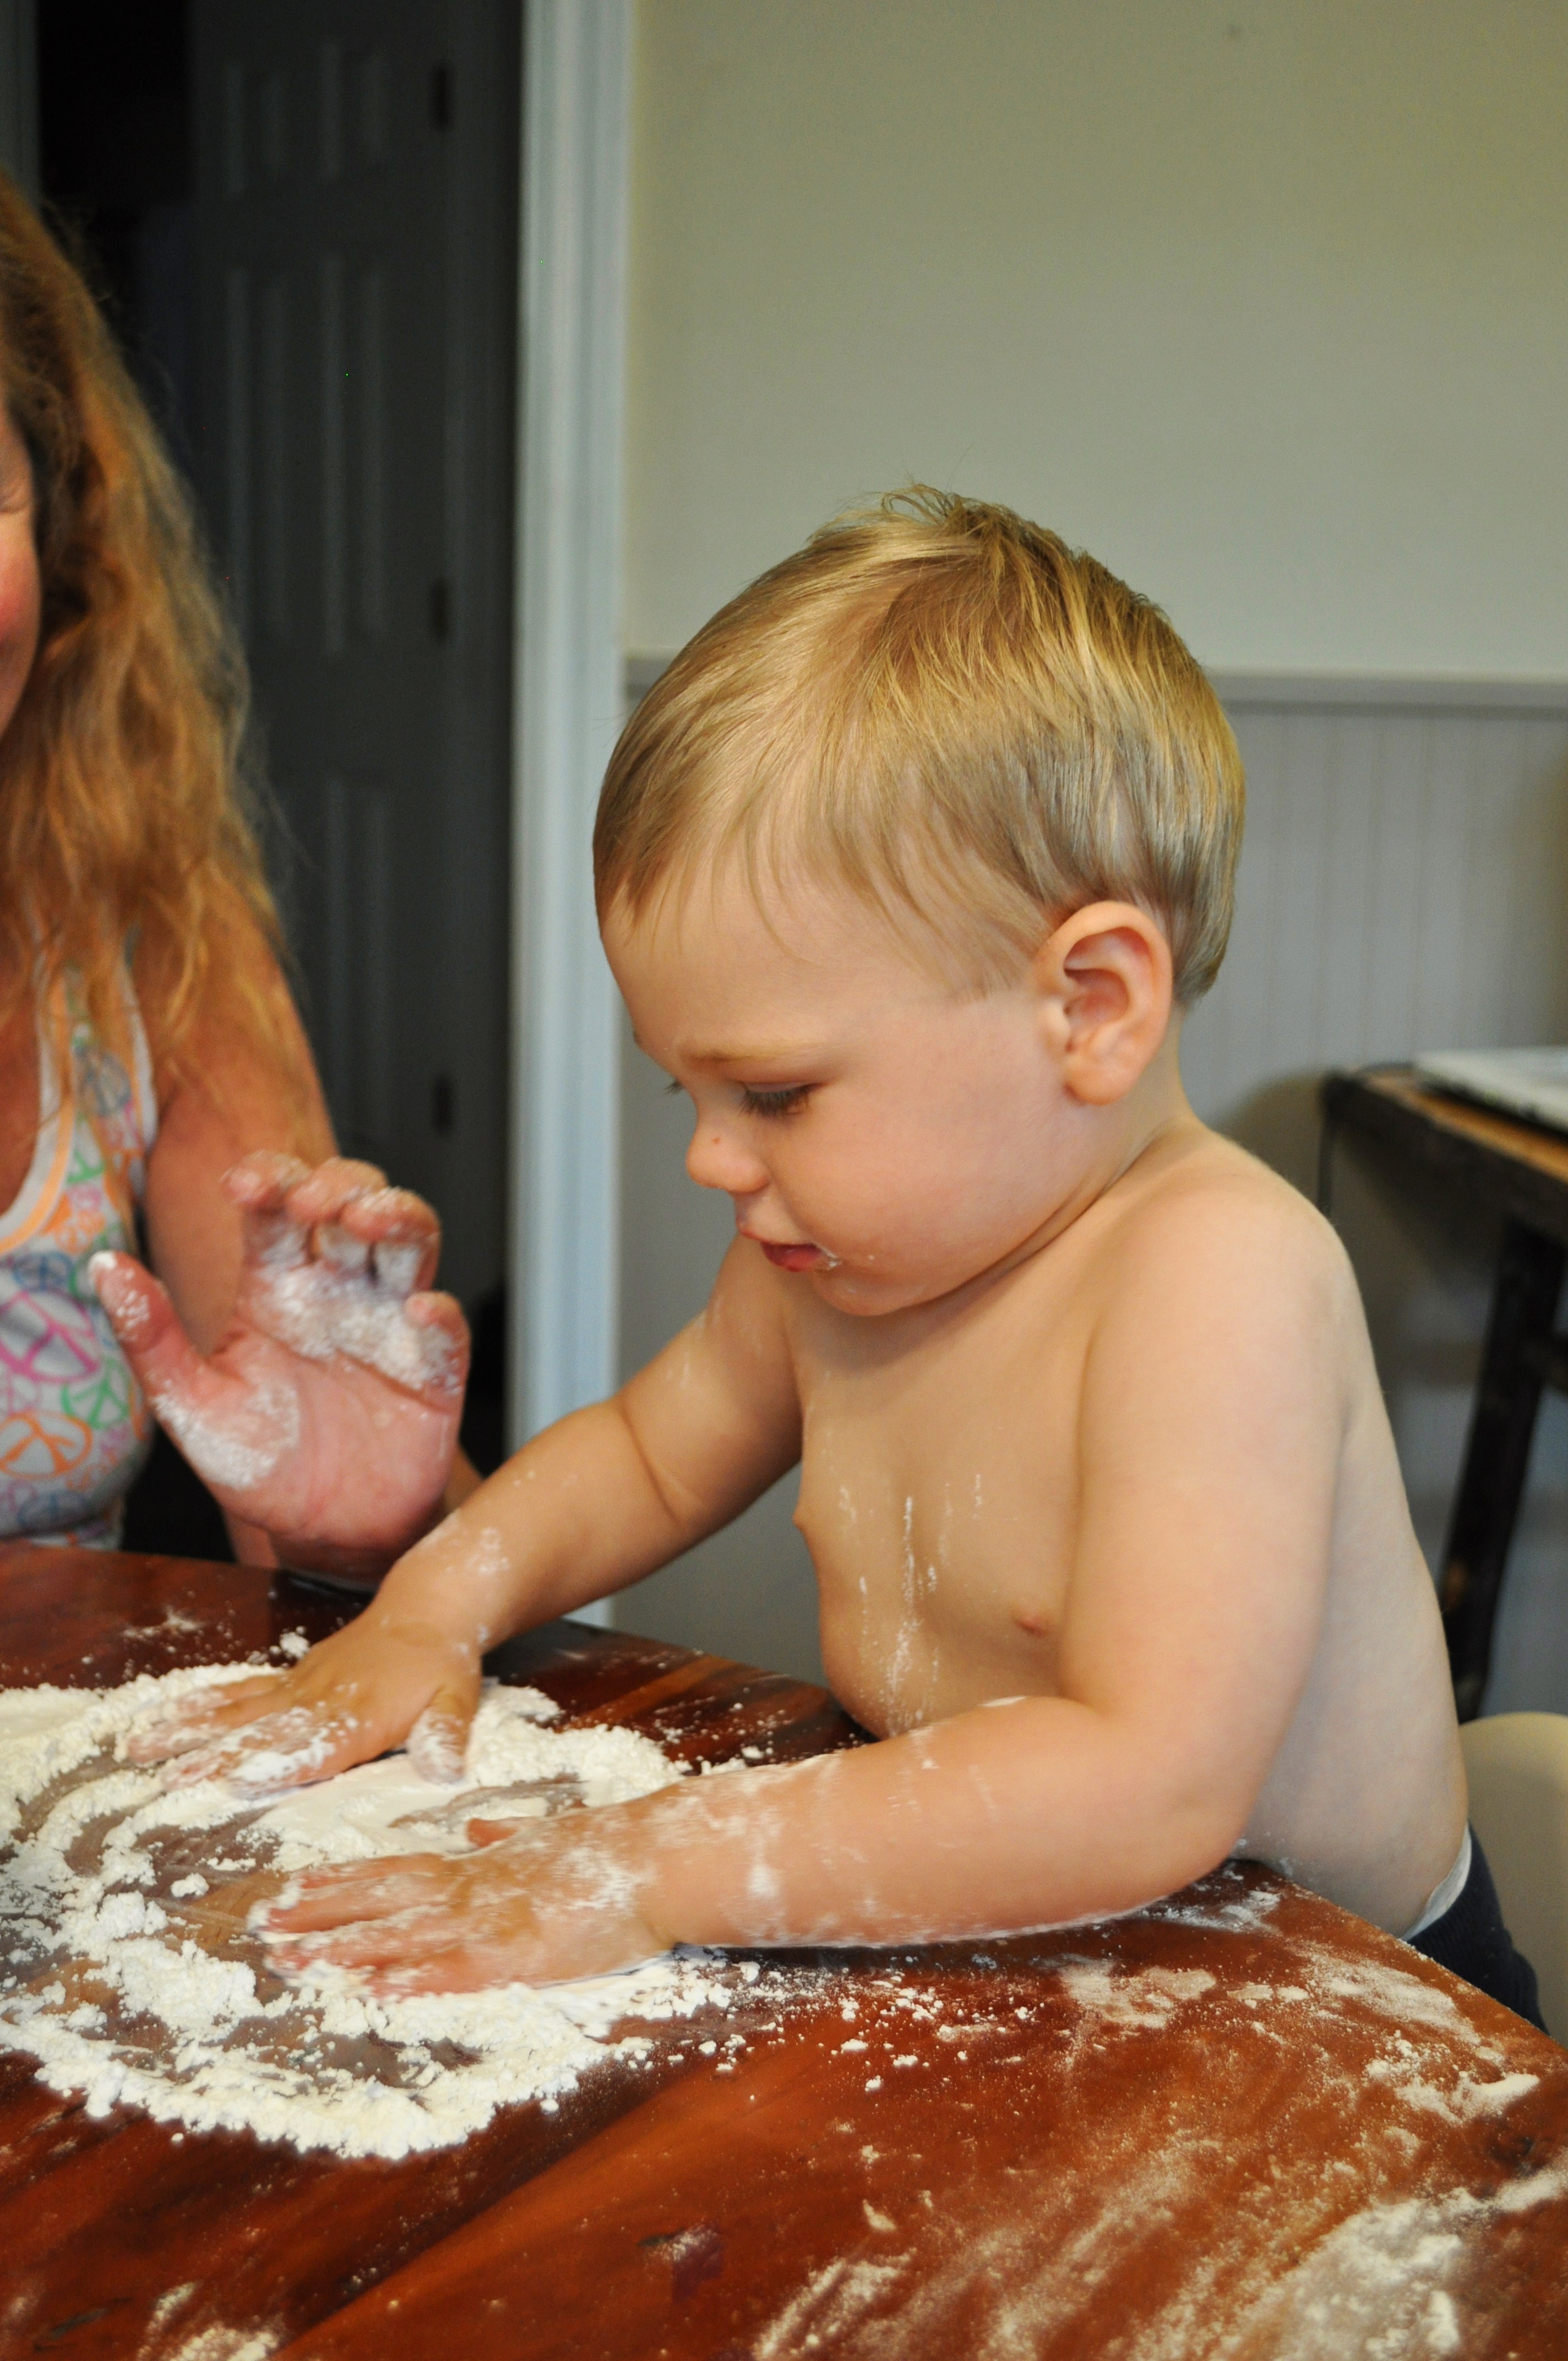
This is a perfect recipe for kids to help with. Simple ingredients. Simple steps. Edible dough.
Taste for quality control.

Yep, it’s yummy.
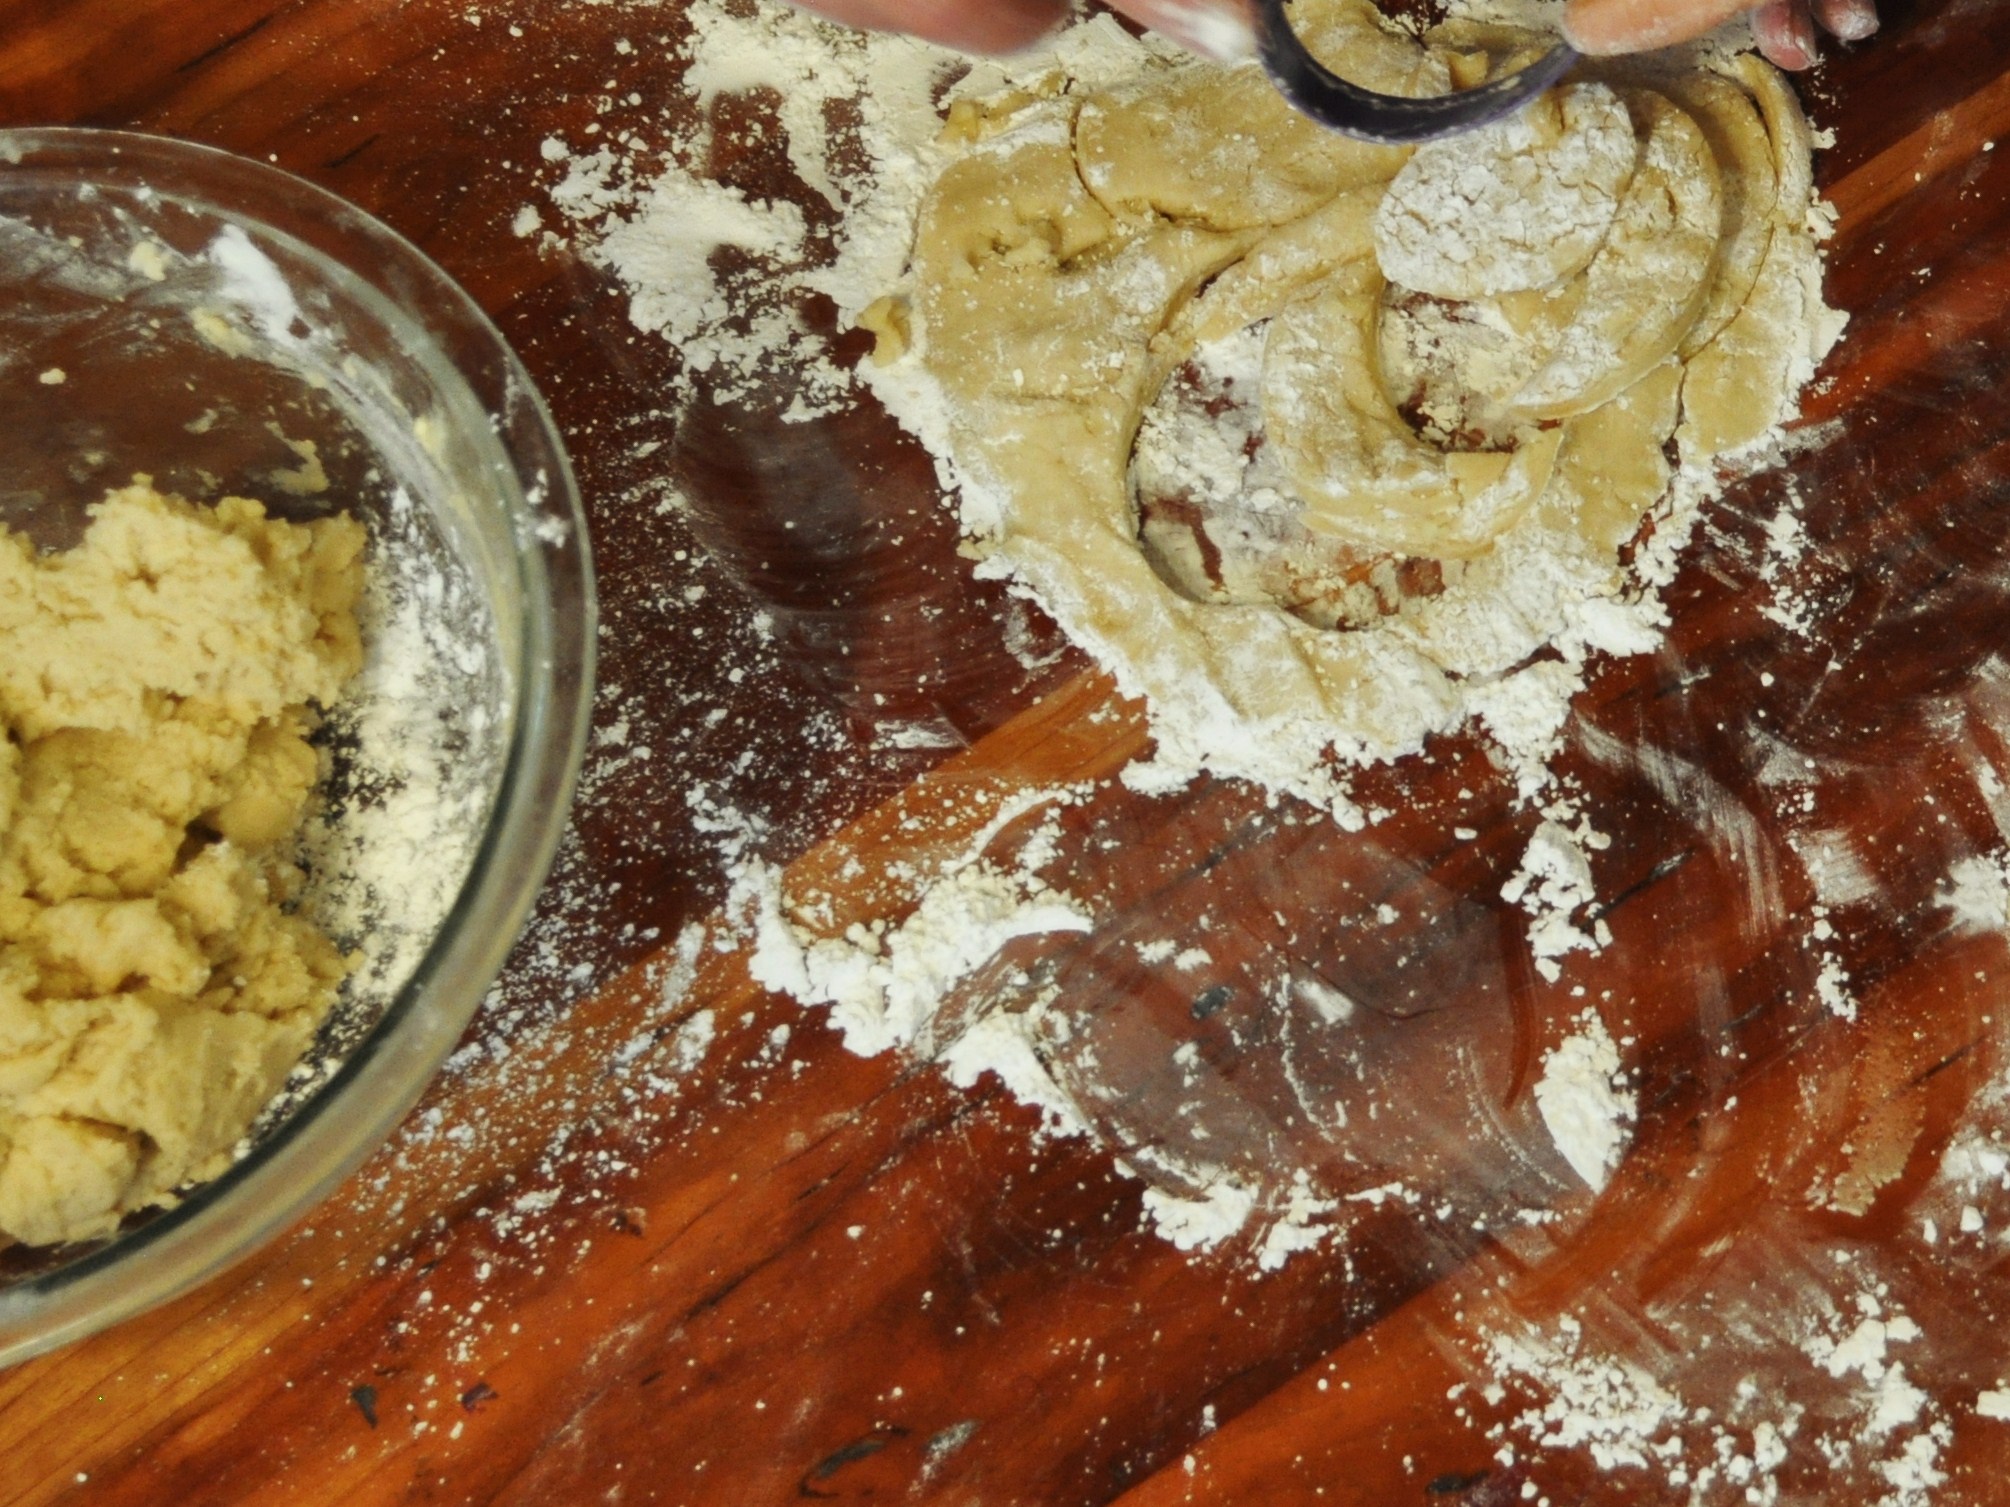
“Flour” your board with powdered sugar.
I could just eat him up. 😉
Press or roll the dough.
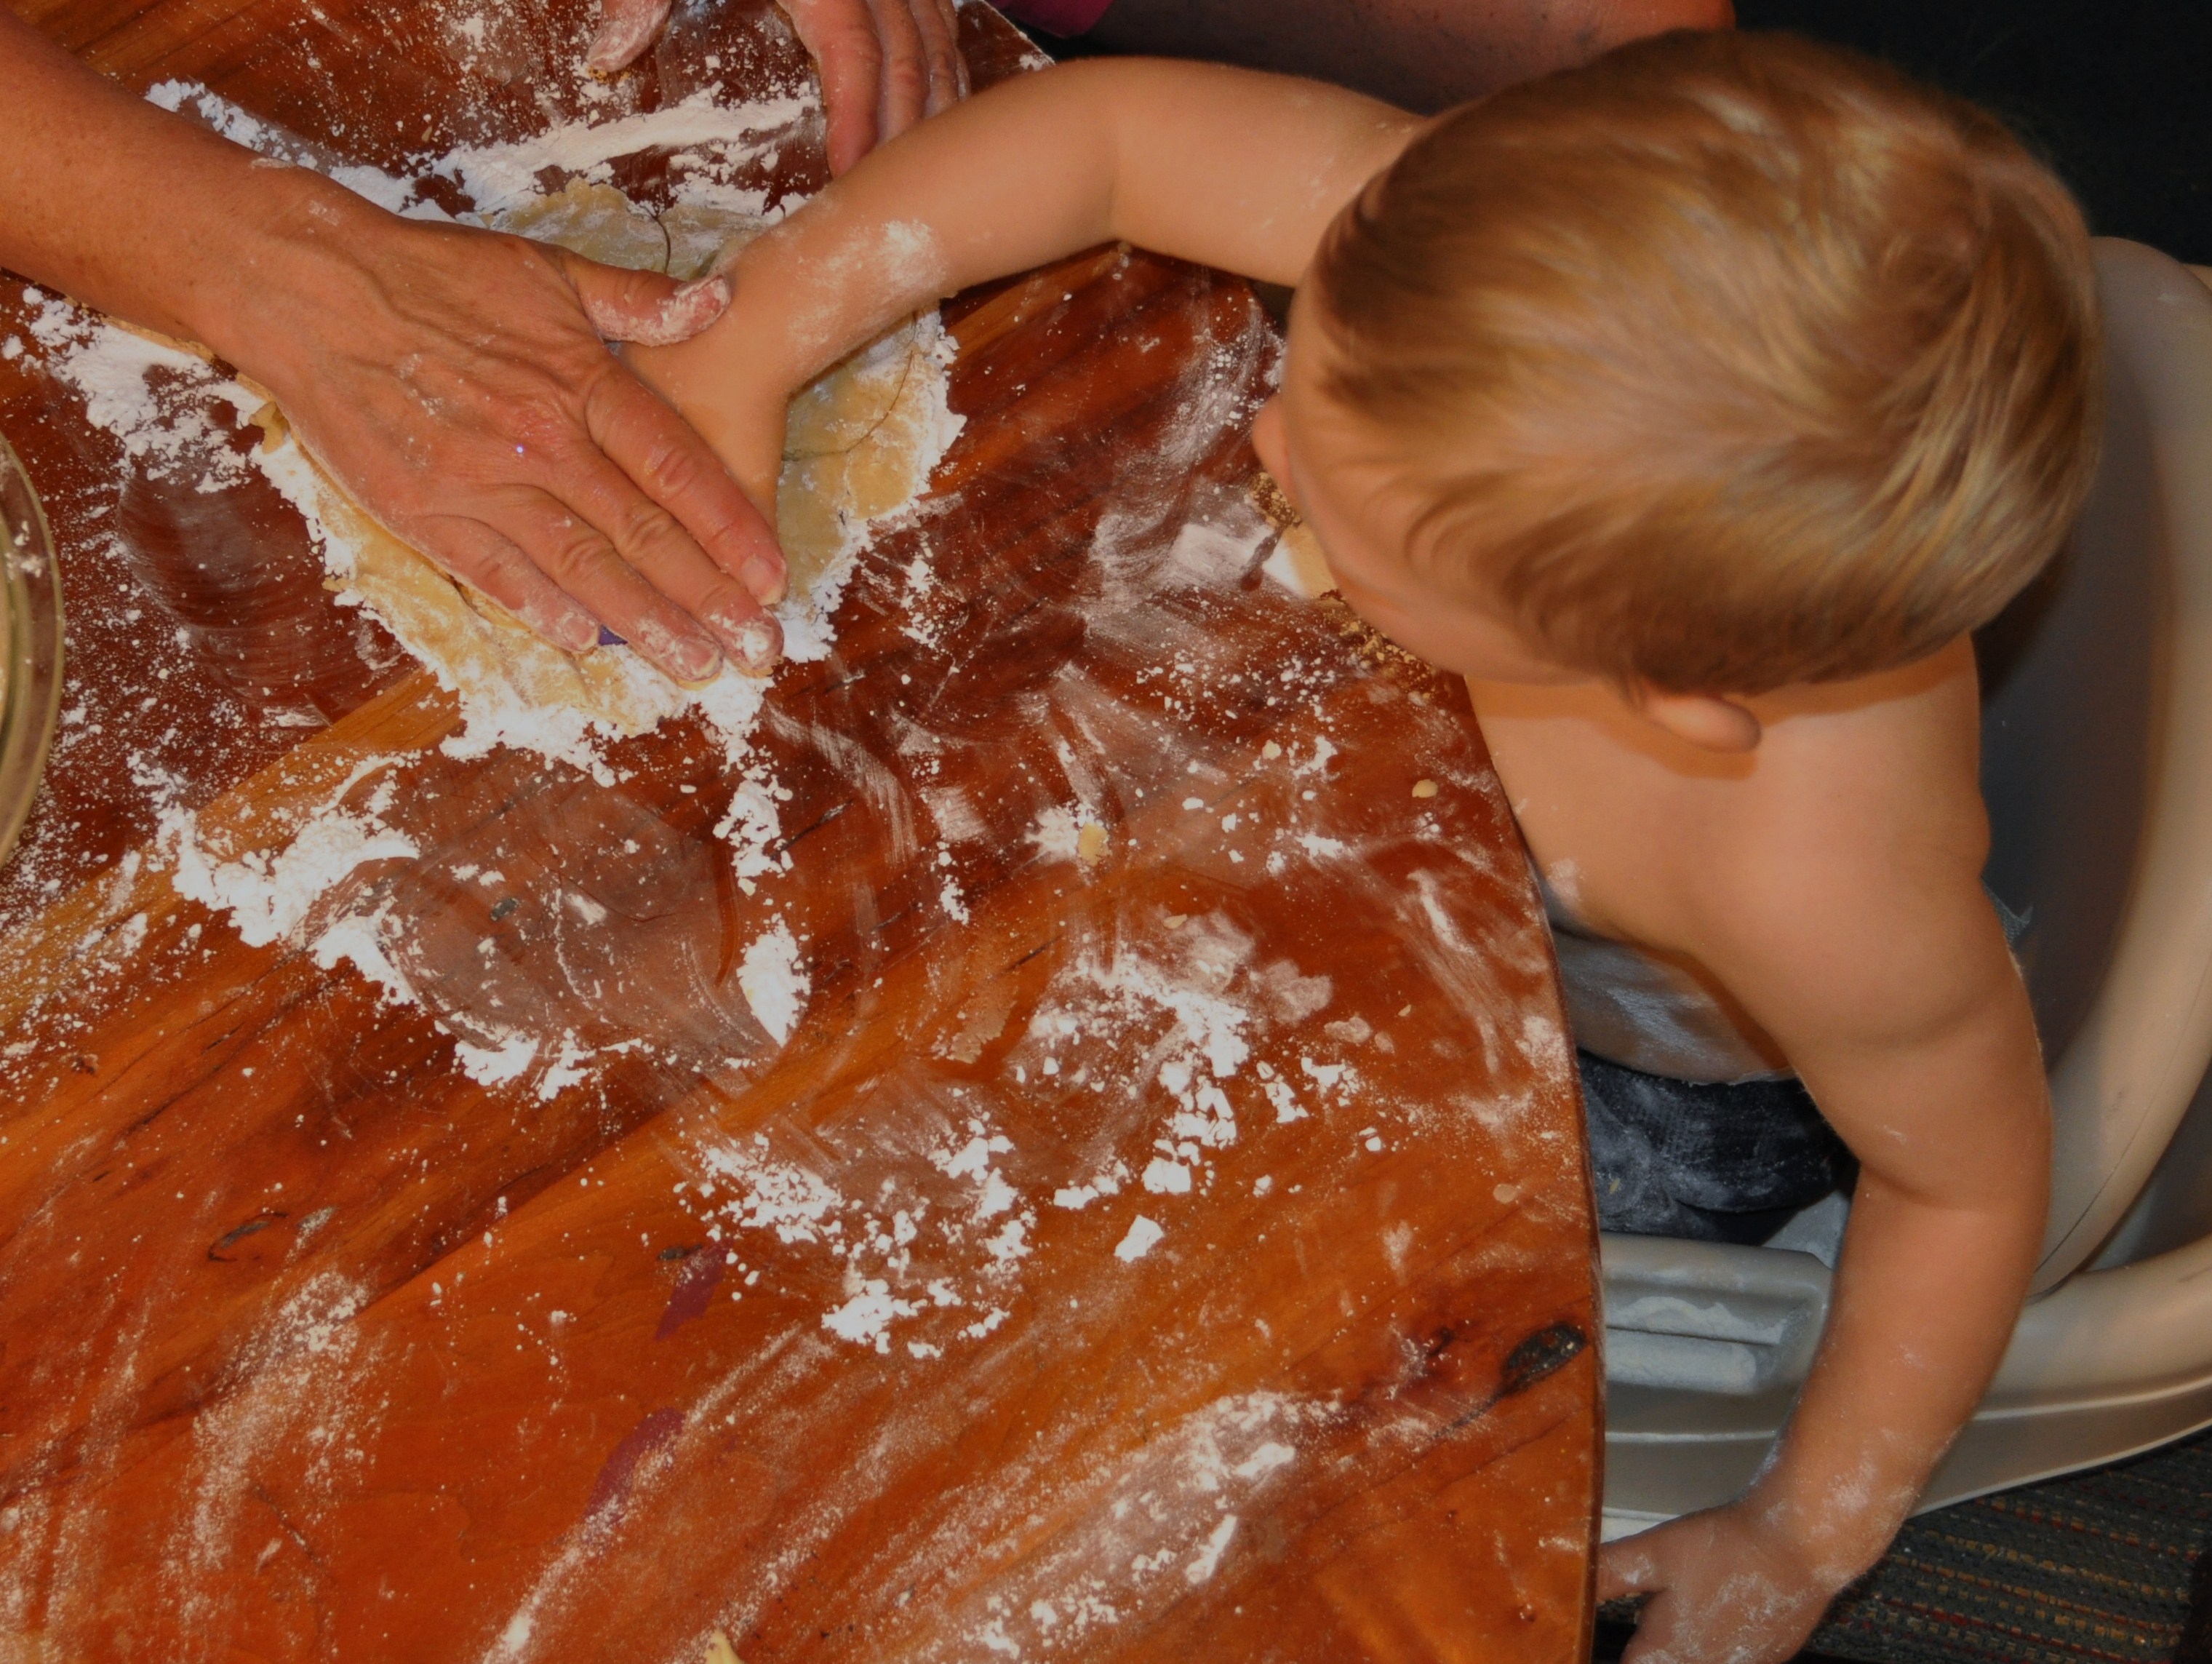
Mimi and Jackson making sweet memories.
Cut out your shapes with cookie cutters.
Cooking with kids is neither neat or orderly. Luckily this dough is soft, pliable, and forgiving. Just roll it back up and press it down again to start over.
Bake, cool, and ice.
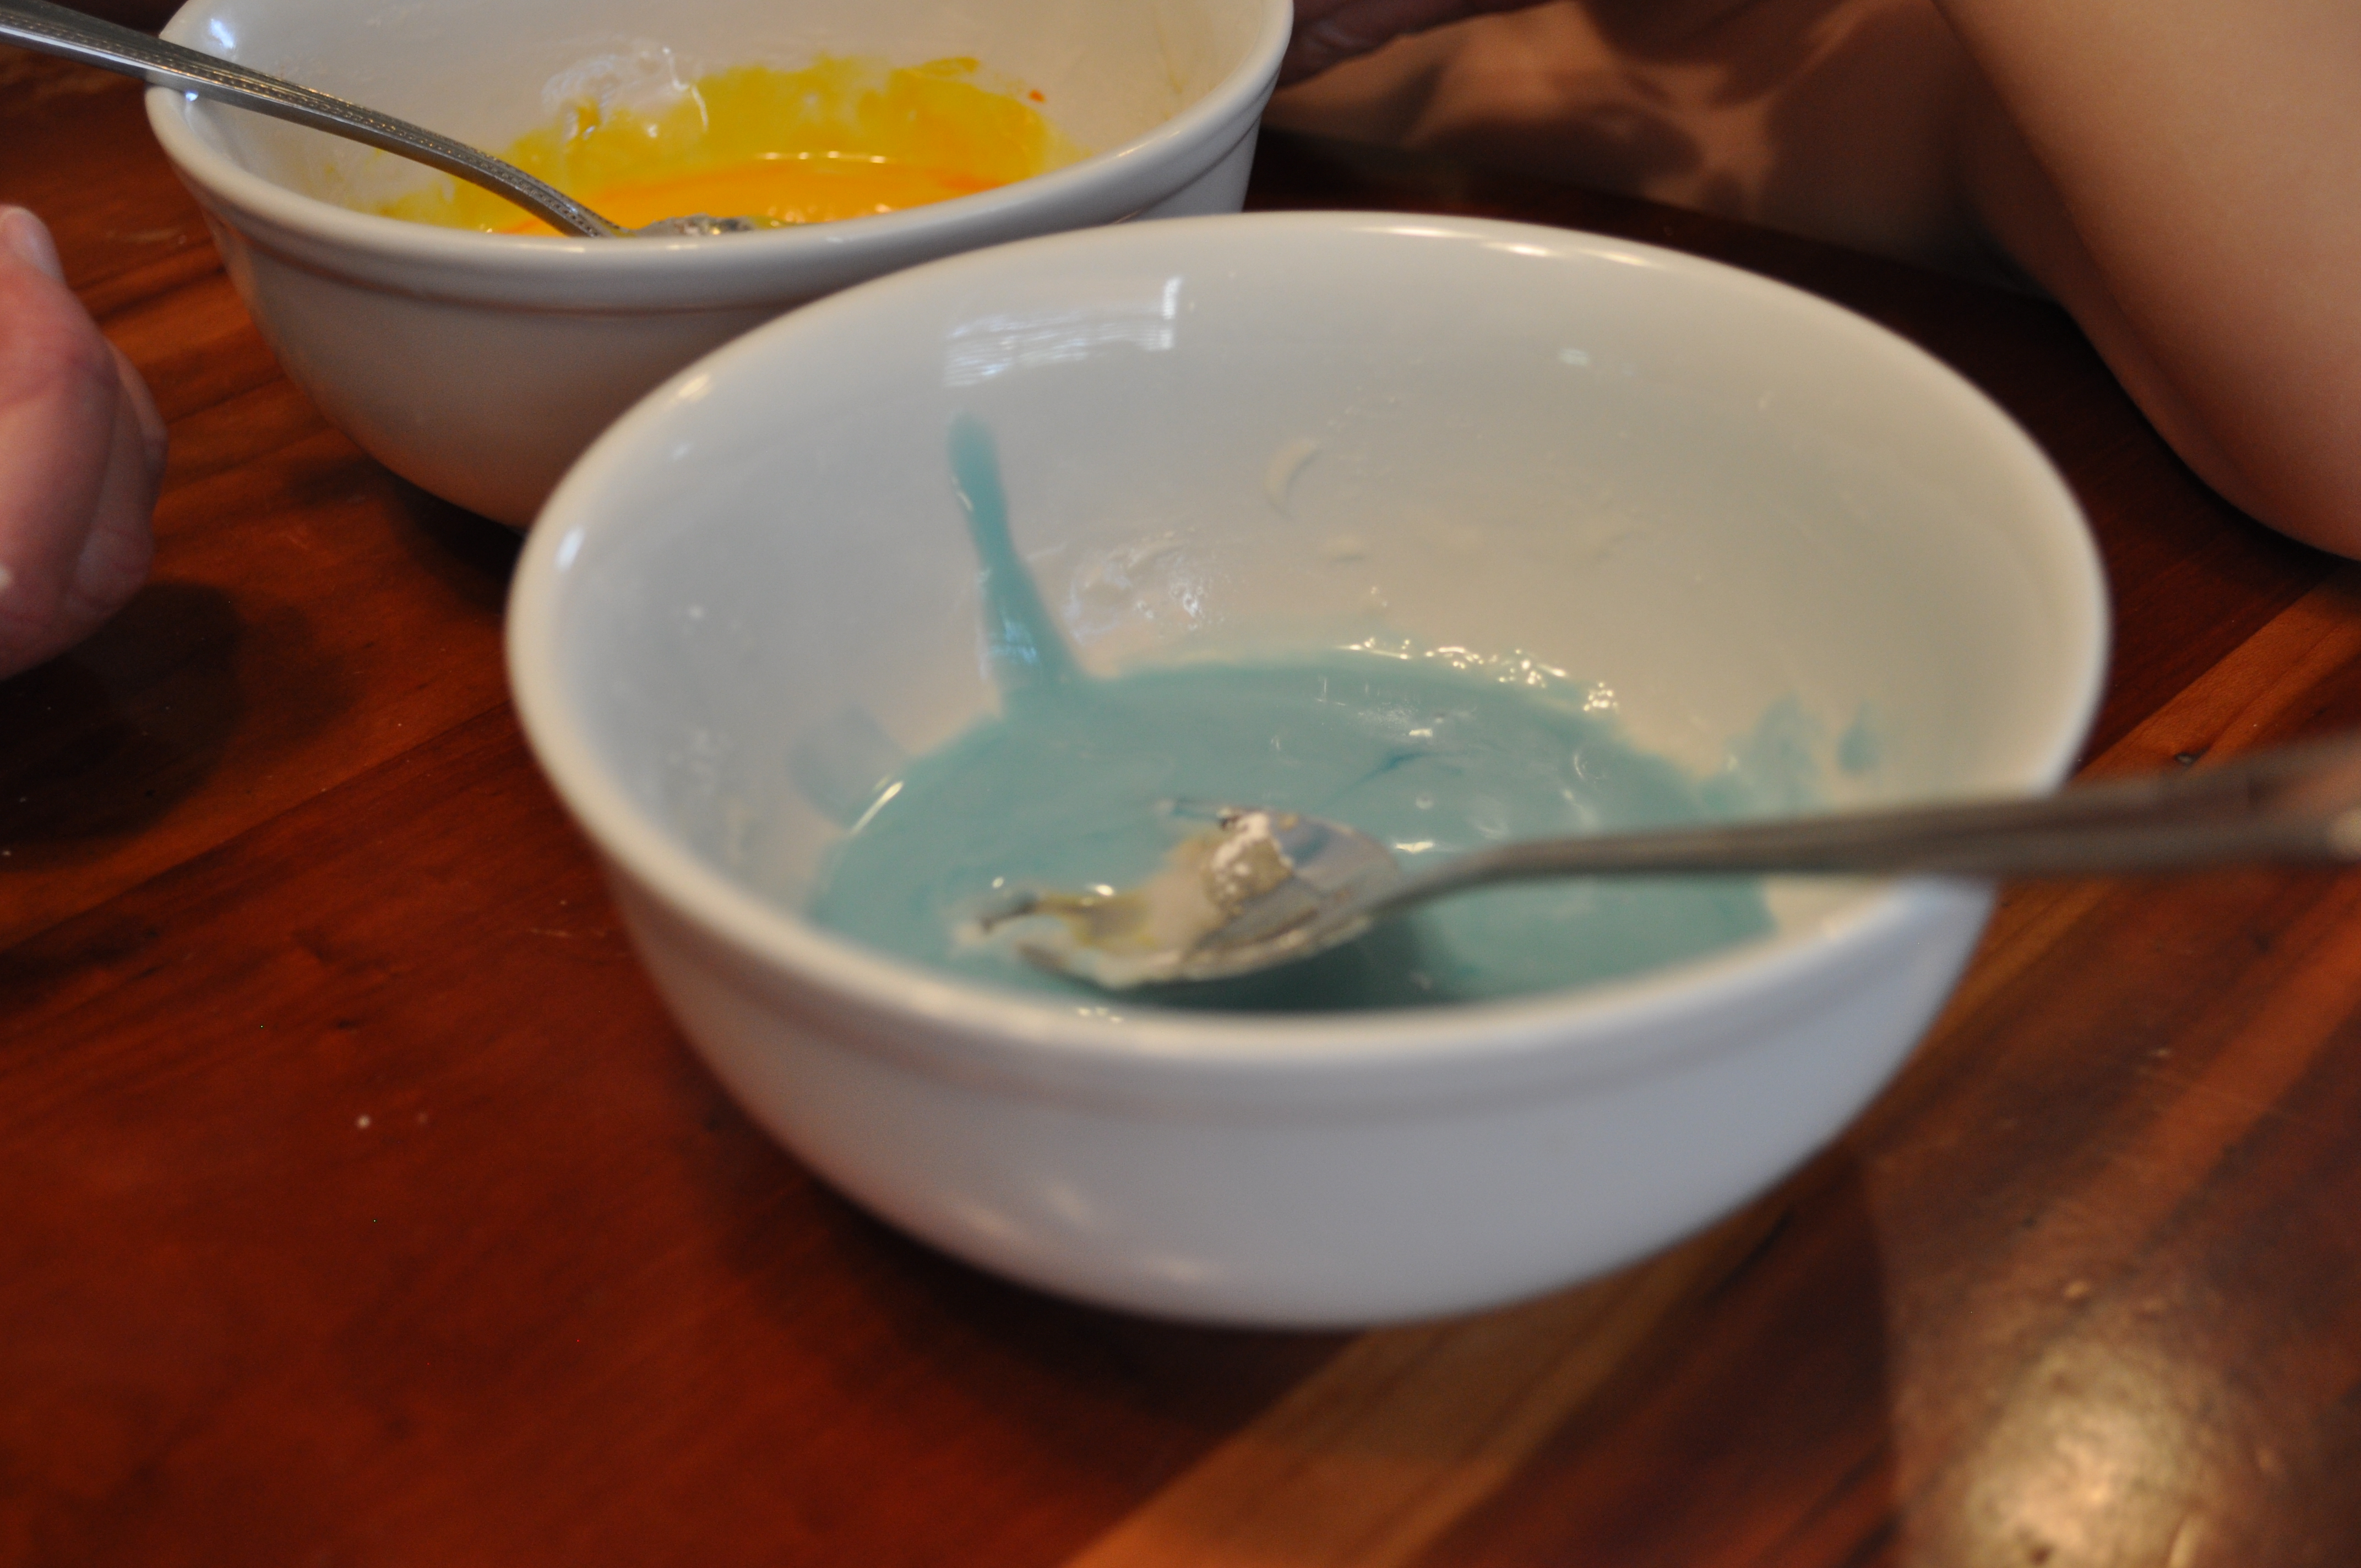
Pick your color, any color.

Decorated with love (not skill).
Eat.
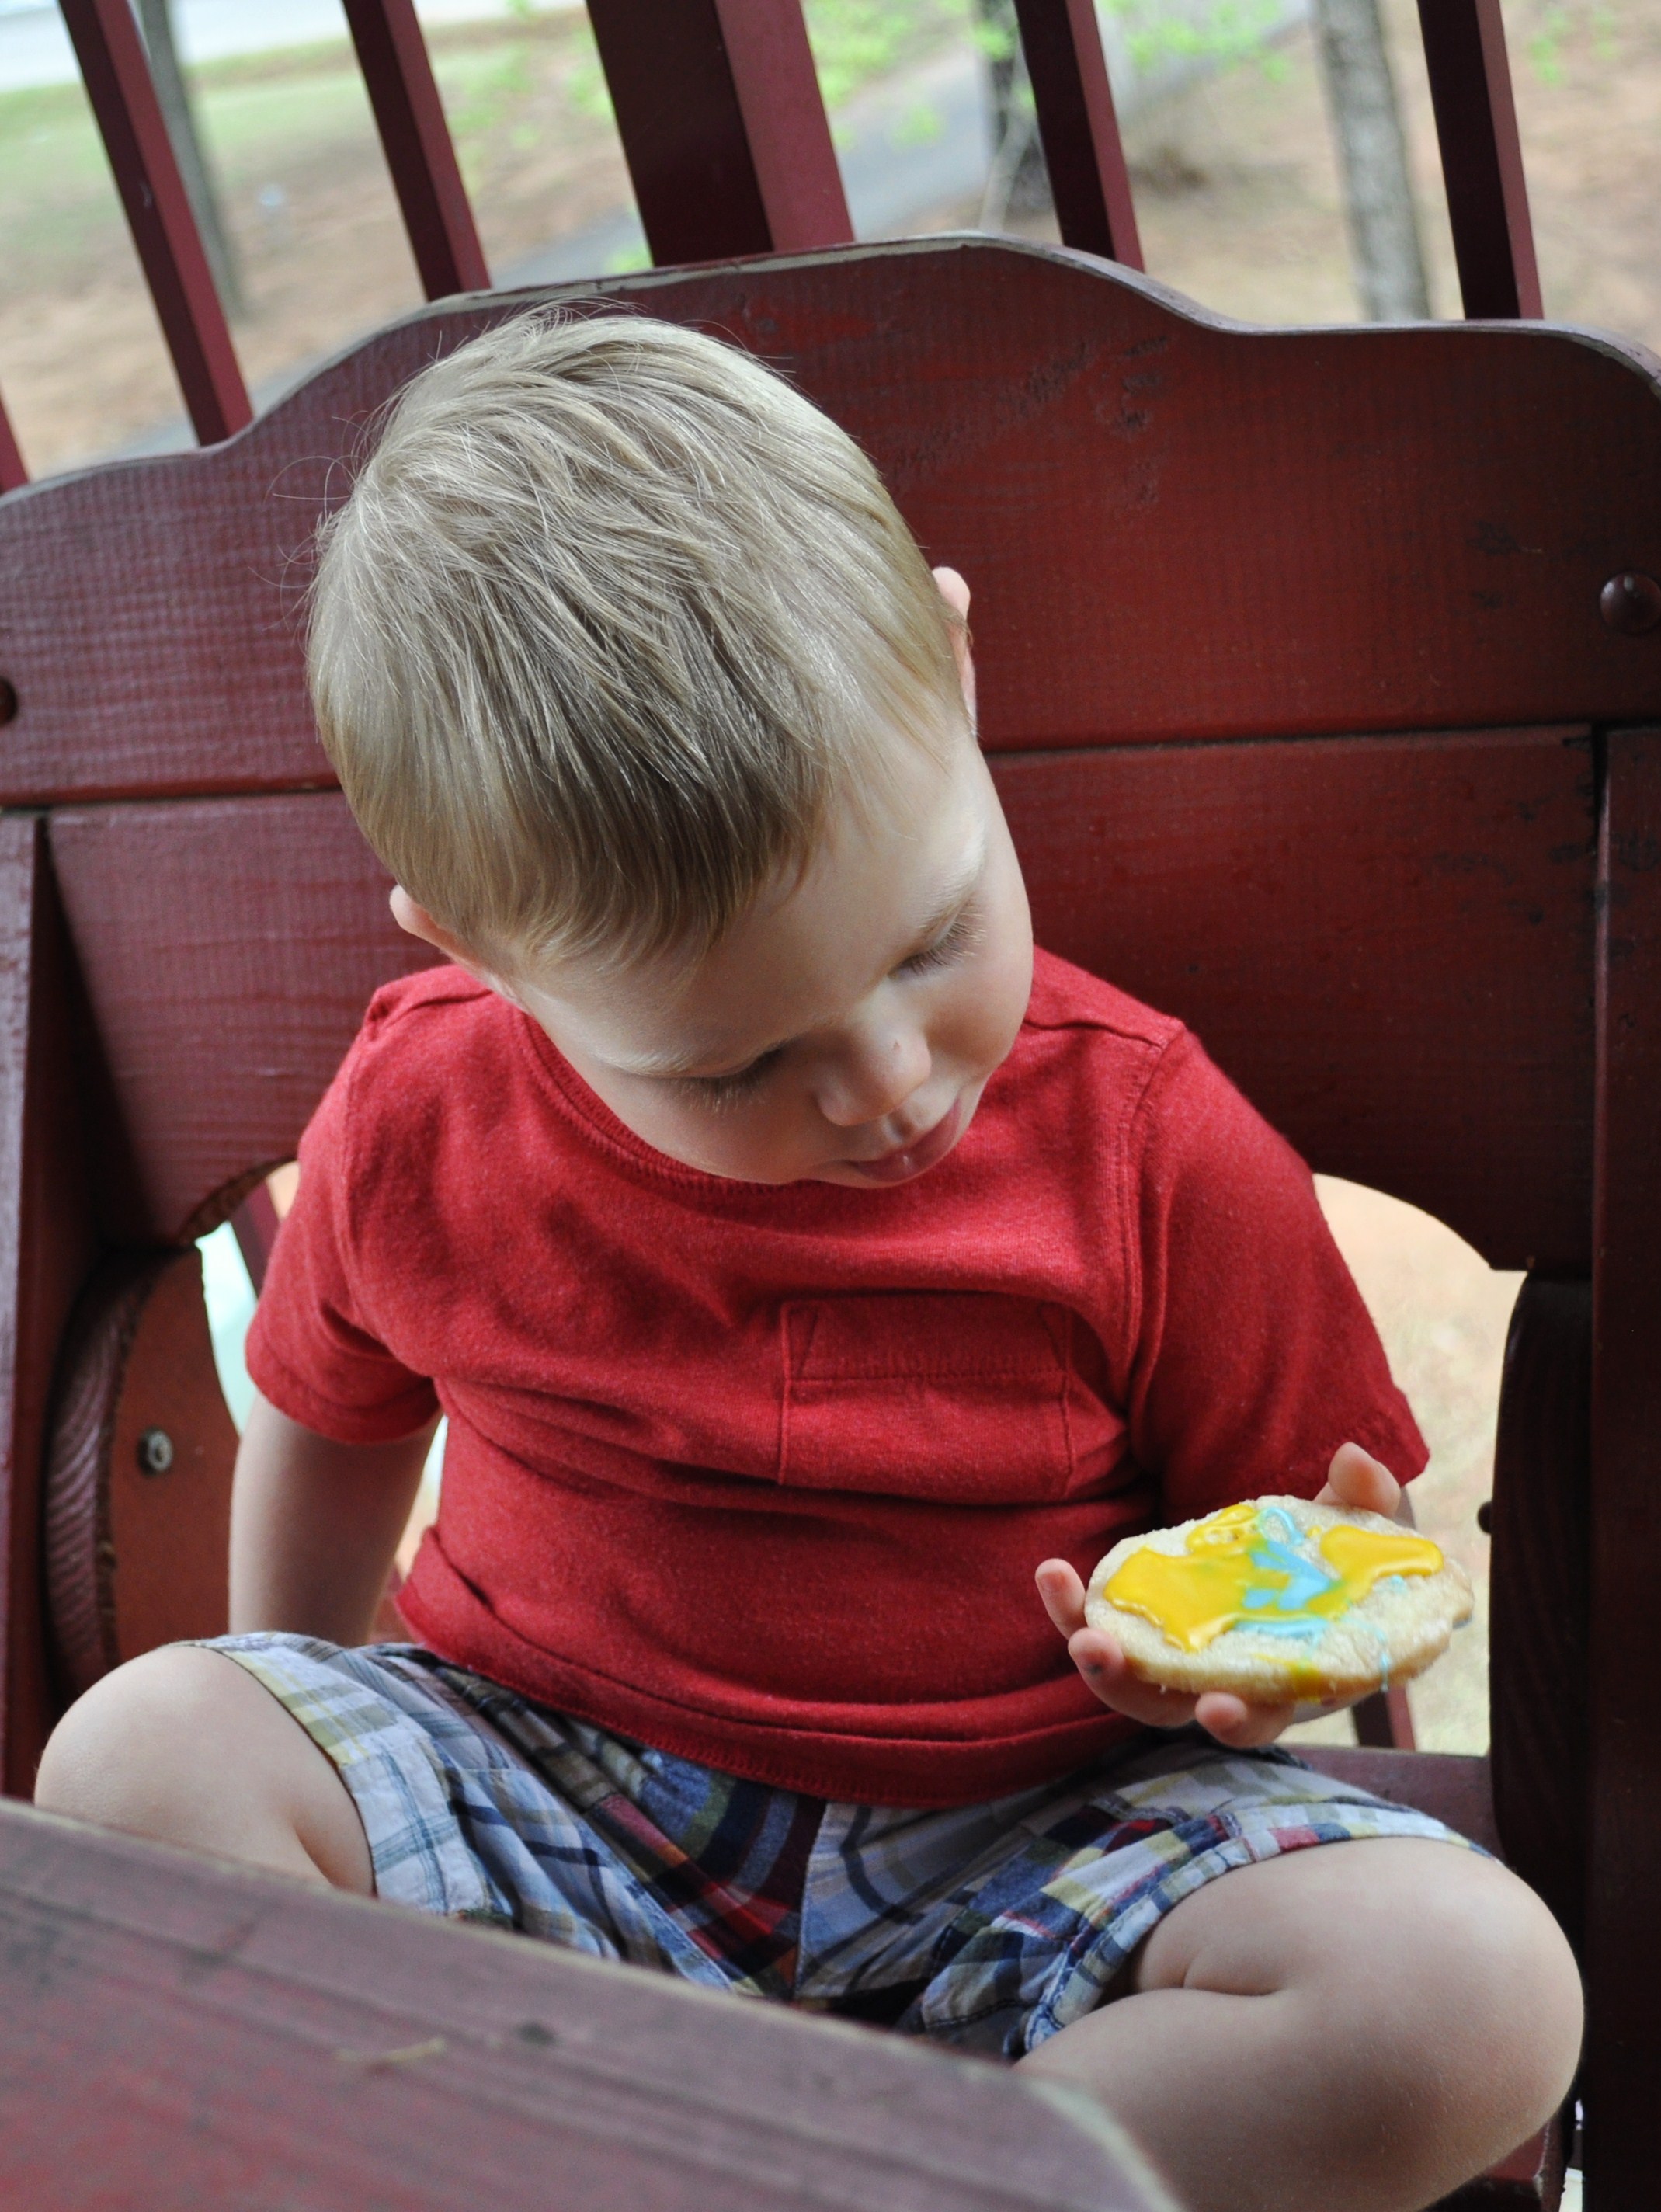
Debating on whether or not he should eat his sugar cookie masterpiece.
Clean Up.
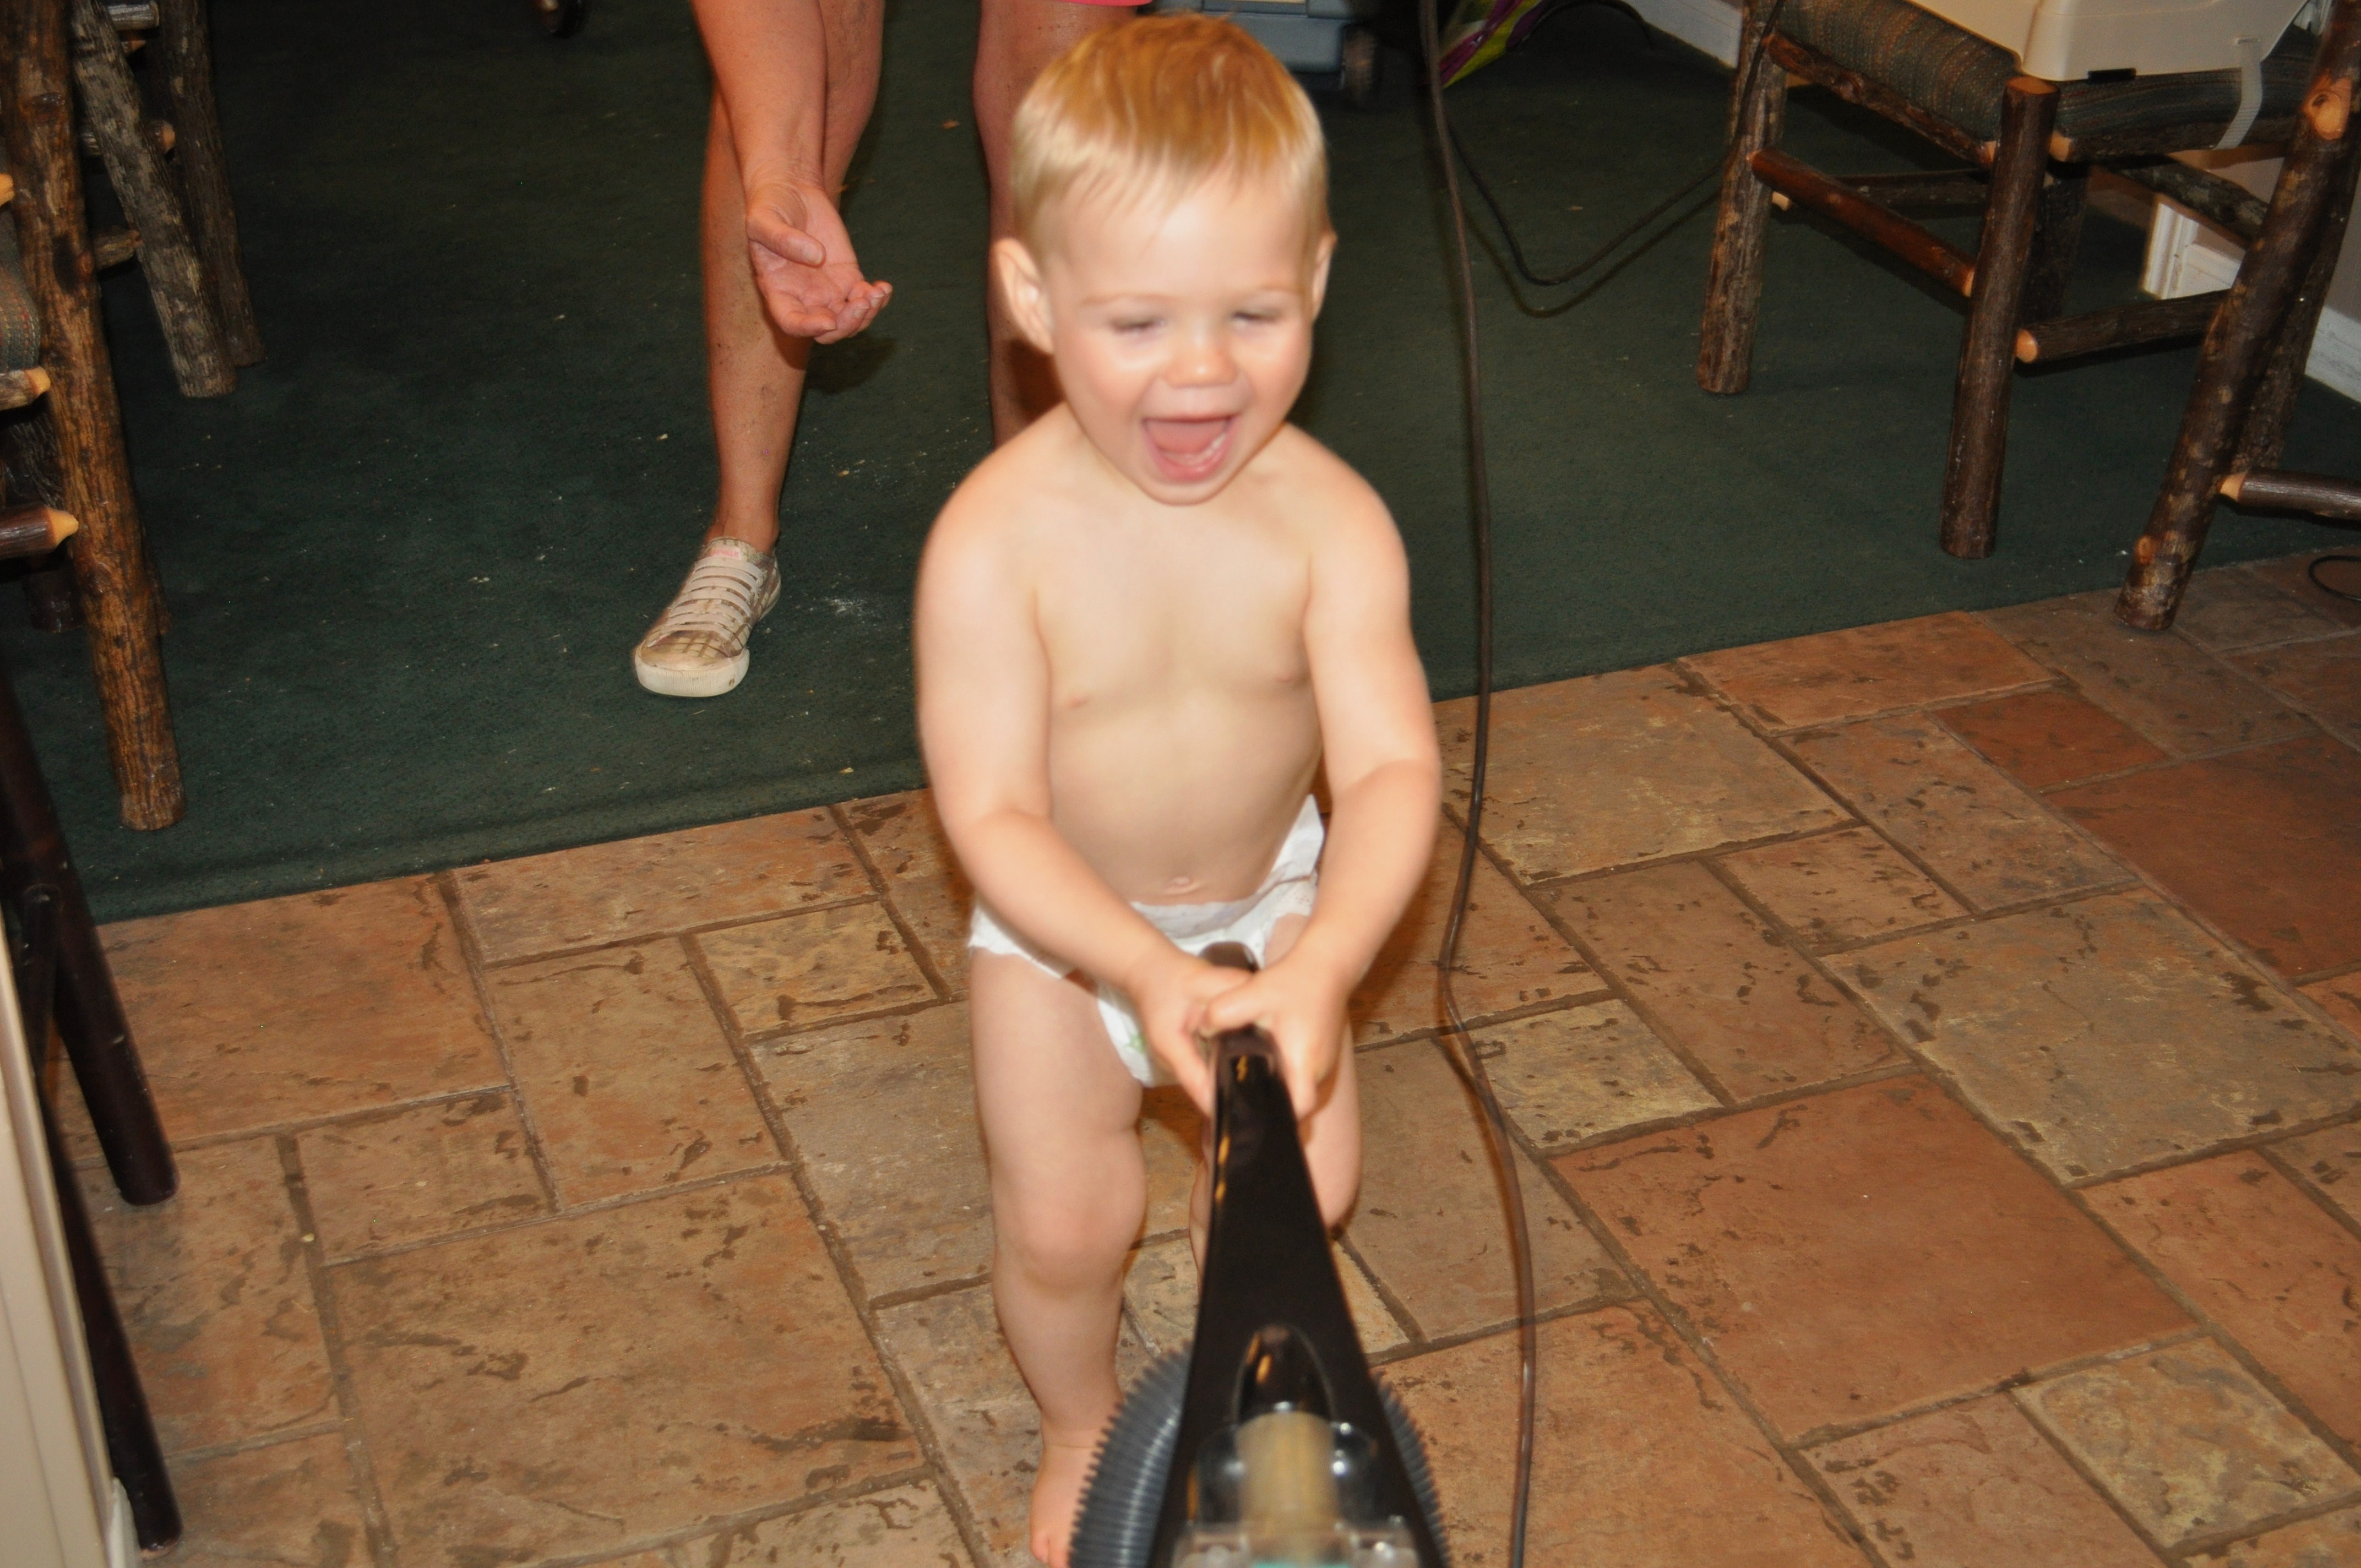
This boy loves a vacuum like nobody’s business.
Thank you Miss Vickie, for sharing this family recipe with us and allowing me to share it with our readers!
Miss Vickie’s Sugar Cookies
Makes about 24 cookies
Ingredients
1 cup margarine (or Earth Balance)
1/2 cup powdered sugar (plus some to powder table)
1 teaspoon vanilla
2 1/4 cups flour
1/4 teaspoon salt
Icing
1 cup powdered sugar
1 tablespoon water
1/2 teaspoon vanilla
food coloring
Directions
Preheat oven to 350 degrees. Mix margarine, powdered sugar, and vanilla with a mixer. Stir in flour, a little at a time, and salt. Powder the table with powdered sugar. Roll out dough 1/4 inch thick. (The dough is very soft, so we just used our hands for this step.) Use cookie cutters to cut out cookies. Lay them on an ungreased cookie sheet. Bake for 7 minutes. Allow to cool. Decorate with icing.
This was printed from: We Laugh, We Cry, We Cook
The site URL: http://welaughwecrywecook.com
The Title: Miss Vickie’s Sugar Cookies
The URL: http://wp.me/p1UwM9-WH
For Pinterest:
Potatoes Rancheros (Vegan Huevos Rancheros)
Posted: March 19, 2013 Filed under: Breakfast Foods, Gluten Free, Main Dishes, Mexican Dishes, Toddler-Approved, Uncategorized, Vegan, Vegetarian | Tags: avocados, breakfast for dinner, green eggs, Mexican Food, potatoes rancheros, ranchero sauce, savory vegan breakfast, vegan fried egg, vegan huevos rancheros Leave a comment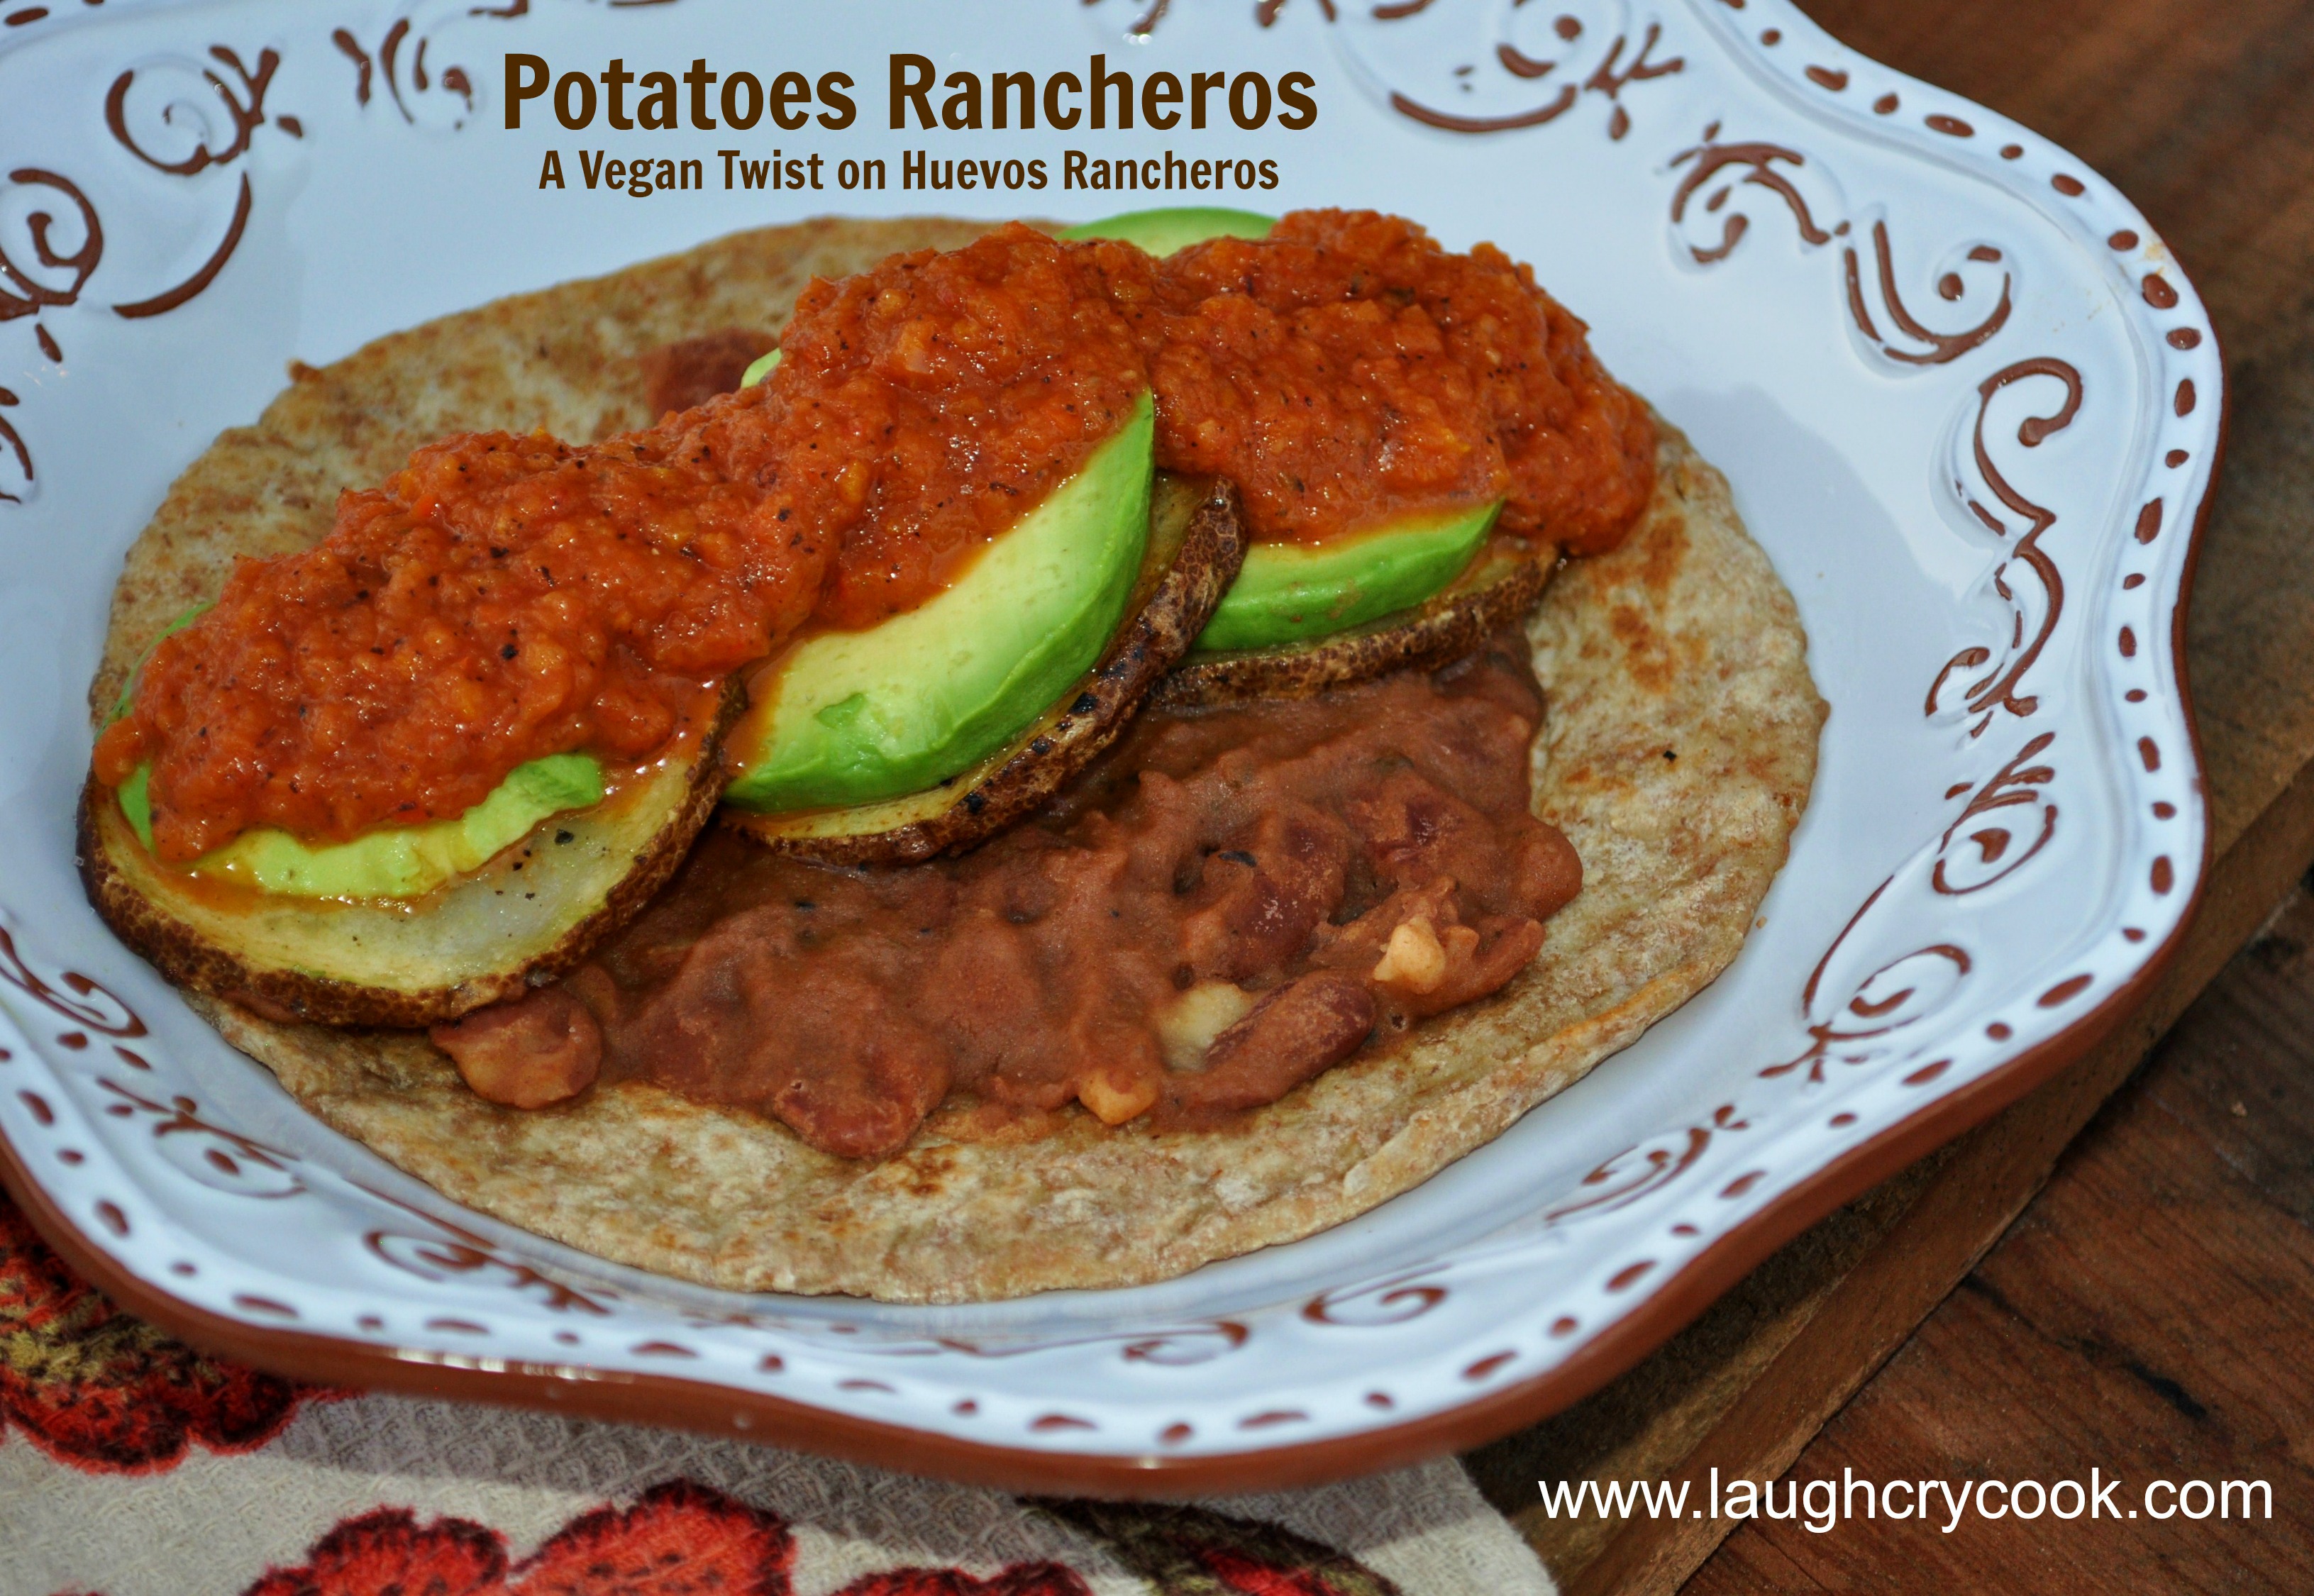
About a month before I switched to a plant-based diet, I perfected the fried egg. I wasn’t much of a cook back then, so this was a big accomplishment and it quickly became my go-to breakfast. When we gave up eggs, I must admit, I was a little bummed that I only had a month to enjoy my perfected egg-frying skills. I’m over it now and I’ve learned some great ways to substitute eggs in my cooking: tofu scramble breakfast tacos and flax eggs and chia eggs for baking, but the fried egg seemed impossible to duplicate, until I got this idea to use a fried potato as the fluffy egg white and avocado as the creamy yolk. A “green egg” if you will.
For those transitioning to a vegan diet and facing those early egg cravings or for those just looking for something different than the traditional egg breakfast, this potato and avocado “fried egg” is delicious. It’s really hard to go wrong with fried anything, right? I could see using this green egg for a vegan eggs Benedict too, stacked on an English muffin with a creamy vegan hollandaise.
Try them! Try them! You will see. These green eggs are so easy. You can eat them in a box. You can eat them with a fox. You can make them for a friend, maybe during a relaxing weekend. You will like green eggs. You’ll see. Especially with tortillas, beans and ranchero sauce. Spicy!
The creamy avocado “yolk” and soft fluffy potato round “whites” give the texture of a fried egg.
Potatoes Rancheros
(A Vegan Version of Huevos Rancheros)
Makes 4 servings
Ingredients
Ranchero Sauce
1/2 medium-sized onion,diced
1 garlic clove, diced or minced
3 small sweet peppers, red, yellow, or orange (or 1/2 red, orange, or yellow bell pepper), diced
~ 1 tablespoon Olive oil
1 15-ounce can fire roasted diced tomatoes
1/2 cup green chili peppers (or 4-ounce can)
~1/2 teaspoon salt, to taste
~1/2 teaspoon chipotle powder, to taste (can also blend in 1/4 of a chipotle pepper in adobo sauce)
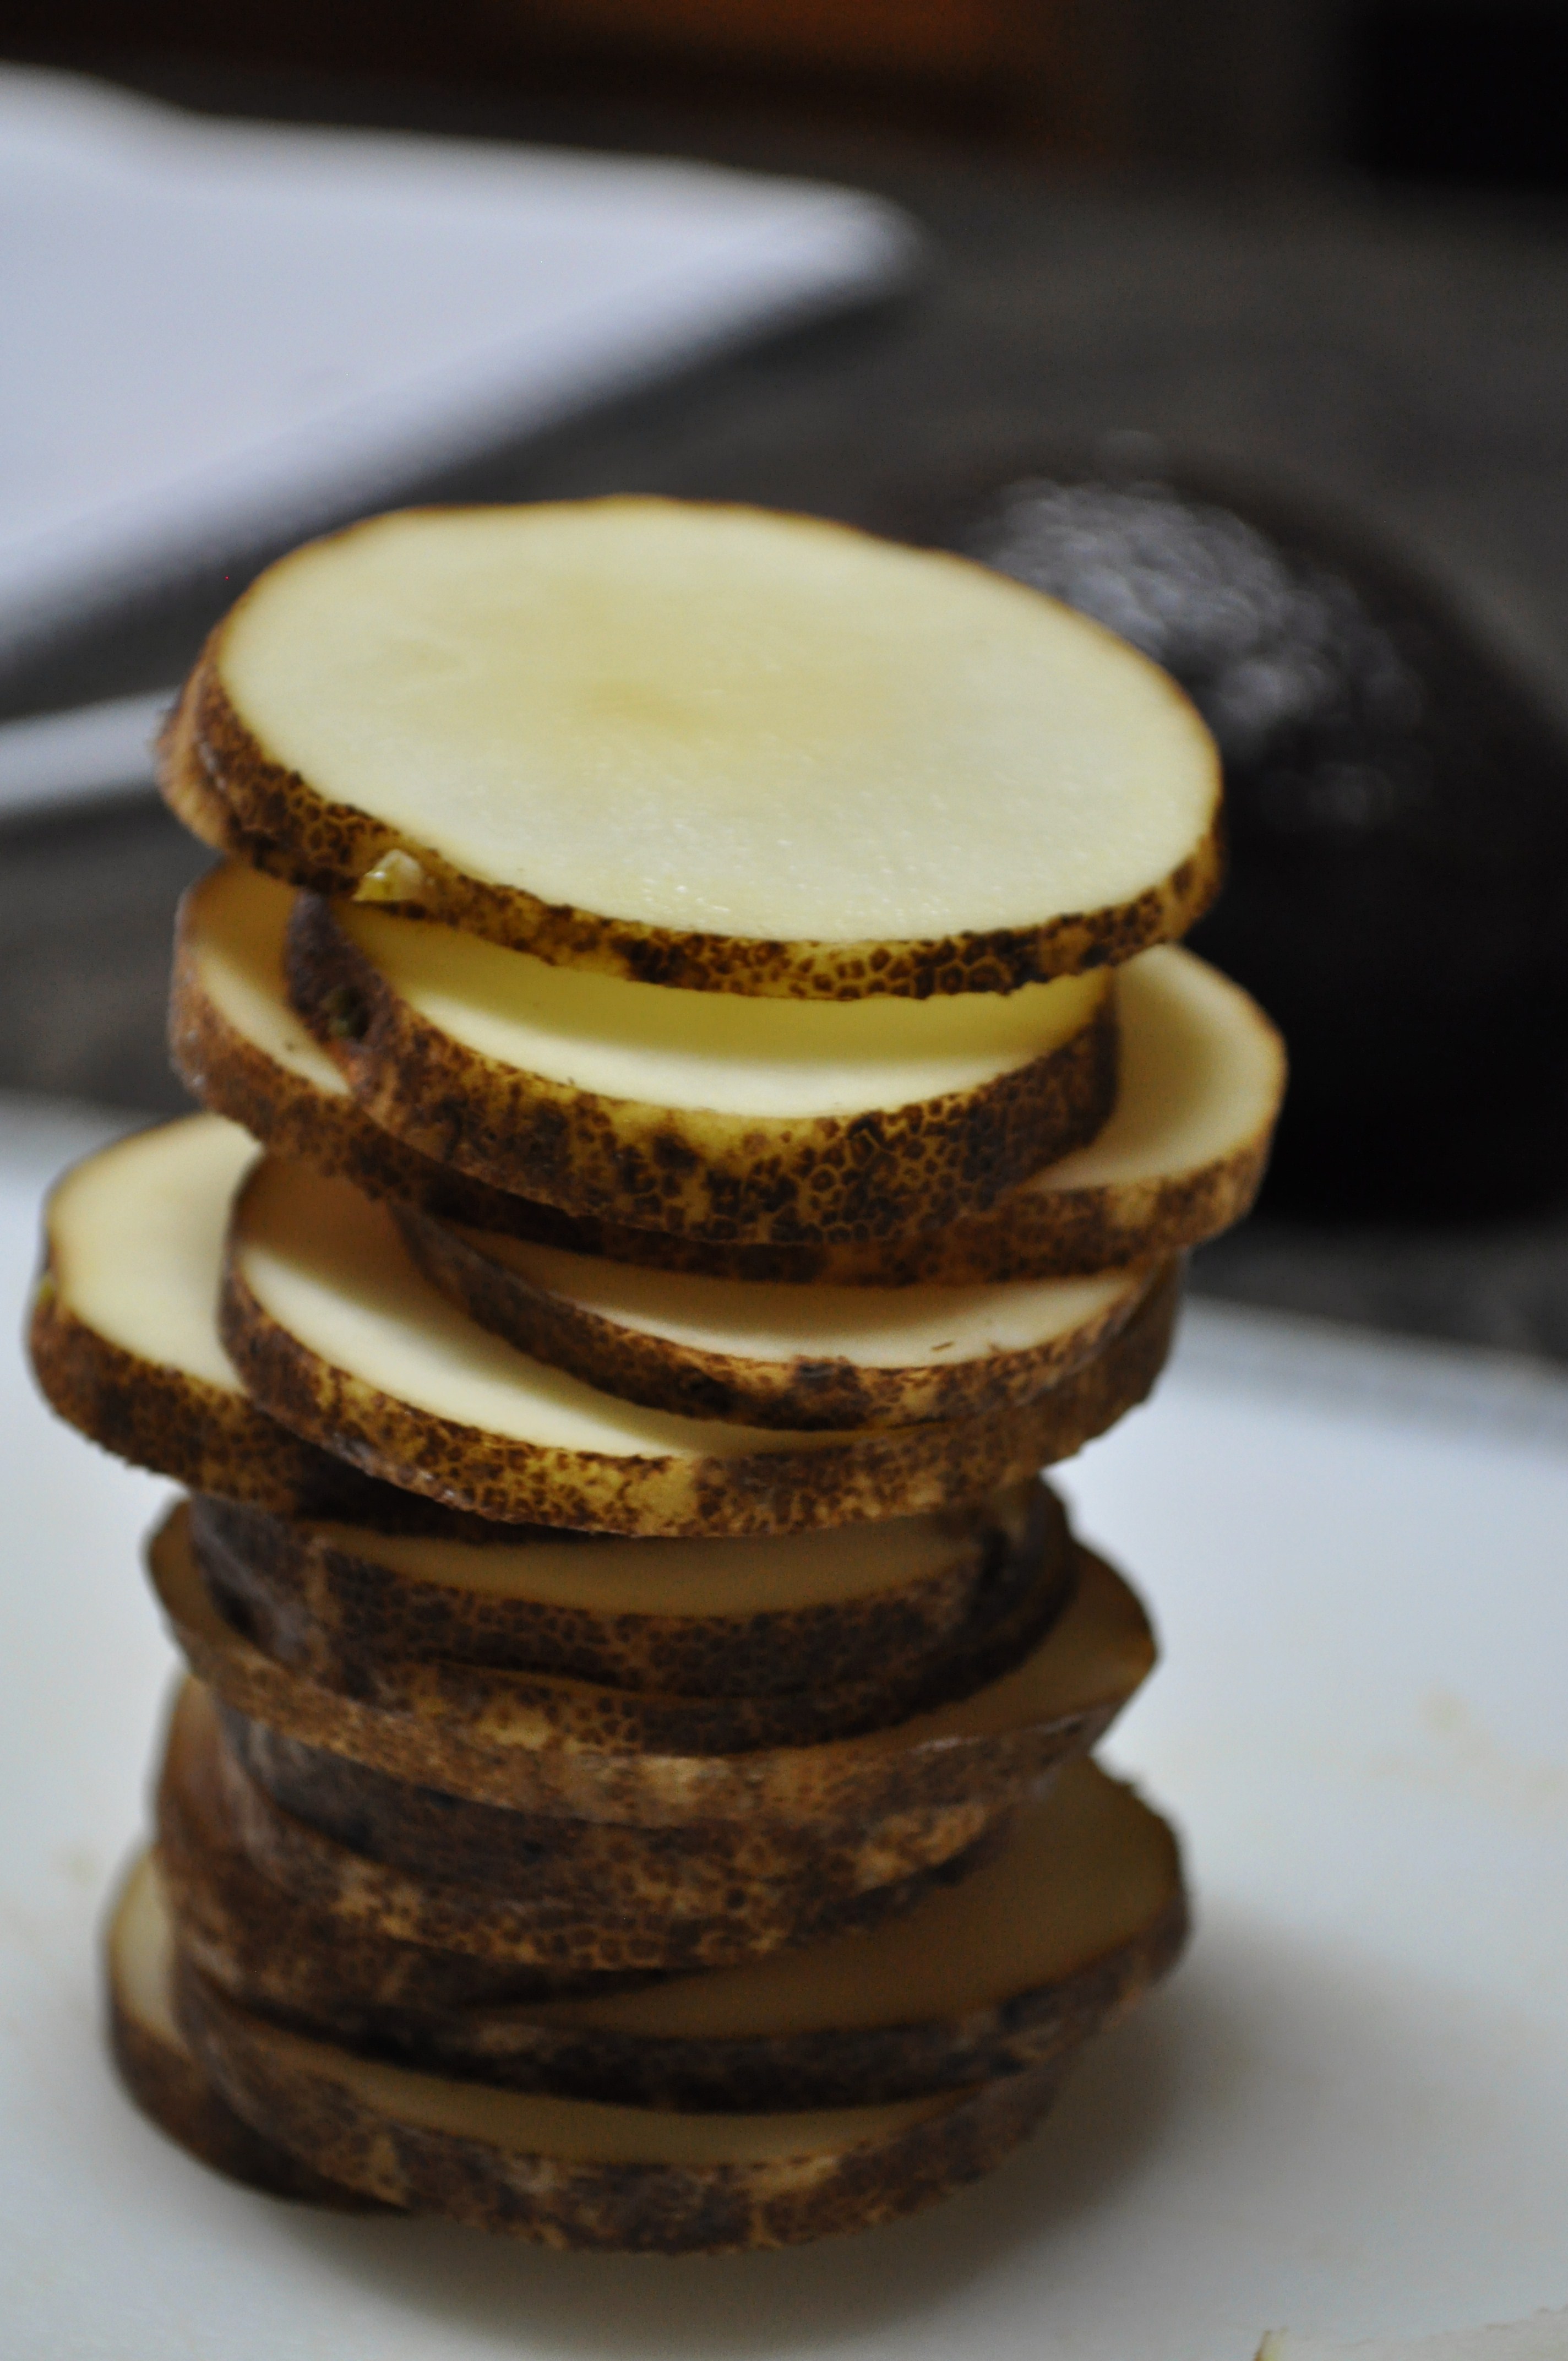
1 russet potato sliced thin (about a 1/4 inch thick–you want about 12 rounds or 3 per serving)
Oil to coat pan
Salt & pepper
4 Tortillas (smaller taco sized ones, not the big burrito ones)
1 Avocado, cut into 1/4 inch thick rounds
Refried pinto beans (I actually used leftover cajun red beans, cooked down and smashed)
Cilantro or chopped green onions (optional garnish)
Directions
In a deep-sided skillet or medium sauce pan, saute onion, peppers, and garlic with a drizzle of olive oil and a pinch of salt on medium heat until soft. Add the tomatoes and green chilis and simmer for about 10 minutes. Transfer to blender (or use immersion blender) and blend until combined into a thick sauce, blend in salt and chipotle powder to taste. Transfer back to skillet and keep warm.

Before blending the ranchero sauce. Look at all that flavor and color!
In a separate skillet (iron skillet works well for this), heat a thin layer of olive oil on medium heat (about a 1/8 inch thick).* Add a single layer of potato rounds and pan fry for 2-3 minutes per side until golden on the outside and soft in the middle (think texture of a french fry.) Transfer potatoes to a paper towel-lined plate and sprinkle with salt & pepper. Repeat, adding oil to pan as needed, until all the rounds are fried.
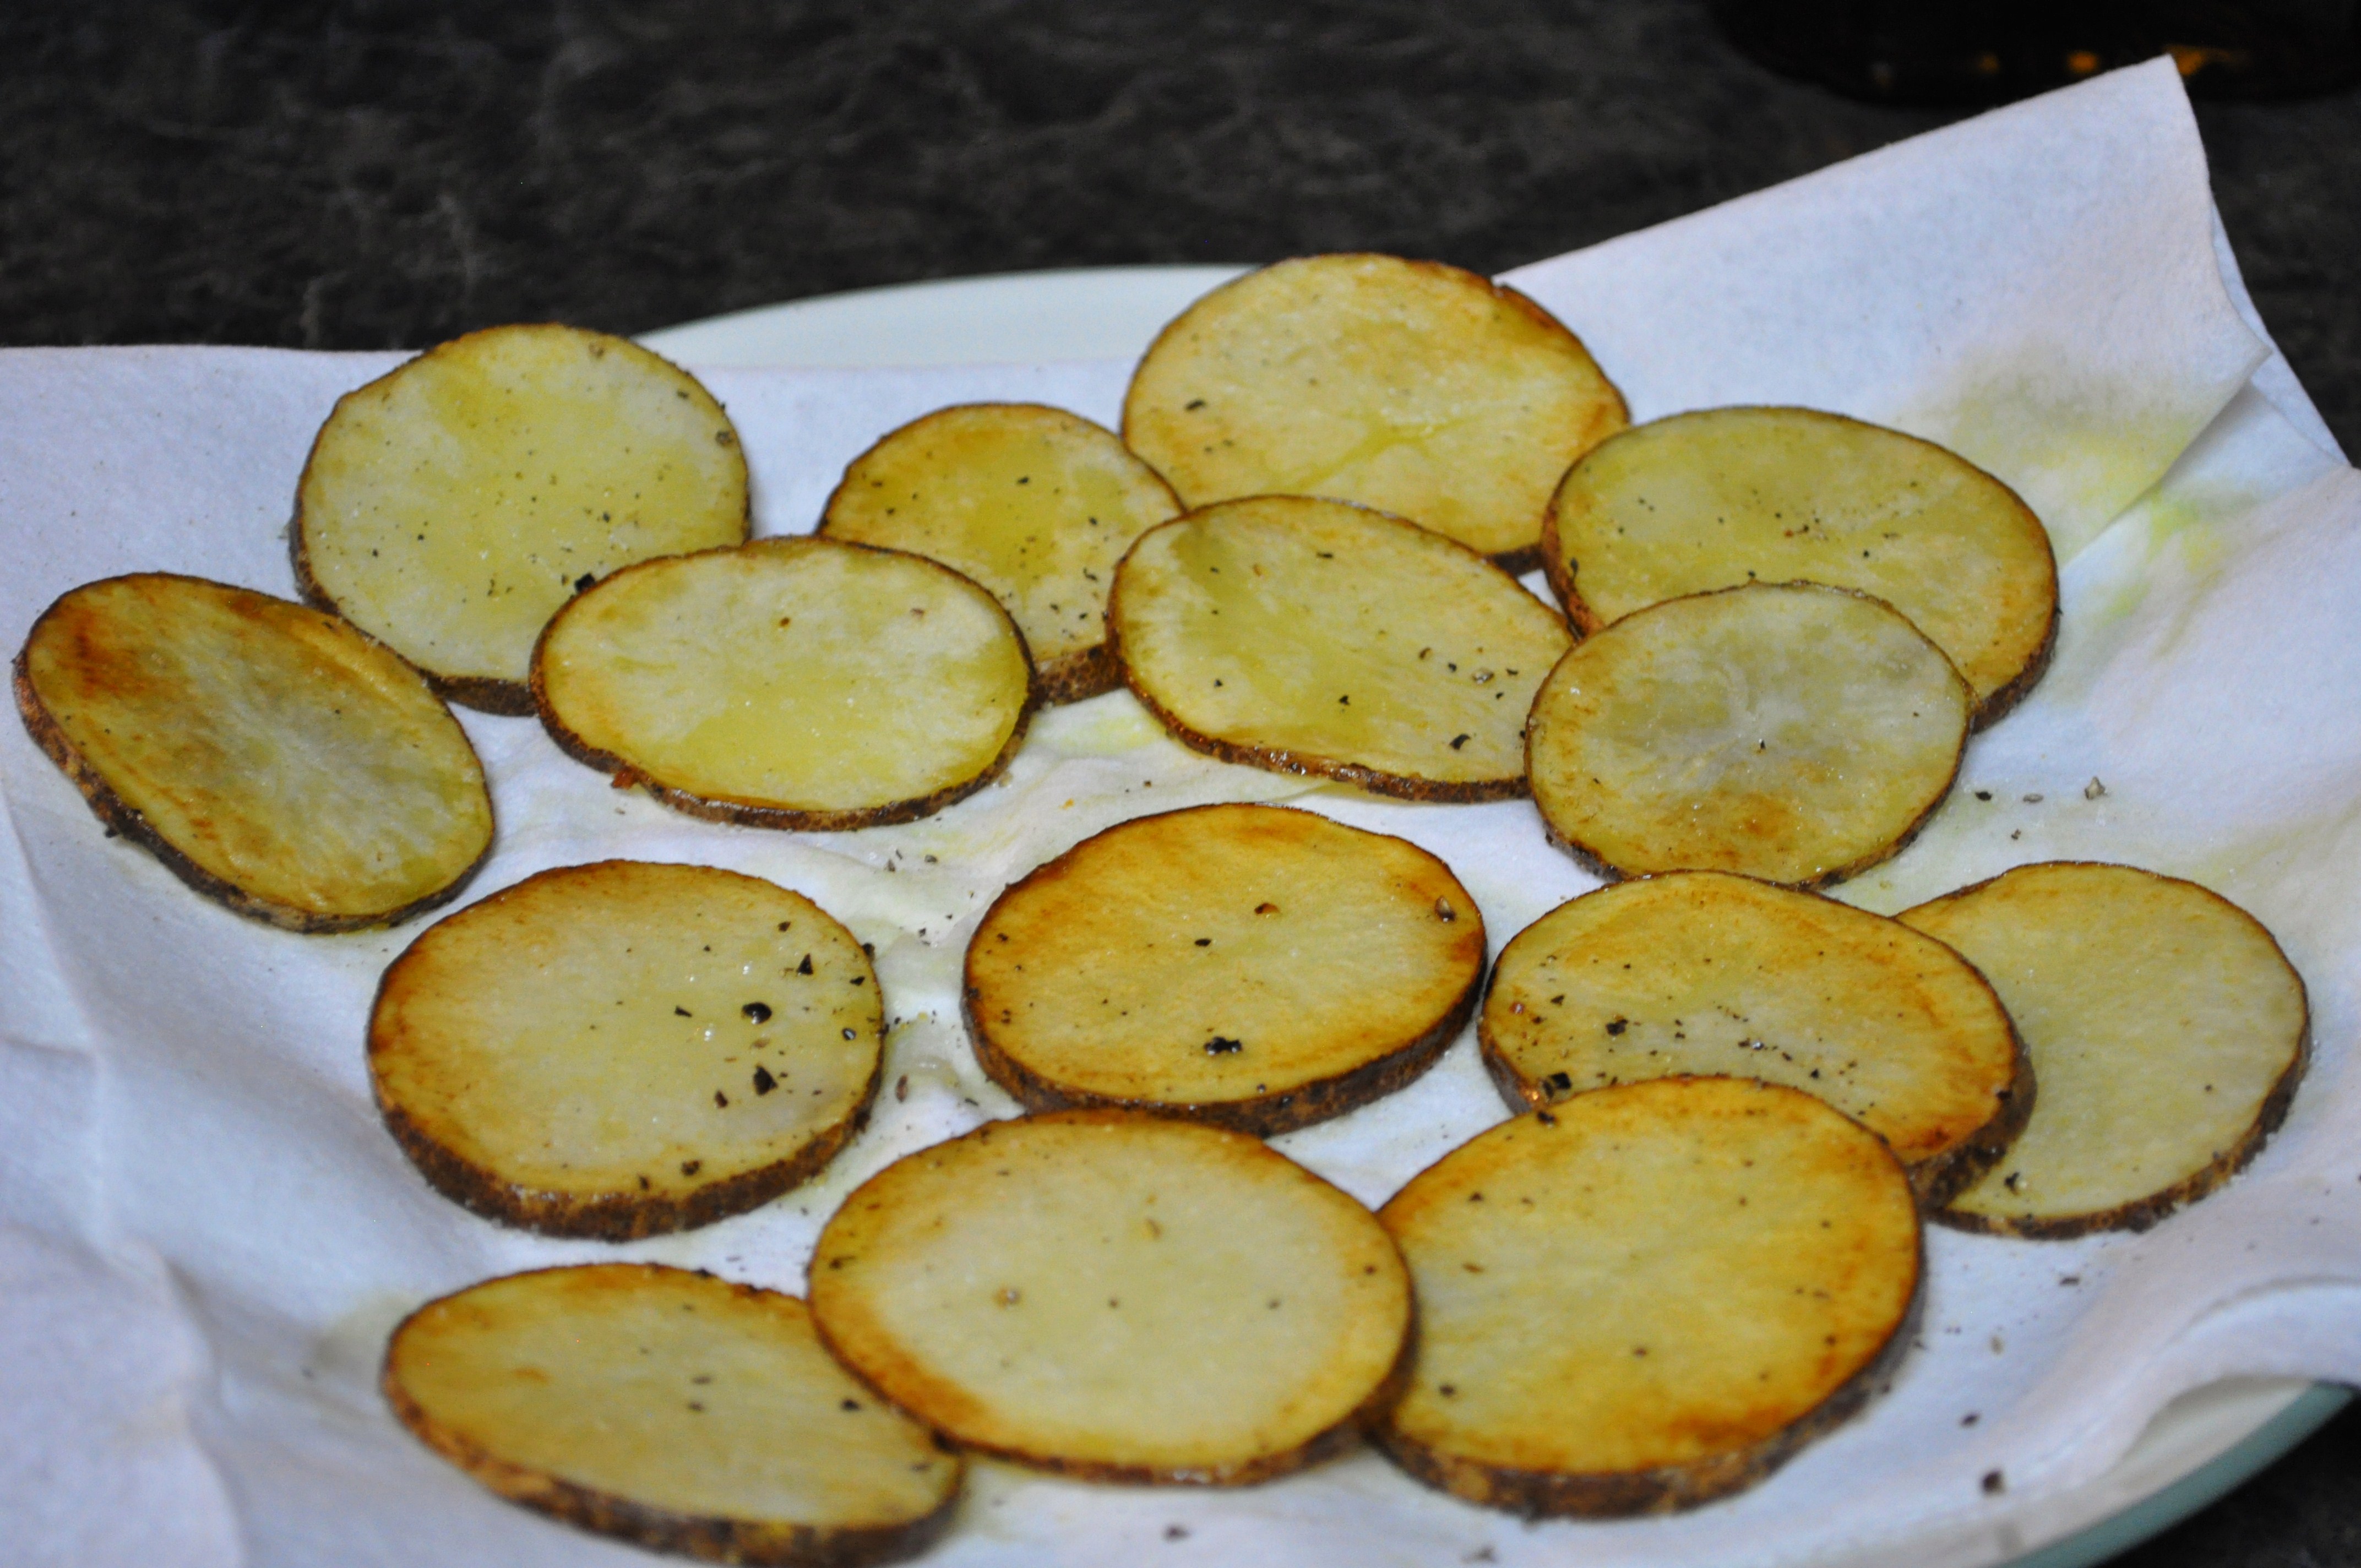
Golden on the outside, soft on the inside.
In the same pan used to fry potatoes, drain off excess oil and warm tortillas.
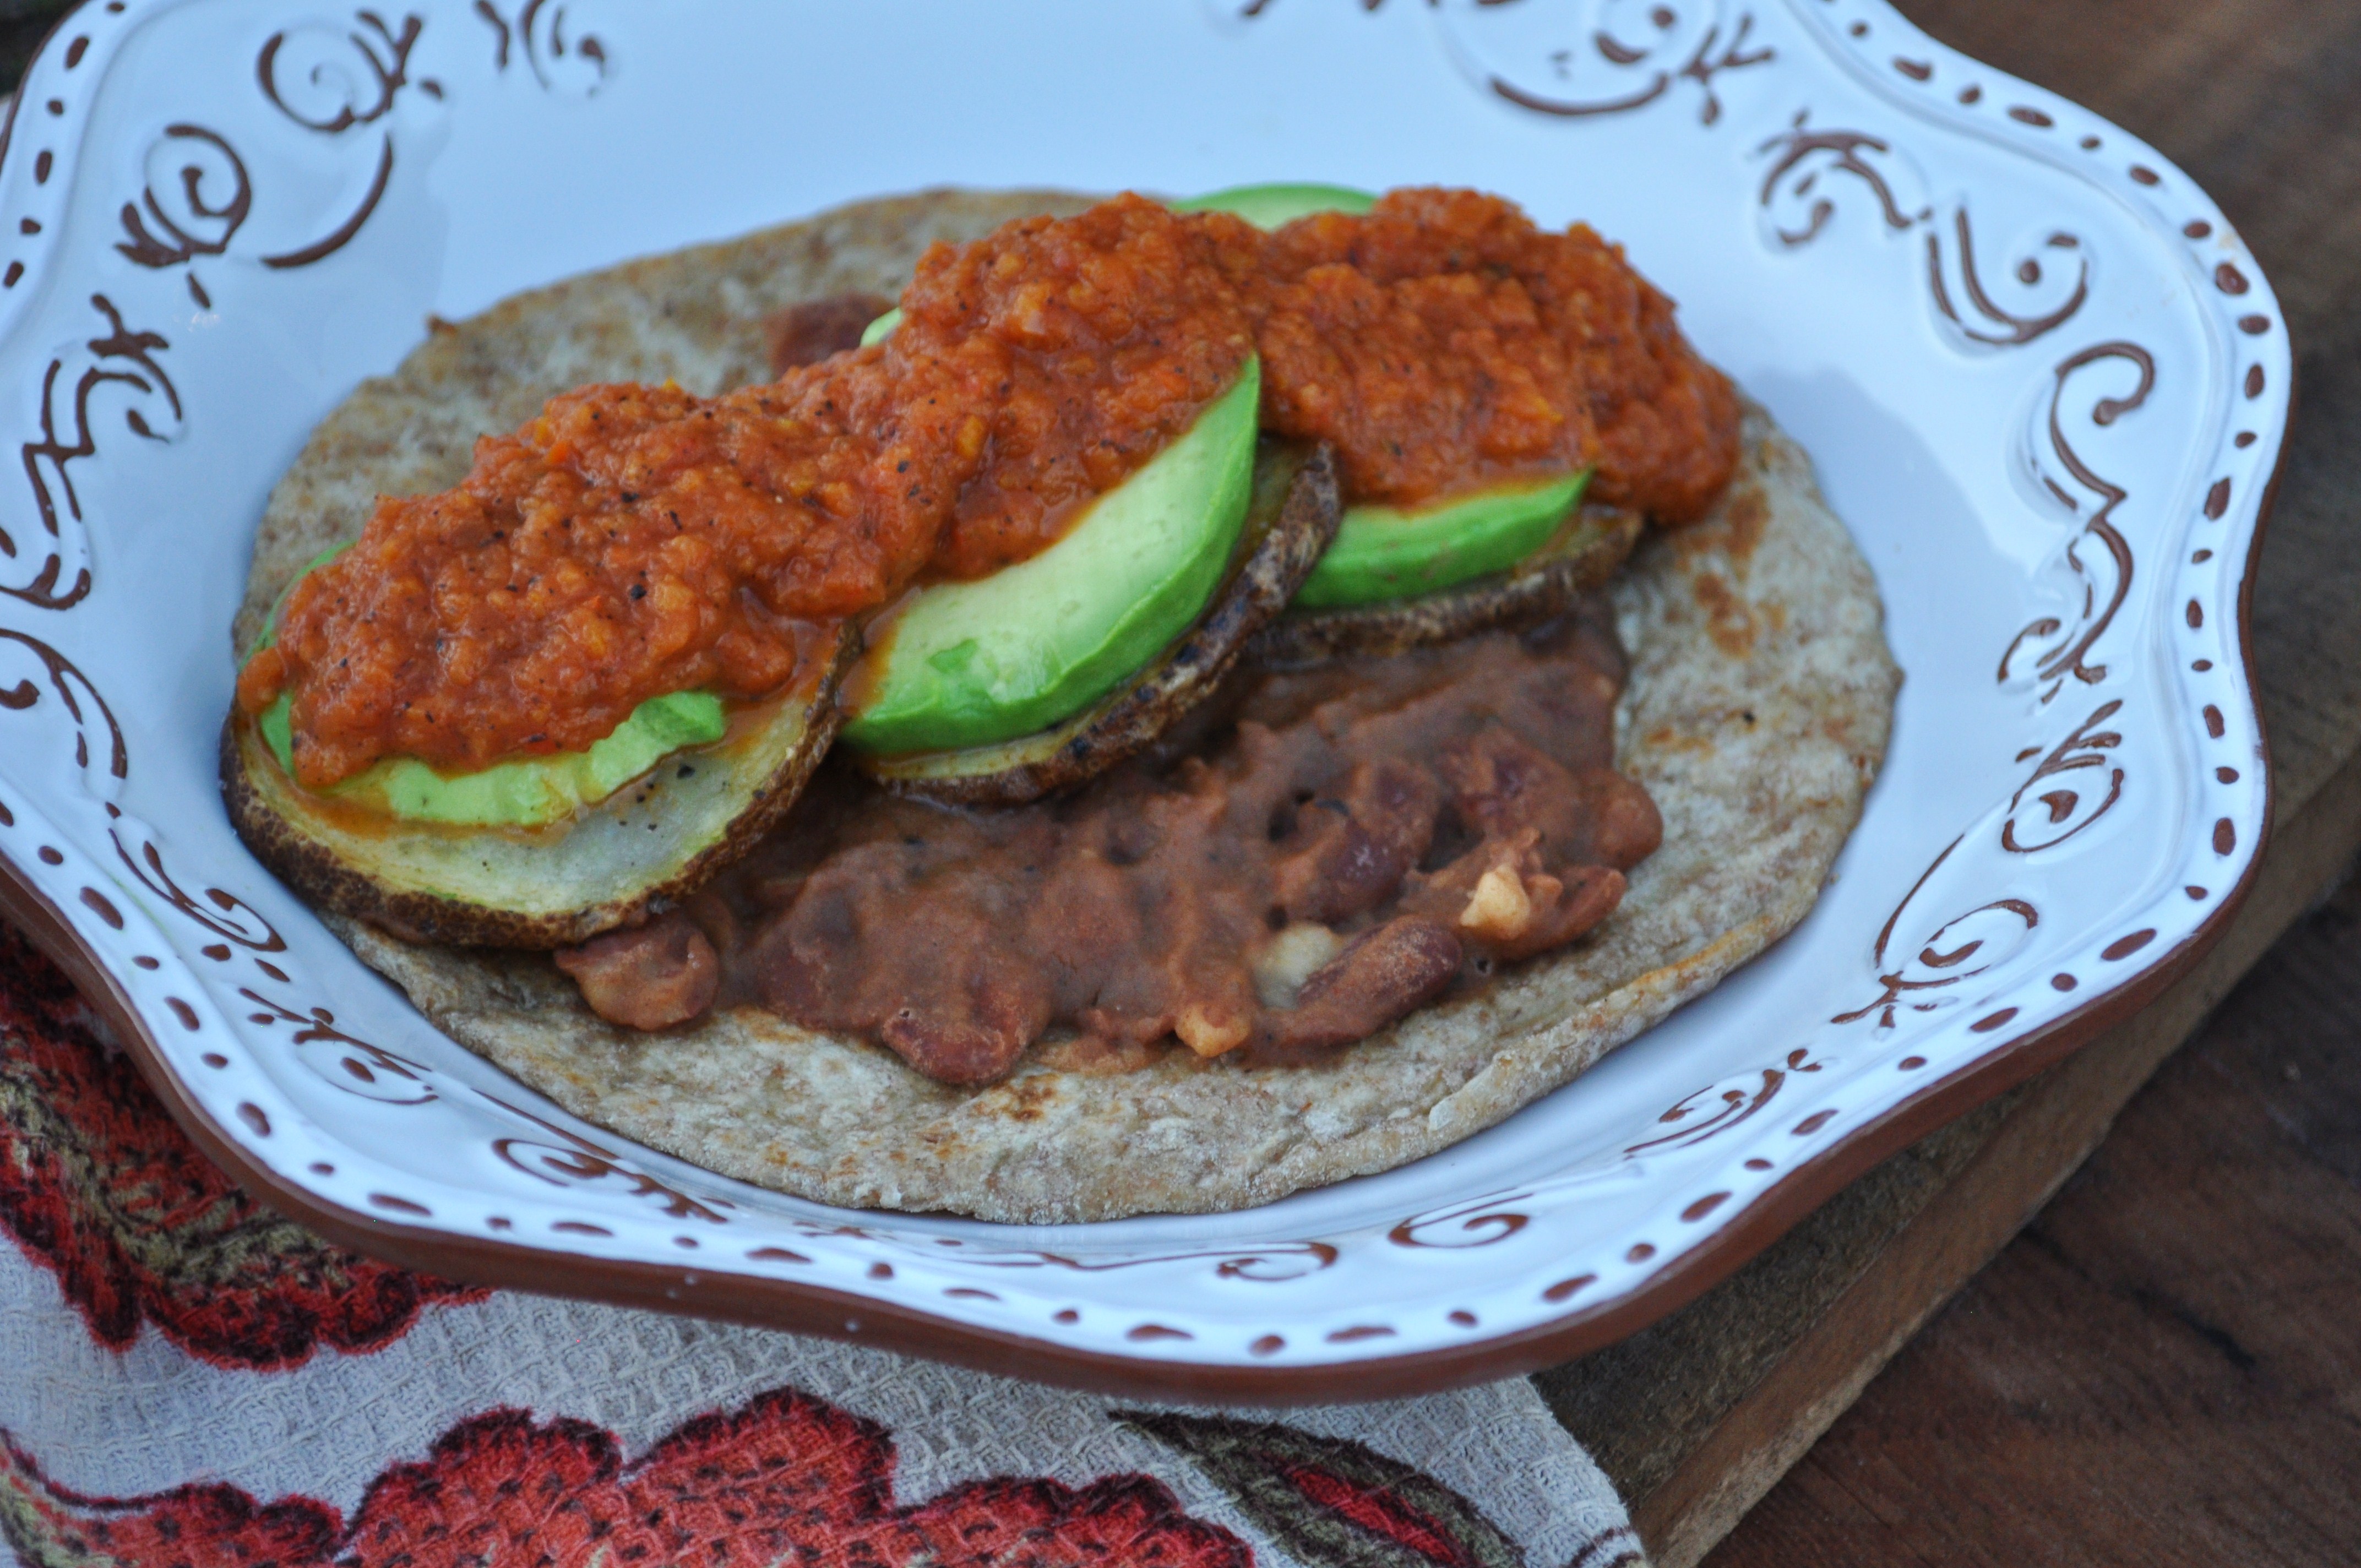
Working quickly to keep food from getting cold, put each tortilla on a plate, smear tortillas with refried beans, down the middle stagger stacks of a potato round topped with an avocado round. Top with warm ranchero sauce and optional garnish of cilantro and/or green onions. Serve immediately. Eat with a fork or pick up and eat it like a taco.
*For a lighter version, toss potatoes in a light coating of olive oil and salt & pepper, line them on a baking sheet sprayed with non-stick spray and cook under the broiler for about five minutes on each side or until cooked through (like these Blistery Balsamic Potato Chips).
* Make it kid-friendly: (leave off the sauce or make a milder version without the chili peppers or chipotle powder)
This was printed from: We Laugh, We Cry, We Cook
The site URL: http://welaughwecrywecook.com
The Title: Potatoes Rancheros (Vegan Huevos Rancheros)
The URL: http://wp.me/p1UwM9-Vz
This was printed from: We Laugh, We Cry, We Cook
“You’re My Main Squeeze” Squeeze Pouch Valentines
Posted: February 11, 2013 Filed under: Foodie Gifts, Snacks, Toddler-Approved, Uncategorized, Vegan, Vegetarian | Tags: ellas kitchen, healthy kids, healthy valentines day treats, preschool valentines goodie bags, squeeze pouches, toddler valentines, valentines for babies Leave a comment
Cute, simple, and healthy valentines that kids will love!
Jackson, now 18-months, has discovered chocolate. This morning, Jared brought him from his crib to our bed where I was still sleeping. Jackson pushed my arm off my face and pulled and pulled until I finally rolled out of the bed. He led me by hand straight to the pantry, pointed up to a Costco-sized bag of chocolate chips and proclaimed “Choc!”
I should probably be worried that his first waking thought is chocolate, but truthfully, I’m a little excited that I have another chocolate lover in the house. Jared doesn’t eat it, so I rarely make decadent chocolate desserts. There is just something depressing about eating chocolate alone. Soon, though, I’ll have a buddy to split a piece of chocolate cake with or to make brownies for!
In the meantime, as fun as it will one day be, I’m not encouraging my toddler’s chocolate eating habits just yet. Valentine’s Day is Thursday and I’m sure he’ll have encouragement enough from everyone else between now and then!
Besides his new word “choc,” he also learned the word “pouch” this week, as in fruit and veggie squeeze pouches. He loves them just as much as chocolate. It’s so funny, the words he picks up on. I put together these cute valentines bags for his Mother’s Day Out class tonight. For the girls, a bright red Ella’s Kitchen Organic Strawberry Apple squeeze pouch with a “You’re My Main SQUEEZE” tag. And for the boys, a Peach & Banana one with a “You’re My Main Squeeze, Man” tag. That’s tough right? 🙂
If you’re looking for healthy Valentine’s Day gifts for babies and preschoolers, this is so easy! It may be a little pricy for a big class, but at this age class sizes are usually quite small. We just had five classmates to buy for, so the whole project was $12 including the bags and tags.
I know some of the mama’s of the kids in Jackson’s class and I know they’ll be glad to see at least one treat they can gladly let their kiddo have from their Valentine’s Day goodie bag, no guilt, no arguing, no “you can have one piece after dinner” negotiations.


