
Nourish Your Soul: How We Heal & Other Lessons from a Chick Flick
Posted: January 26, 2014 Filed under: Nourishing Nuggets, Uncategorized | Tags: Dr. Karen Purvis, Enchanted April, Henri Nouwen, TBRI, The Beloved, The Connected Child, The Whole Brain Child, Wounded Healers 5 Comments
Pausing from our typical “food blog” today, I want to share some nourishing thoughts with you that have awakened something new and good in me.
Yesterday I attended a fascinating workshop on a method for “parenting children in hard places” called TBRI (Trust Based Relational Intervention based on the book, The Connected Child by Karen Purvis). I cannot stop thinking about some of the insights gained, lessons taught, stories of hope shared — and applying them to everything I know about spirituality, relationships and healing. All night and even as I woke this morning, I’ve been having the sort of “A-ha!” moments that feel like mini-explosions in my mind, miracle shifts in understanding.
The main theme that my friend Amanda Purvis (one of the teachers of the workshop) shared, from a deep heart level (sometimes with tears), is that everyone needs to feel their “preciousness” … in the same way that a mother gazes adoringly at her baby in the crook of her arms; or as adults, I imagine this is the way my husband Greg looks at me, his sure blue eyes willing my oft-insecure brown ones of his steady delight, his forever love. As if I am the only woman who exists for him in all the earth.
Dr. Dan Siegal, in his insightful book The Whole Brain Child, alludes to emotional health as helping ourselves and our children live in a “river of well-being.” This sort of balanced existence begins with knowing we are, in the deepest center of our being, “The Beloved.” (Borrowing from the classic by Henri Nouwan.) Children who do not have this sense of “preciousness” grow into adults who do not know this, so at some level, in bad ways and good, they search for this feeling of belonging and being cherished all their lives.
All of us have some trauma, big and small, and each one affects our brain chemistry at the moment. To be bereft of comfort or love after trauma, however, sears our brains with pain; the way we view our world can become skewed and harsh and fearful. But God’s heart is to never leave us “comfortless” and we can heal when we are truly seen, heard, allowed our voice and treated with respect by someone willing to be a loving vessel for God’s love.
In other words, we heal as we see ourselves “precious in His sight” ….. then, in time, we become Wounded Healers (borrowing again from the language of Nouwan), as we allow ourselves to see the “preciousness” in others. We can stand in the gap for El Roi, “The God Who Sees Me” … as we look deeper at one another, and point out the beauty we find there.
Last night Greg and I watched one of my all-time favorite films, Enchanted April. I saw its redemptive themes in fresh light, having just come from a class on how helping wounded children to see their “belovedness” heals and brings them new life. In short, the movie is about four women from the 1920’s who, each longing for an escape from their lives, pool their money together to rent an Italian Villa by the sea, “San Salvatore”. (I realized that even the name of the villa, “Savior”, foreshadowed what was to come.)

Lottie, the discontented but lovable wife –who was the most anxious to flee her life for a month — is the first to wake to lost joy as she allows the beauty of sea, flowers and hills to melt and soften her heart. Then, as she soaks in this balm, feels herself wholly Beloved, she meanders in and out of the other characters’ lives. She says to each person, in her own way , no matter how cranky, or disconnected, vain, or insensitive they are (in the midst of their brokenness and ugliness), “I see inside you, I see the real you. And you are unbelievably precious. In time, you’ll see it too.” She is what some might call a “Christ-figure” in the movie, touching every character and leaving them with a feeling of having been truly seen, messiness and all, and found worthy of love and tenderness. In time, thus loved by a human friend and rocked in the lap of nature, each woman awakens to love and beauty, and one by one, each experiences their own unique April of soul.

The women of Enchanted April. “Lottie” is the tallest in this picture.
At the end of a movie a formerly bitter old lady, now feeling youthfully alive, leaves behind her walking stick, jamming it into the dirt. We see, through high speed film, that it blossoms into a flowering tree. An old walking cane, returned to its original purpose, to be the trunk from which flowers draw their nourishment. A symbol of how the warmth of love can re-purpose our old wounds, bringing us back to Eden and the way life was originally intended to be. When one woman heals, says an old proverb, she heals seven generations. I do not know if this is true, but I know when one woman deeply realizes her belovedness, her very presence is healing to others.
May you feel your “preciousness” today, as you imagine God holding you, rocking you, gazing at you, delighting in you… His forever beloved child. And may you pass this on to your children and your children’s children and all who come in contact with you in the present.

A moment I captured as my daughter Rachel adoringly gazed into her son’s eyes (as he returned the gaze with equal delight). This is how God loves you.
“Yahweh, your God, is in the midst of you, a mighty one who will save. He will rejoice over you with joy. He will calm you in his love. He will rejoice over you with singing.” Zeph 3:7 (World English Bible)
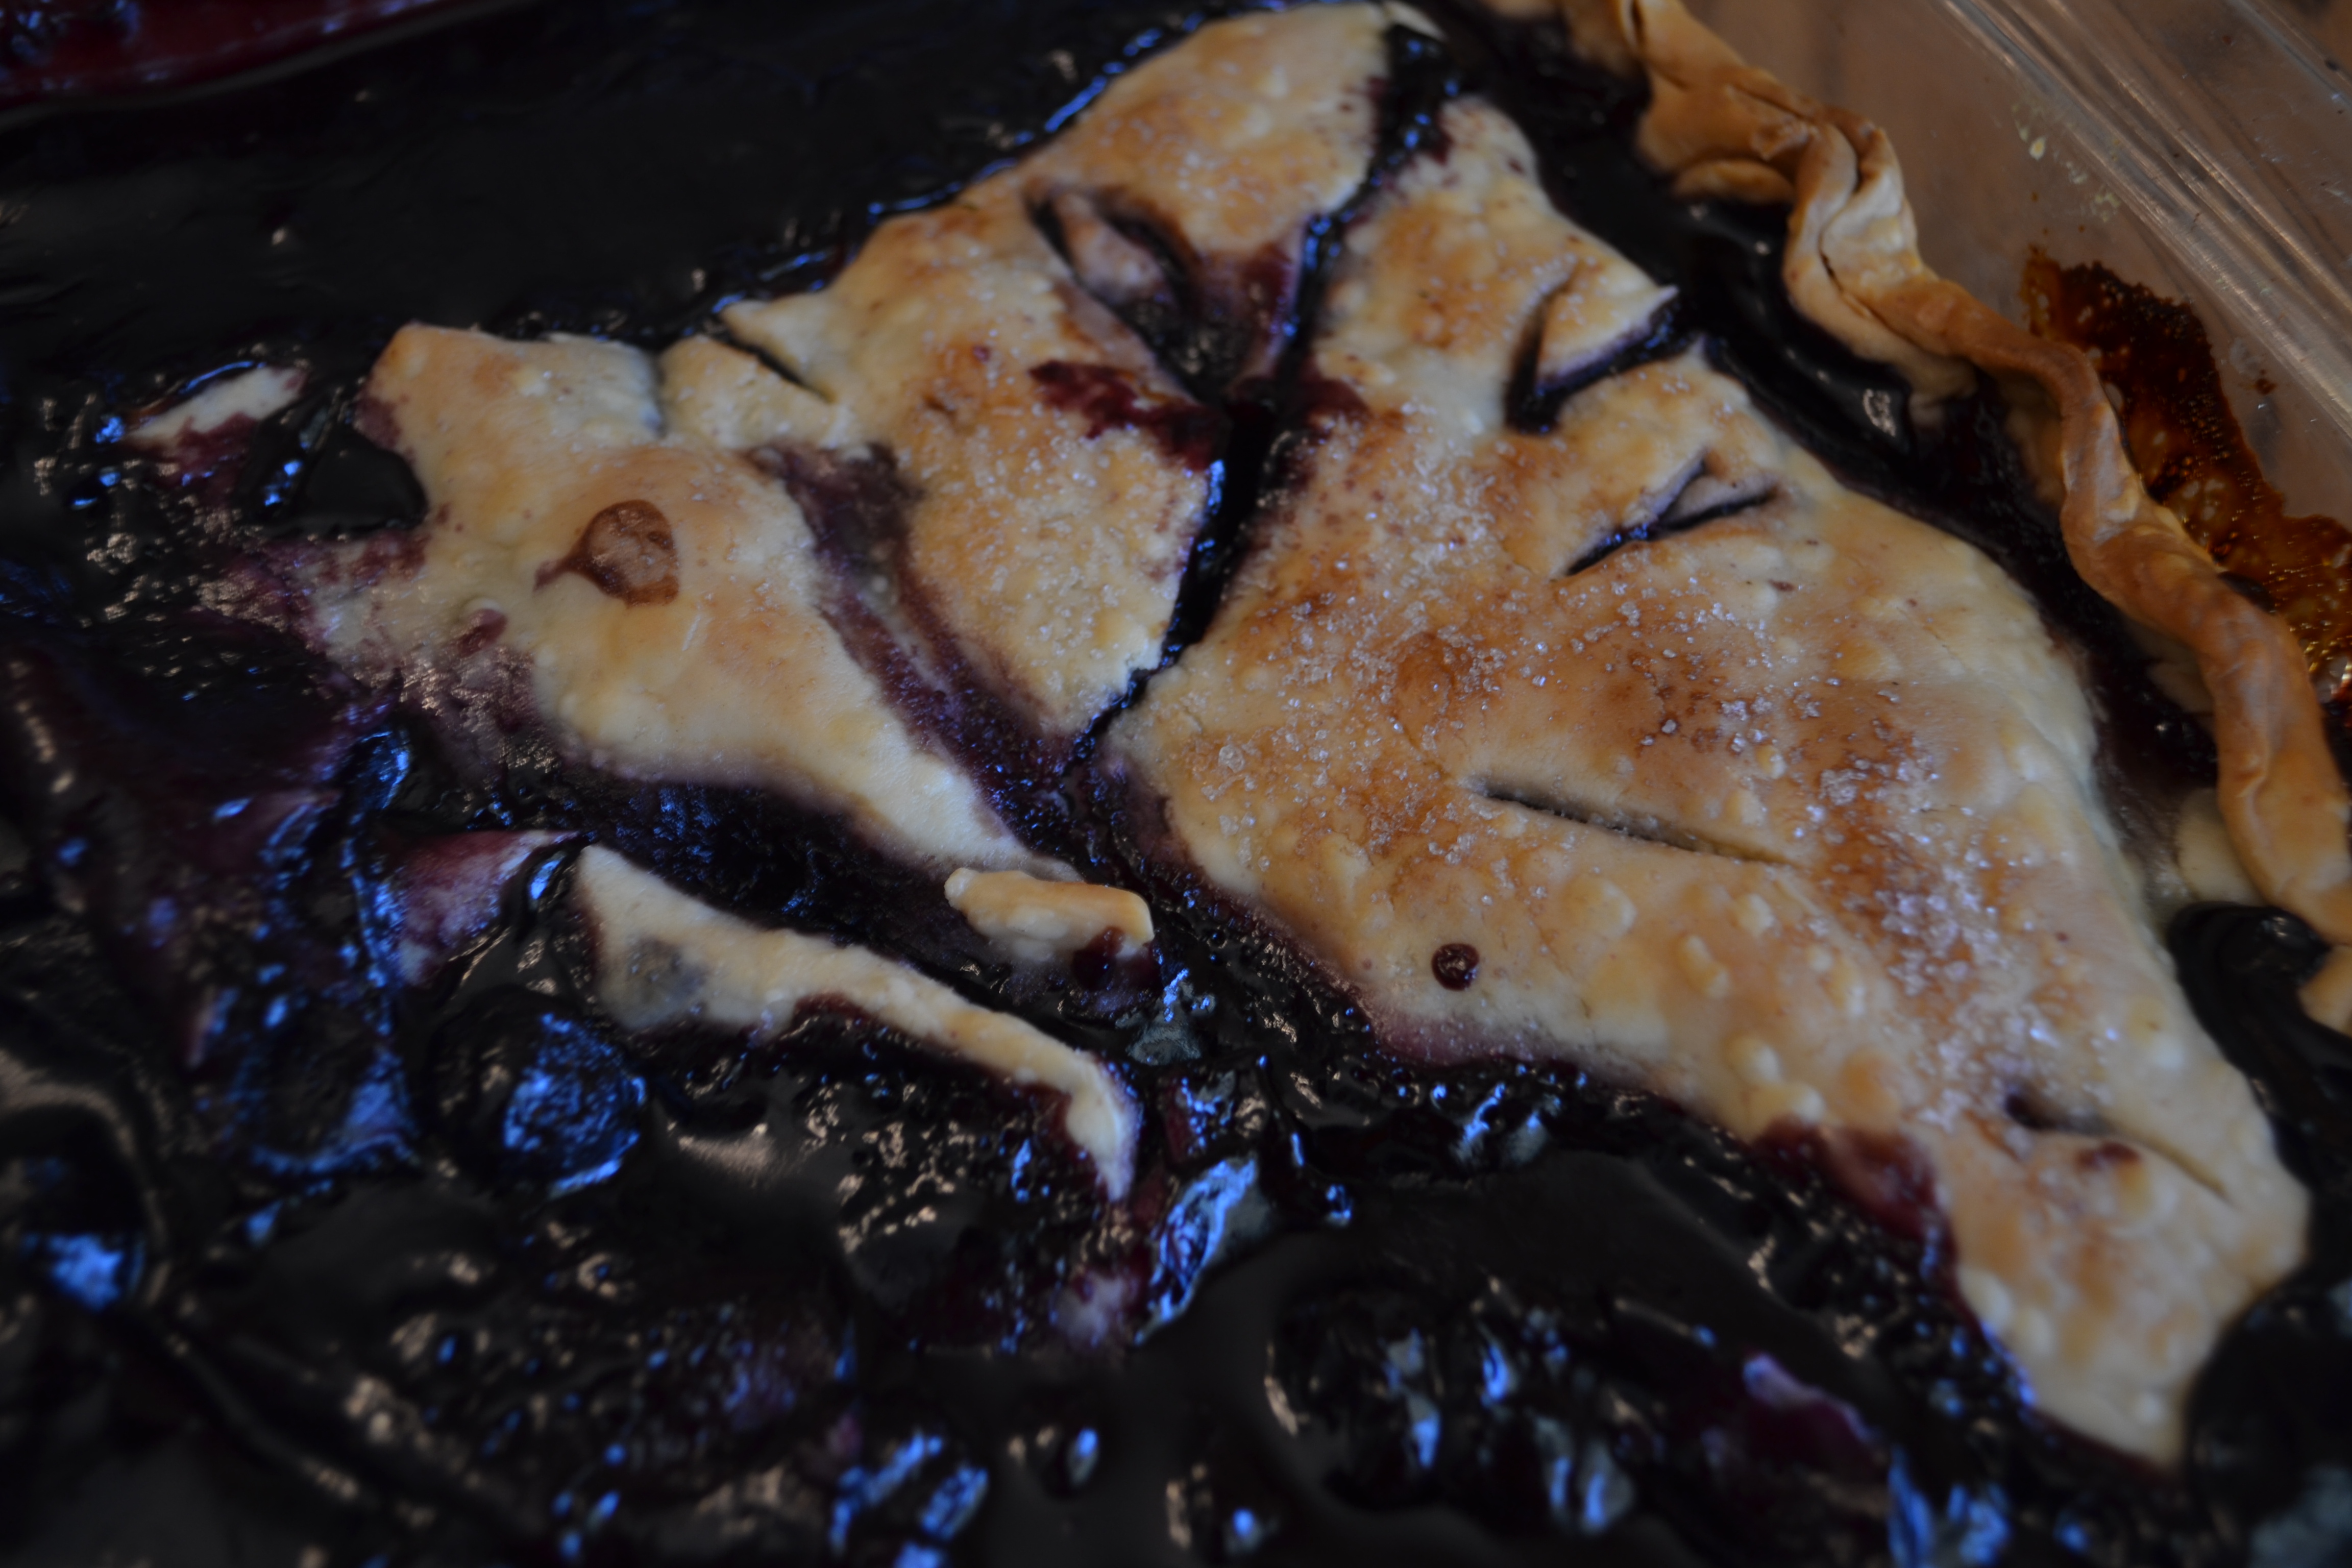
Easy Rustic Cherry Blueberry Pastry-Style Cobbler
Posted: January 19, 2014 Filed under: Desserts, Fruit Dishes | Tags: blueberries, cobbler, dark sweet cherries, lemon, pastry, pie crust, sugar 3 Comments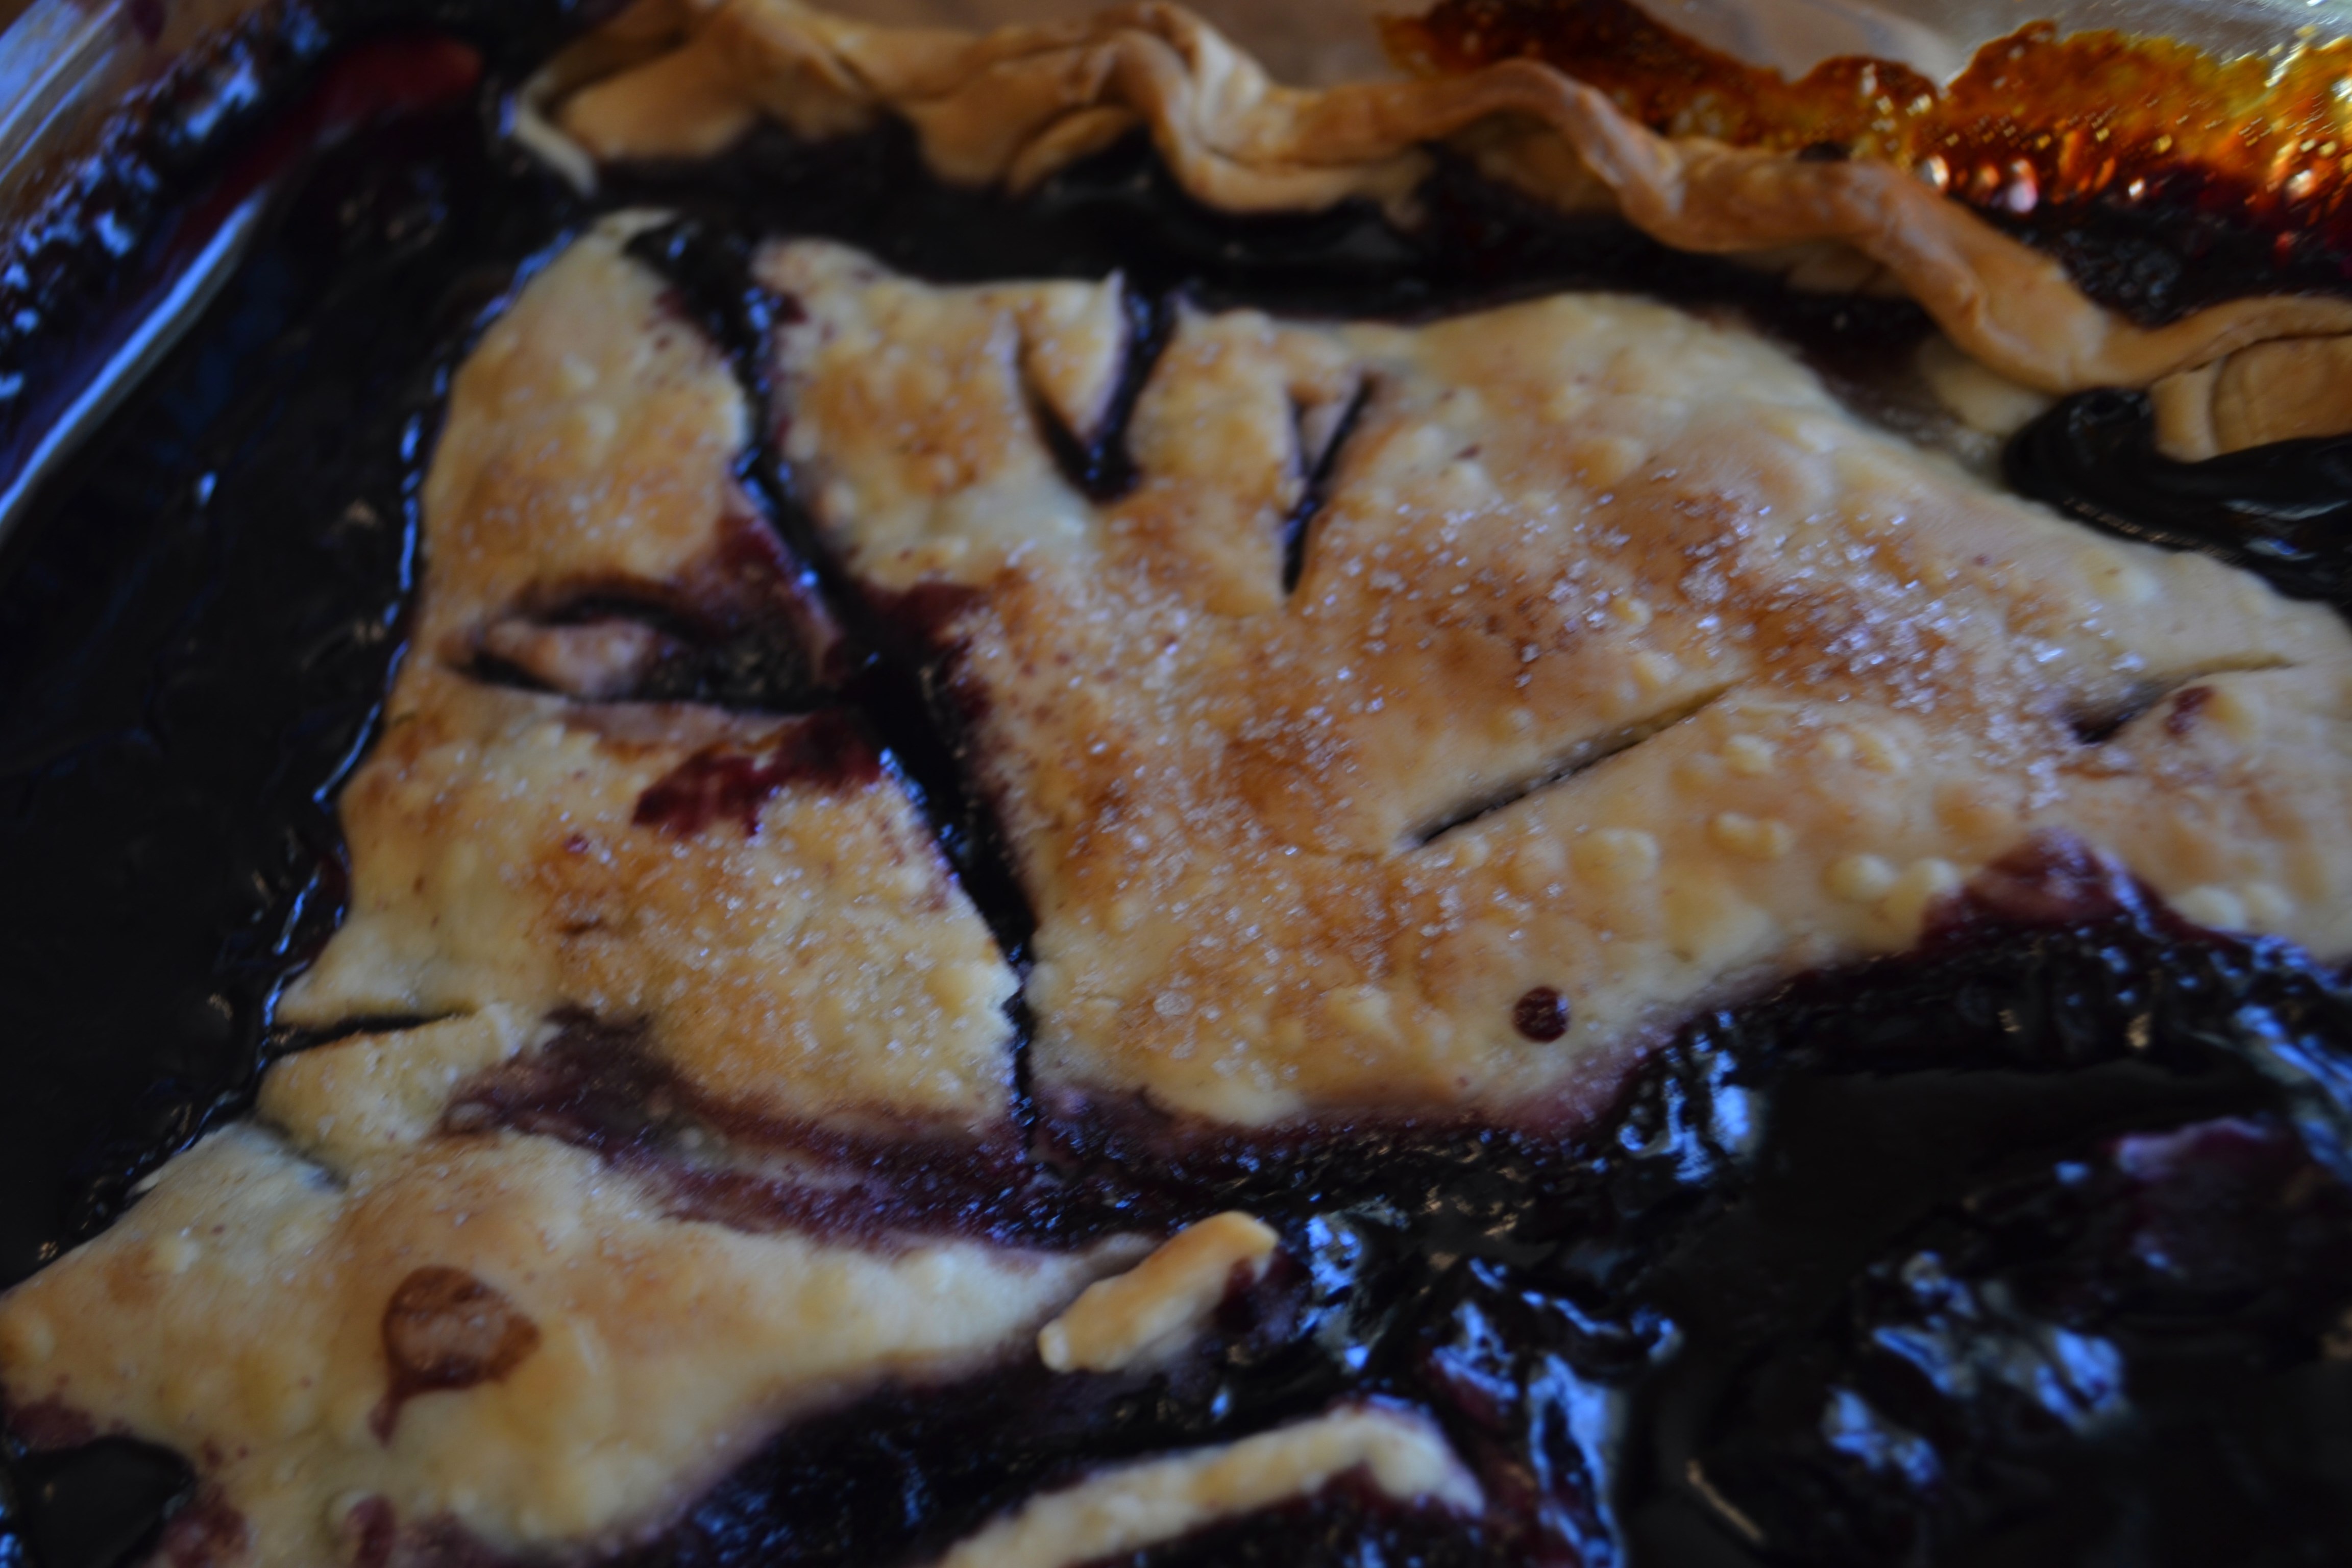
(Becky, the Mama.) I just returned from bringing this simple cobbler to my pastor Hugh Halter’s new ranch house for a pot luck lunch on the back porch. It is mid-January but I do believe God decided to borrow a perfect Spring Day from April, and drop it on us today as an early treat. Hugh is also a passionate author and storyteller (his latest book, Flesh,just released this week), and we share a mutual love of cooking and experimenting in the kitchen. Today he made a yummy creamy lentil soup and a delicious quinoa salad with cranberries, diced sweet potatoes and pears with a light vinaigrette. What can I say? The man knows his way around the Bible, a horse barn and the kitchen.
So it was no small compliment when he strode out to the back porch and hollered out, “Becky Johnson! Did you make that cobbler?”
“I did,” I said.
“Well, it just changed my life. That might be the best dessert I’ve ever tasted.”
I thought about calling this “Change Your Life Cobbler,” but decided that might be over-promising a wee bit. But I will tell you that there are few desserts you can make that will garner as many kudos, for as little trouble to make, as this recipe. It is one of my standard throw-together-in-a-hurry desserts for a crowd.
Using frozen fruit and Pillsbury refrigerated pie crusts, you can assemble this dish in about five minutes. It does take about 45 minutes to an hour to cook, however. It’s nice to pop in the oven if you are having company for dinner, while you prepare the rest of the meal. Or if you are having folks over for dessert only, pop it in the oven then you can go take a nice bath and get yourself ready for their arrival. A little Blue Bell vanilla ice cream on top never hurt anybody. Some of the crust may sink a little into the berries as it cooks. No worries as I think this makes the cobbler tastes even better, with the pastry having different textures. You want it look rustic and free-formed, like a farmer’s wife just made it.
Try this cobbler with other combinations of fruit, fresh or frozen. Peaches, Apples, Rhubarb, and Raspberries would also be delicious. If you like you can add a little cinnamon or nutmeg, vanilla or almond flavoring for variety.
Easy Rustic Cherry Blueberry Pastry-Style Cobbler
4 cups frozen blueberries (you may also use fresh if in season and on sale)
2 1/2 cups frozen dark sweet pitted cherries
1 1/2 cups sugar (plus 2 more T. for sprinkling on top later)
1/2 c. flour
1/2 teaspoon salt
Juice of one fresh lemon
2 T. butter
2 Pillsbury refrigerated pie crusts, unrolled
Directions:
Preheat Oven to 375 degrees.
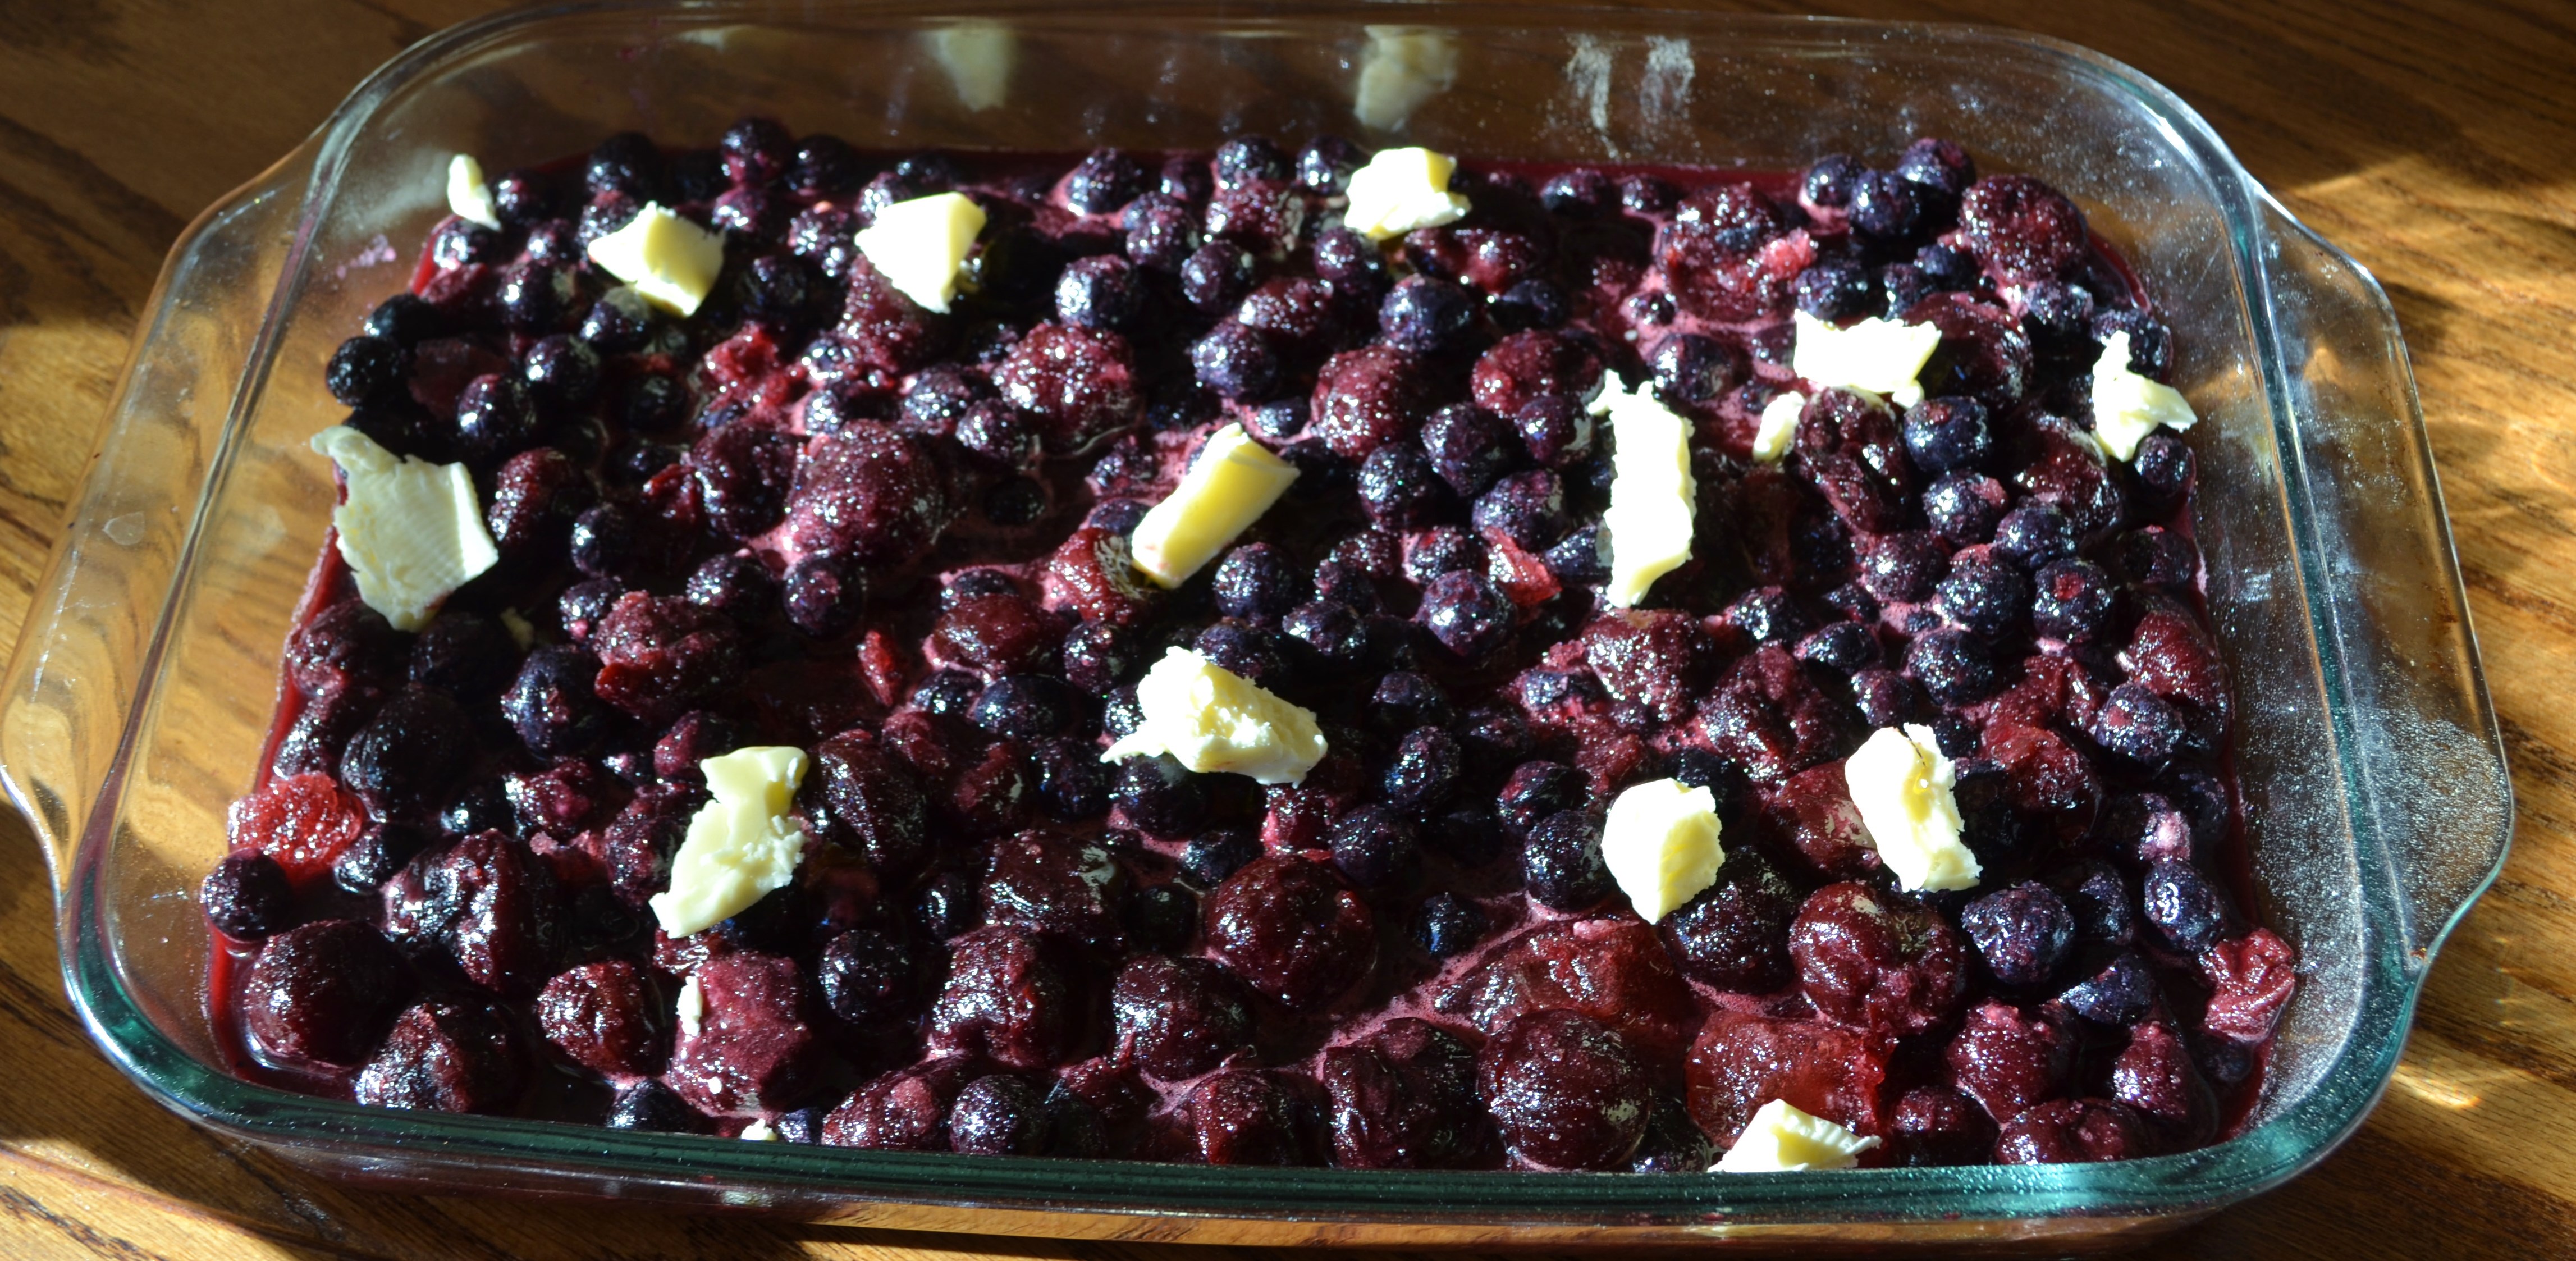
Put the fruit in the biggest bowl you have (can be frozen or thawed at this point). Toss with sugar, flour, salt and lemon juice. Pour into a lightly greased, large, oblong Pyrex pan.
Take small pinches of the butter and dot it all over the top of the fruit.
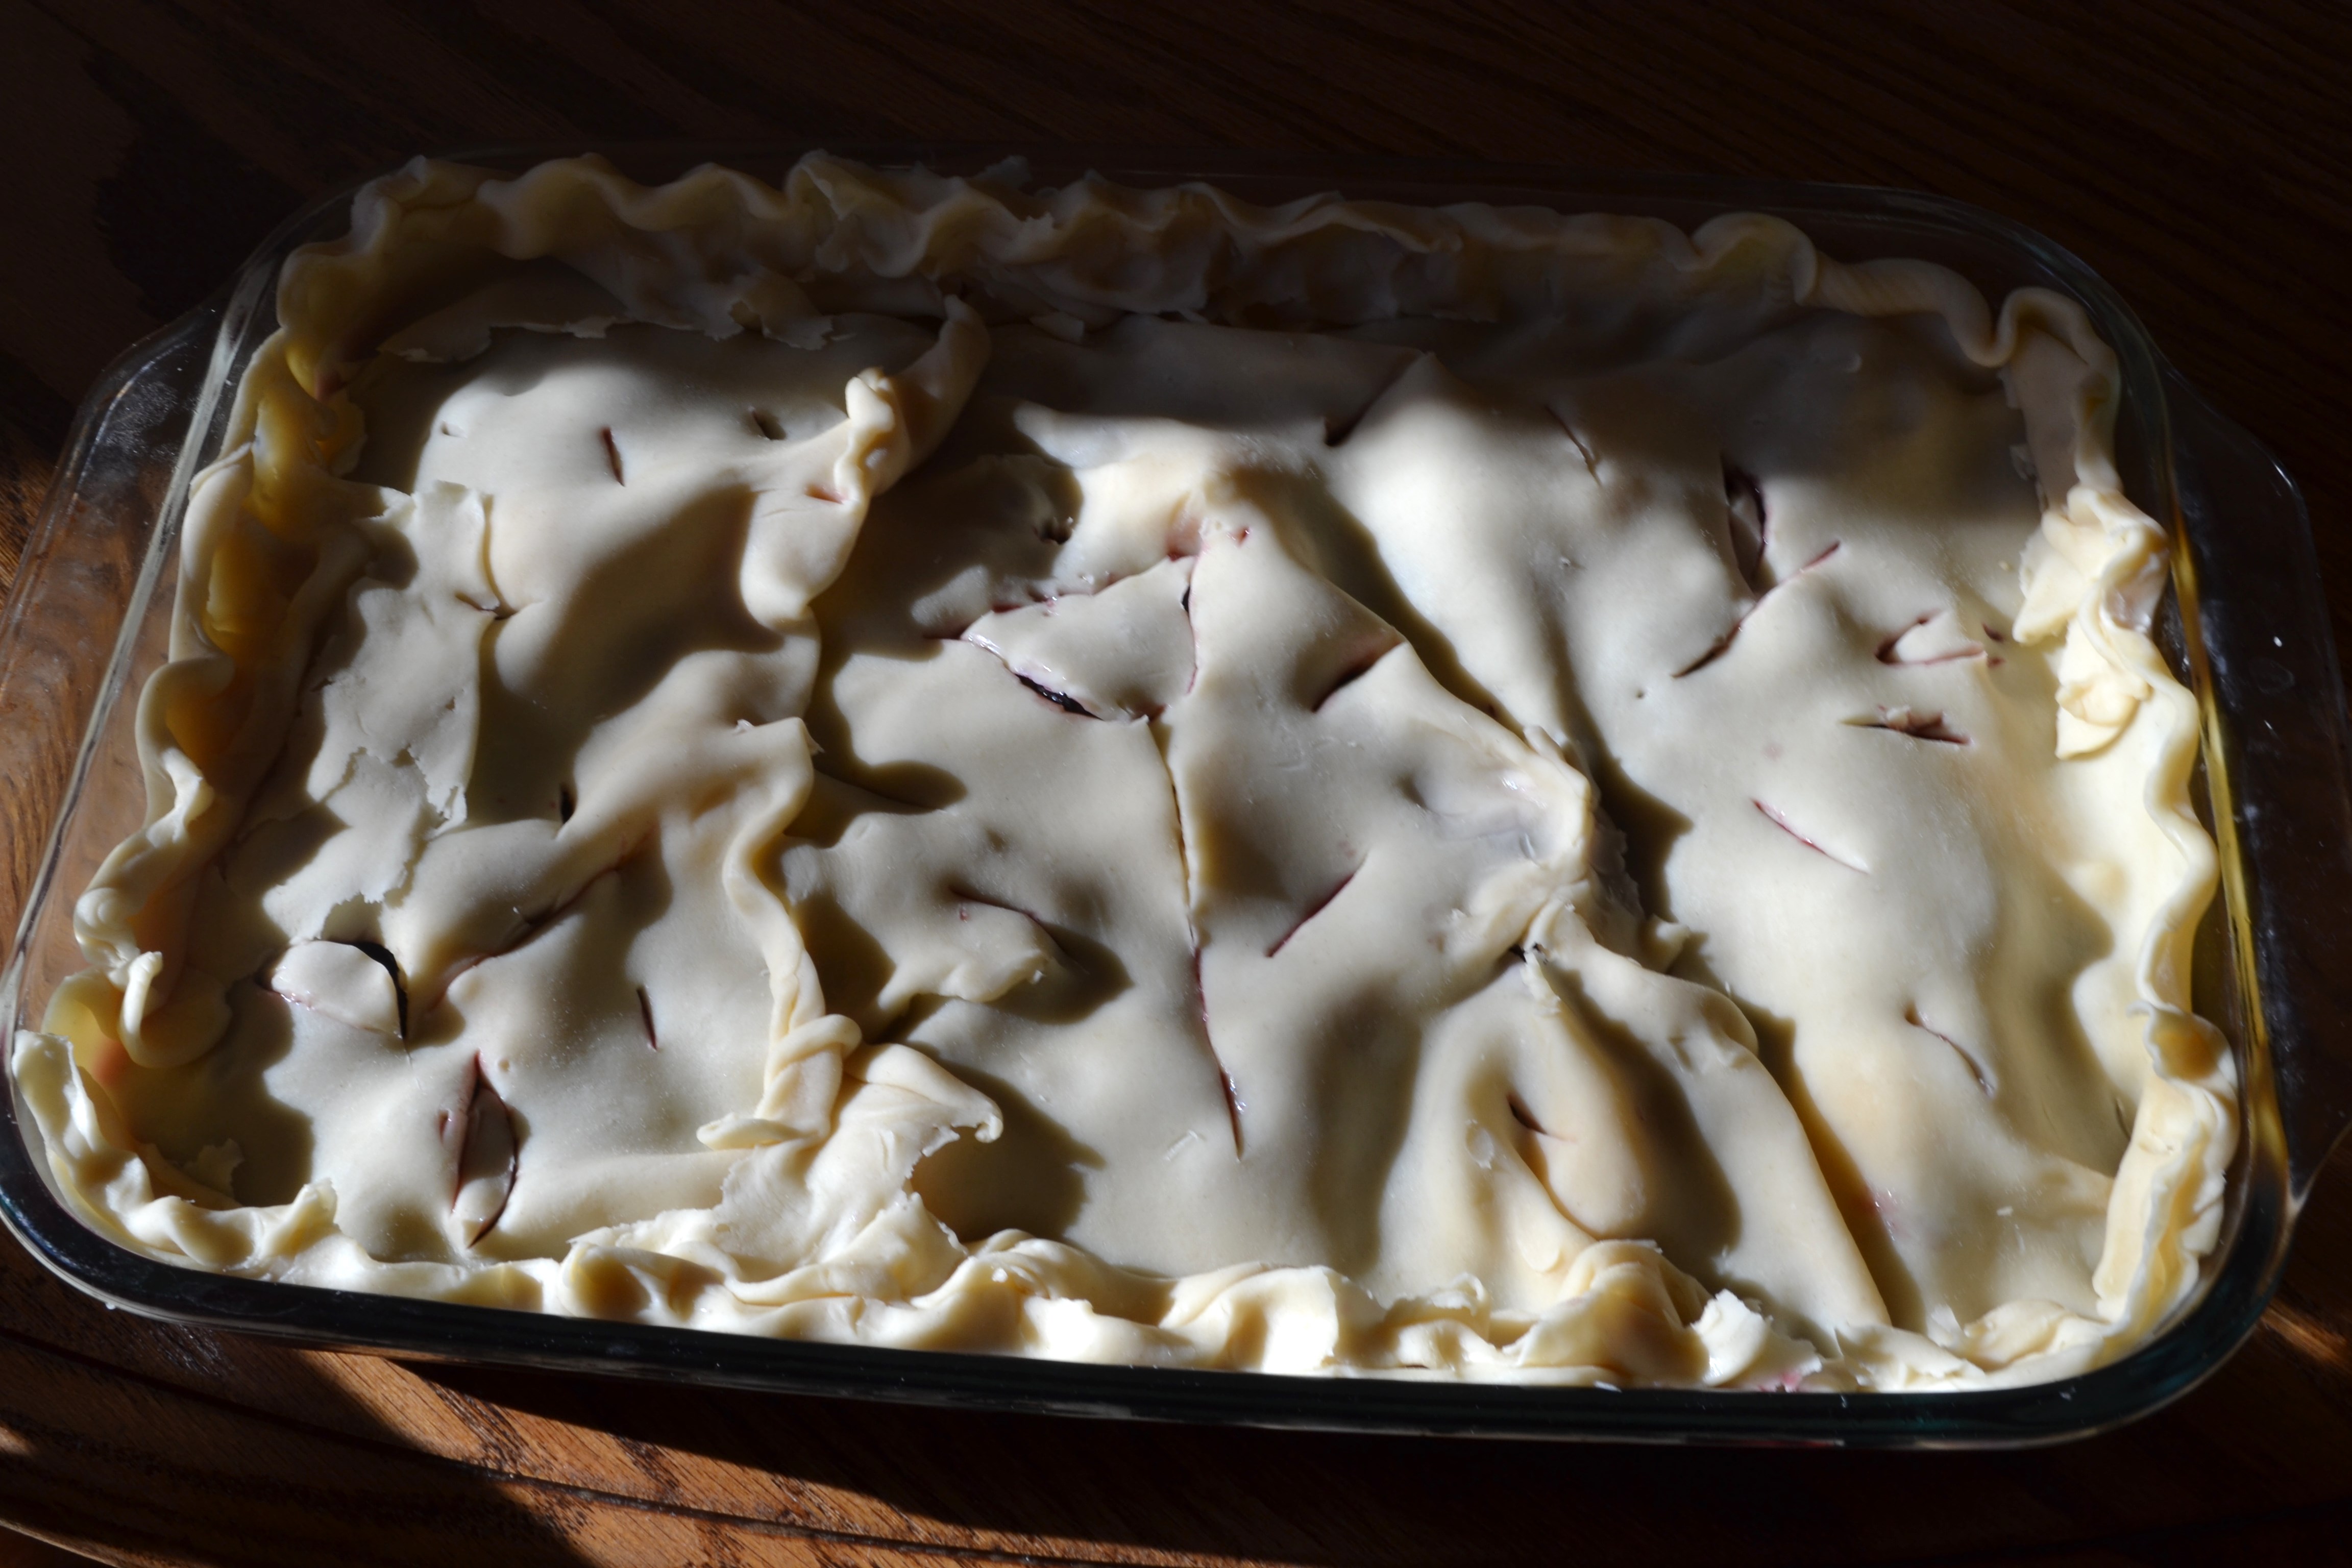
Place one pie crust at the end of the pan, and lightly tuck it in to place. Tear the other pie crust in pieces to fit the oblong plan as best you can, and pinch any seams together, free form, like a patchwork quilt. I like to make an edge and flute it a little bit, but do not worry about making it perfect. Using a sharp paring knife, cut a few designs in the pastry to allow the juice to steam through. Sprinkle the top top of the pastry with 2 T. sugar.
Bake for 1 hour if the fruit is frozen, for about 45 minutes if thawed. You want the pastry to be very golden and juice to be thickened. Let it sit at least 15 to 30 minutes before serving. Is wonderful plain or with a bit of whipped cream or vanilla ice cream.
Skinny Deli Veggie Roll Ups (No Carbs, Less than 100 Calories)
Posted: January 16, 2014 Filed under: Kids Cooking, Main Dishes, Pork, Salads, Sandwiches, Snacks, Turkey, Vegan Options, Vegetarian, Veggies | Tags: cheese, deli slices, ham, honey mustard, jalepanos, pickles, roll-ups, skinny roll ups, veggies Leave a comment
1 Skinny Roll-Up, cut in half to better show you the stuffing.(But you may prefer to eat it without cutting it in half, as it is less messy)
(Becky, the Mama) You know those times when you want “just a little somethin’-somethin’’” to tide you over to until the next meal, or give your foggy brain an energy boost? Something good for you, tasty, without lots of calories or carbs? But you want more than a few carrot or celery sticks. Or maybe you want a light lunch in a hurry, but you aren’t crazy about the idea of sandwiches or wraps with all that bread?
Here’s my favorite pick-me-up-in-a-hurry snack and it is less than 100 calories per Skinny Roll Up. No carbs. No gluten (as long as the meat and cheese you use is gluten free.) Plus there are a thousand variations to this basic “recipe”: you can choose whatever thinly sliced sandwich meat you like (or substitute a vegan version), then chose a small bit of cheese (your choice, or leave it out), whatever veggies you have on hand (cooked or raw or a combination), and any sauce that floats your Roll Up Boat from honey mustard (as I used here), to a little dollop of Ranch Dressing with Buffalo Sauce, to Teriyaki Sauce with Sriracha, to Bar-b-que sauce… and on and on. They are surprisingly filling, two of them with a piece of fruit works as a great light lunch, and the calories are such that you can enjoy another snack or small dessert with a cup of tea or coffee at mid-day and not break your calorie bank.
When your kids claim they are famished and dinner is till an hour away, you can teach your kids how to build-their-own Roll Ups, letting their imagination lead the way. Just one Roll Up will tide them over until dinner, but won’t spoil their appetite. You can also wrap their favorite “roll-ups” in Saran Wrap, leave off the sauce, and send them a little “dipping sauce” in a small container for some variety in their lunch box. (You may want to use 2 slices of deli meat for these so they are easier for the kids to handle. A half slice of American cheese also helps it “stick” and stay together better.)
Vegetarian or Vegans can substitute ToFurky Roasted Deli Slices, which have excellent taster reviews. Or skip the meat layer, use a large soft piece of lettuce instead, and spread the lettuce with humus or refried beans for the protein.

I used thin deli Honey Ham, a slice of Romaine, a slice of Roasted Red Pepper, some white cheddar cheese strips, sweet pickles and honey mustard. Yummmm….
Skinny Deli Veggie Roll Ups
Thin Sliced Deli Meat (Your choice, I used Honey Ham. Vegans can use ToFurky Deli Slices)
1 t. or more of your favorite sauce or dressing (I used Honey Mustard)
1/2 to 1 oz. of cheese, sliced or cut in small strips (1/2 slice of American Cheese, or 2 or 3 small thin strips of any hard cheese)
Small pieces l of lettuce
Pickles, Roasted Peppers (Anything pickled you like that adds a “bite” — pepperocinis, sliced olives or jalapenos are yummy too. I used midget sweet pickles)
1 or 2 T. Veggies, cooked or raw (thinly sliced carrots, cucumber, celery, tomato, avocado, raw pepper sticks, sliced green onions, mashed beans, humus or leftover cooked veggies of any kind)
Directions
Lay a thin slice of deli meat on a plate (you can double this if you want more protein and sturdiness). Stack lettuce, cheese, pickles and veggies down the middle of the deli slice. Squeeze your favorite dressing over this. Roll up like a burrito and enjoy. If making a bunch of them to serve later or to pack in a lunch, you may want to secure them with a toothpick. (Also if they are to be served later or eaten for lunch, you may prefer to leave off the dressing and keep it separate to use as a dipping sauce.)

One Skinny Roll Up, Cut in 1/2 on Diagonal (to show inside stuffing)
Garlic Cashew Cream Sauce (oil-free, vegan, plant-based)
Posted: January 9, 2014 Filed under: Italian, Main Dishes, Pasta, Sauces and Dressings, Toddler-Approved, Uncategorized, Vegan, Vegetarian, Vitamix | Tags: dairy-free cream sauce, garlic cashew cream sauce, oil-free italian dish, plant-based pasta sauce, vegan alfredo 2 Comments
When I worked at the Olive Garden in college, the biggest temptation was the bread drawer, the place where the fresh-out-of-the-oven garlicky bread sticks keep warm until they are to be swaddled in cloth like little dough baby Jesuses and placed in a basket, then delivered to anxious guests alongside a family-sized salad with large clumsy tongs.
Here’s a little server secret: to maximize your salad and breadstick dining pleasure, don’t bother asking for extra dressing or scooping up the last bit swimming at the bottom of the salad bowl. The real indulgence comes in dipping them into a boat of alfredo sauce, it’s a combination you won’t long forget. And the only thing it will cost you is $2.50, 380 calories and 35 grams of fat! Yeah sorry….total buzz kill. But good news is ahead.
This morning, an idea for a simple garlic cream sauce recipe popped into my head. It sounded so easy that right there at 10am, I whipped it up in my Vitamix. And when I opened the blender top ten minutes later, the steaming creamy sauce brought me right back to my shifts at the OG. The smell of garlic filling the air as you opened the bread drawer and winked to the cook for a little ramekin of alfredo. The combination so naughty, yet so irresistible. Hungry servers gathered around to share the quick indulgence, all the while looking out of the corner of our eyes to make sure a manager wasn’t swinging through the kitchen door or the skinny girl with self-control wasn’t looking down on us with judgement.
Somehow this sauce captures that naughty thrilling indulgence – the taste of garlic and cream dancing on your tastebud – but it’s oh so right in so many ways. No oil, no dairy, no cholestorol, just healthy fats from cashews. And with a rich creamy sauce like this, who really needs a refined white flour breadstick to dunk in it? Serve it over whole wheat pasta or vegetables or dip your favorite toasted whole grain baguette in it and you’ll be every bit as satisfied. It’s mind blowingly delicious and the easiest cream sauce I’ve made yet. I see many spin-offs of this in my future. Add a little cayenne for some heat, roast the garlic, garnish with some basil to brighten it up for spring, maybe even add some spinach and artichokes and cook it down to a thick appetizer dip. Oh the potential!
Note: I did not pre-saute the garlic, so it has a little bit of that raw garlic bite…that will stay the evening with you. I am a sucker for garlic, but if you like your garlic a little more milder and not as an overnight guest, then you may want to mince and saute it in a touch of water or olive oil before adding it in.

Garlic Cashew Cream Sauce
Recipe from http://www.laughcrycook.com
Makes enough for 16 ounces of cooked pasta (about four large servings)
1 cup raw cashews
1/4 cup nutritional yeast (available at health markets)
1/4 – 1/2 teaspoon salt
2 large or 3-4 small garlic cloves
2 teaspoons cornstarch (flour will probably work too, but you’ll probably need 3-4 teaspoons)
2 cups milk (I used unsweetened almond milk)
4 teaspoons lemon juice
Vitamix or High-Speed Blender Directions
1. Blend cashews, nutritional yeast, and 1/4 teaspoon of salt into a powder. Scrape corners down.
2. Add garlic, cornstarch, 1/2 of milk. Blend until combined.
3. Add remaining milk and blend on high speed until hot and steamy (about five to seven minutes) and to the thickness desired.
4. Blend in lemon juice and check for seasoning. Add more salt if desired.
5. Serve over pasta or vegetables or as a dipping sauce for bread. Sprinkle individual servings with a touch of pepper.
Vitamix is having a sale on their reconditioned models this month (January 2014). I bought the standard reconditioned model in November when they had the same sale and have officially fallen into the “How did I ever live without it?!” camp. You can use the code 06-009318 at Vitamix.com to get free shipping and to help support Laugh, Cry, Cook.
Food Processor/Stove Top Instructions
1. In a food processor blend cashews, nutritional yeast, and 1/4 teaspoon of salt into a powder. Scrape down sides as needed.
2. Mince garlic finely or use microplaner to grate into food processor.
3. Stir cornstarch into 1cup of milk. Add to food processor and blend until well combined.
3. Add remaining milk. Blend again.
4. Transfer to stovetop sauce pan and heat on medium to medium high, stirring often until it is heated through and reached the desired consistency (like a thick alfredo sauce).
4. Stir in lemon juice and check for seasoning. Add more salt if desired.
5. Serve over pasta or vegetables or as a dipping sauce for bread. Sprinkle individual servings with a touch of pepper.
MOIST Chocolate Layer Cake with Buttery Mocha Frosting (& Story of My Daughter’s Unforgettable Birth)
Posted: December 28, 2013 Filed under: Cakes, Desserts | Tags: butter, cake, chocolate, coffee, fluffy, mocha, moist 4 Comments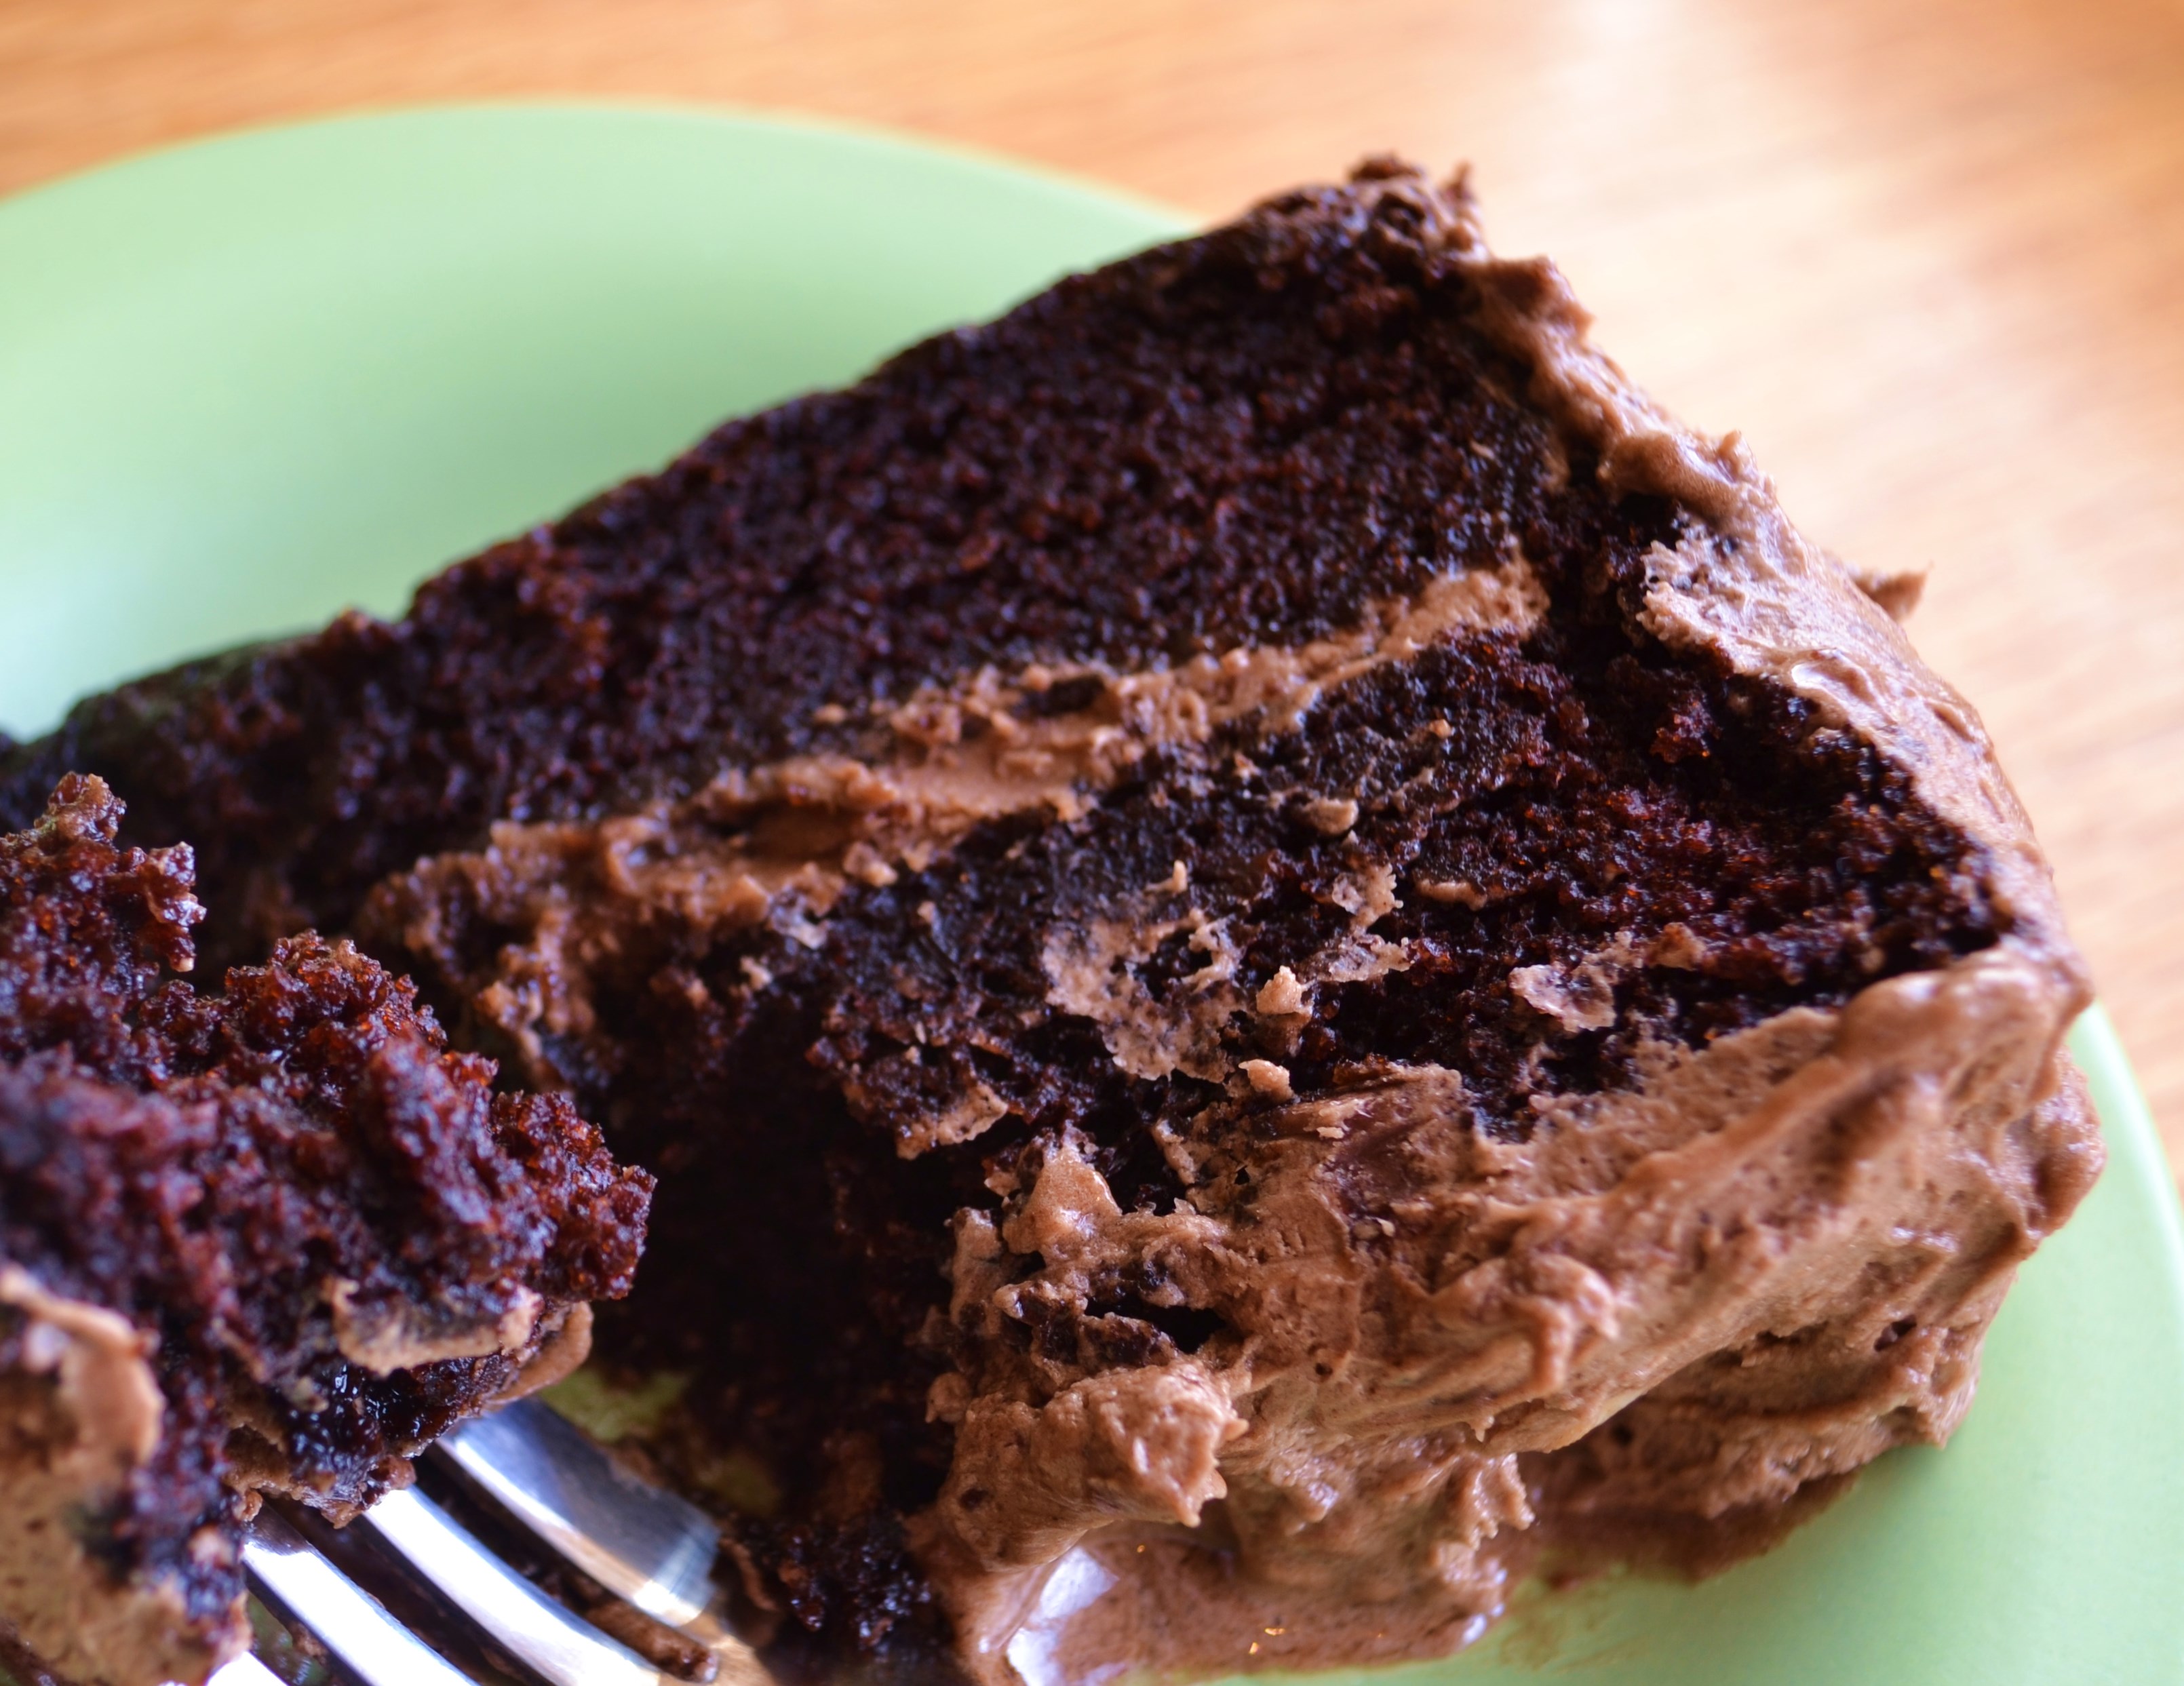
Today is my daughter’s 30th birthday! Sadly, Rachel lives too far away to celebrate with in person today (she is in Texas, and I am in Colorado). So I’ve had to make do with texts, Facebook posts, emails, phone calls, Twitter and now, a blog in her honor!

I have great stories about each of my children’s entrances into the world, but Rachel’s birth story wins the Most Exciting Award, hands down.
She was born three days after Christmas. From December 23 to December 28, I was the proverbial pot waiting to boil, only in my case my visiting family was waiting for me to give birth. It was the coldest winter on record in Texas and ice had frozen inside the windows. After enjoying my two sons who were age 3 and 5, I could not help dreaming of a baby girl. Ultrasound pictures were rare in those days, so we did not know the sex ahead of time.
Because my previous home births had involved long painful labors, when I woke up with contractions this third time around, they weren’t terribly painful. So I decided to just lie still, on my side, in the peaceful darkness and labor quietly by the light of the Christmas tree. I didn’t want to wake my husband, parents or sister who were visiting us over the holidays, until I was sure I needed help. This plan went surprisingly well, until I felt something like the urge to push.
I decided to wake up my husband with this news. His eyes grew large as he announced, “Becky, I see the baby’s head!” This set off a Three Ring Circus with my Dad manning the wall phone in the kitchen talking to the midwife, then shouting directions to my mother who was standing in the living room, who relayed them to my then-husband standing at the end of my bed, like a baseball catcher. My college-aged, organized little sister, who is not fond of feeling out of control was, I believe, hiding in the guestroom taking notes in her journal under“Things I Must Never Ever Do.”
The ice on the highways was so thick, and I’d waited so long to sound the “Baby is Coming!” alarm, that the midwife could not possibly get there before the baby’s entrance. Rachel slipped into the world and soon, into my arms, fairly easily. However, she was not breathing on her own, so I reached into our “Home Birth Kit”, grabbed a suctioning bulb and went to work. It wasn’t long before she took her first beautiful breath. We looked in each other’s eyes and made friends immediately. I named her Rachel Praise, after my sister Rachel. Interestingly, the two Rachels in our family both prefer less-crazy, less-messy lives than I’ve lived. Lives where they keep schedules, know what day it is, give birth in hospitals and don’t mind “bothering” other people when they go into labor. However, all three of us love to laugh and ended up writing books of family humor. (My sister’s latest is The Well-Lived Laugh –ebook download is just $1.00 this week, and ours is We Laugh, We Cry, We Cook.)

As soon as I could stand and walk, I scooped up my new daughter and headed to a store, with her big brothers dressed in cowboy boots and hats trailing behind. I walked in and bought 3 lacy bonnets. Before the days of hair bows on stretch lace, it was a frilly bonnet that would say to the world, “Baby GIRL here!” and I wanted the world to know my beautiful newborn was a SHE.
Besides remembering the story of Rachel’s birth (as I do every year on this day in some way), I decided to have a piece of this incredibly moist and buttery, made-from-scratch homemade chocolate cake in her honor. In fact, I had it for breakfast… because these are the kinds of sacrifices mothers make for their birthday girls.
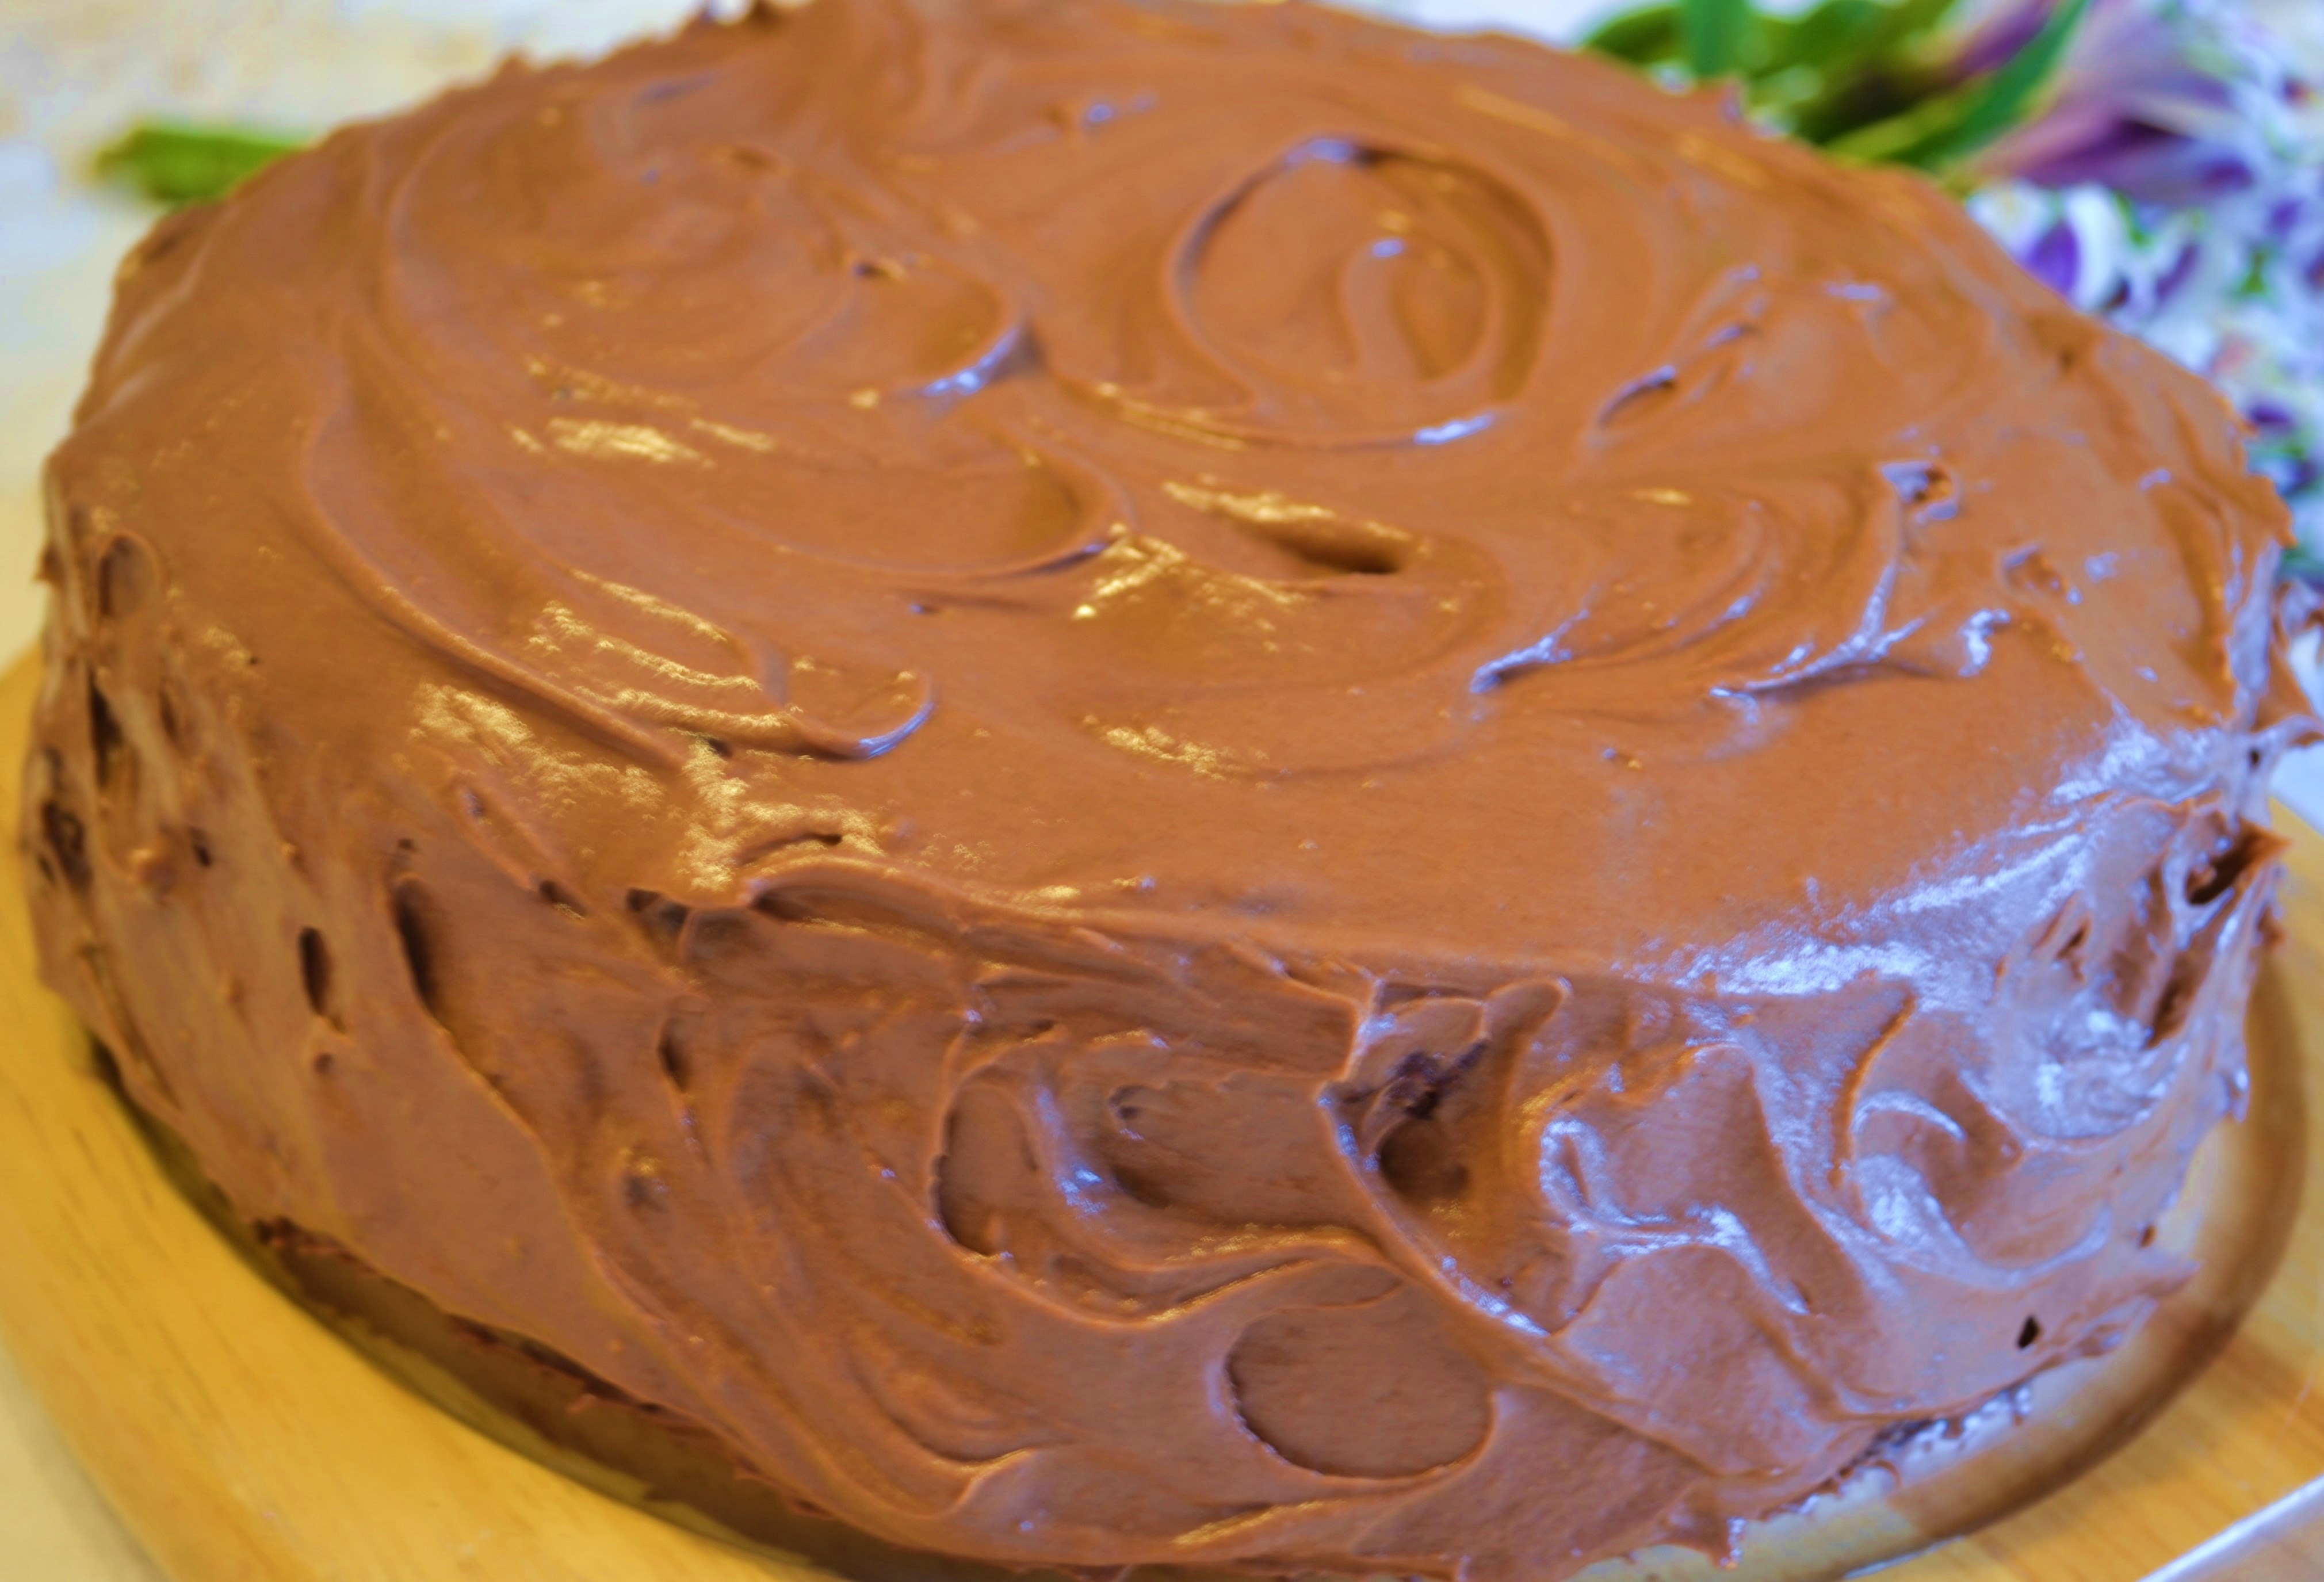
This cake is a variation of the famous recipe on the back of Hershey’s Cocoa. The frosting is extra rich, soft and fluffy – made with lots butter and melted chocolate.
You are most welcome to join us in celebrating Rachel’s birthday today by whipping up this cake. Then stand back and watch people swoon. Seriously it is the kind of chocolate cake that provokes moans not unlike those of Meg Ryan’s in the movie,”When Harry Met Sally”.
Happy Birthday, Dear Rachel! I am so glad you were born. So proud of you as a wife and mother. So thrilled that we got to write a blog and book together this year. So many good things have happened in the world, because you were born.
Now, let’s eat cake!
MOIST, Chocolate Layer Cake with Buttery Mocha Frosting
Ingredients (Adjusted for High Altitude, See “Normal Altitude*” measurement adjustments below)
2 cups minus 2 tablespoons sugar*
1-3/4 cups all-purpose flour
3/4 cup Hershey’s cocoa
1-1/4 teaspoons baking powder*
1-1/4 teaspoons baking soda*
1 teaspoon salt
2 large eggs
1 cup plus 2 tablespoons milk*
1/2 cup light oil such as sunflower, canola or light olive oil
2 teaspoons vanilla extract
1 cup boiling water mixed with 1 T. instant coffee (or 1 cup strong hot coffee, brewed)
Directions
Heat oven to 350°F.
Grease two 9-inch round cake pans. I use Pam spray. Then cut a circle of wax or parchment paper to fit in the bottom of the pan. Re-spray the top of parchment with Pam lightly.
Sift flour, cocoa, baking powder, baking soda and salt in a large mixing bowl. Add sugar, eggs, milk, oil and vanilla. on medium speed for about 2 minutes. Carefully, stir in hot coffee, with the mixer on low, or use a hand whisk. The batter will be very thin. Pour batter evenly into prepared cake pans.
Bake for 30 to 35 minutes or until a toothpick inserted in center comes out clean. Cool 10 minutes; remove from pans to wire racks. Cool completely. Frost with fluffy mocha frosting.
- Normal Altitude Measurements: 2 cups sugar, 1-1/2 teaspoons baking powder, 1-1/2 teaspoons baking soda, 1 cup milk
- Vegans: substitute milk with soy or almond milk; use Earth Balance Butter Sticks in place of dairy butter, and Ener-G Egg replacer for eggs.
Buttery Mocha Frosting
6 ounces semisweet chocolate chips or morsels (Vegans use dairy-free chocolate chips)
1 cup (2 sticks) butter, at room temperature (really important this be at room temp) (Vegans use Earth balance butter)
1 teaspoon vanilla extract
1 ½ cups sifted confectioners’ sugar
2 – 5 Tablespoons Strong coffee, cooled
Carefully melt the chocolate chips in a double boiler or use the microwave but watch carefully, only nuking 10 seconds at a time, just until you can stir it smoothly.
Beat the butter until it is light yellow and fluffy, about 3 minutes. Add vanilla. Turn the mixer to low, gradually add the confectioners’ sugar, the melted chocolate, and then add one tablespoon of coffee at a time until the frosting is smooth and creamy and will spread easily, but don’t whip it. Spread immediately on the cooled cake.
This cake is best served at room temperature. If I make it a day ahead, I put it in the fridge and then let the cake sit at room temperature for several hours so the frosting will soften up to serve the next day. My favorite way to handle leftovers (if there are any) is to cut slices and wrap them individually, very well, in plastic wrap. Then when I want a piece, I unwrap it and put it on a place, and microwave it about 15 seconds to soften.
Pomegranate Spritzer Gift Box + Recipe
Posted: December 19, 2013 Filed under: Cocktails, Foodie Gifts, Uncategorized, Vegan, Vegetarian | Tags: Celebration Gifts, cocktails, DIY Christmas Gifts, Pomegranate Spritzer, Teacher Gifts, Virgin Cocktails 2 Comments
Teachers around the U.S are counting down those last few days of school. Christmas break is just a couple of days away. They made it. And you know what they deserve? To CELEBRATE!
My son is 2 1/2. His Mother’s Day Out teachers may not have to deal with testing or teenage attitudes…but they help potty train eleven children…and they are better at it than I am with one child. They do pinterest worthy activities EVERY class day. They taught my child his colors, when all summer long EVERYTHING was blue. I seriously thought he was color blind…but no. They text me pictures of my son at sensory stations and my mother-guilt for not doing enough of these activites at home is lessened. They are my Pinterest arms and legs. My son will not grow up in a generation of Pin Kids and be the only one who never played in a “sensory bin.” Thank you Mrs. H and Mrs. T!
So cheers to teachers everywhere. If you are a teacher, I hope someone is celebrating you this week…and if not, I raise my glass to you. Here’s what my son’s teachers and his school’s director are getting from The Randolphs this year. It’s not expensive, but I hope it expresses how grateful we are for them…because we totally are!

The makings of pomegranate spritzers and some delicious dark chocolate covered almonds (I bought the Archer’s brand from Target. They are dairy-free and dangerously tasty). I had these little gratitude stones from one of my old clients Michele Wahlder. She had them made up to go with her book Alphatudes: The Alphabet of Gratitude, which also makes an absolutely beautiful gift or addition to a gift basket.
Homemade Simple Syrup is so easy and CHEAP, but adds a nice homemade touch to this gift. Simply boil equal parts sugar and water until the sugar dissolves. I did one cup of each and filled three medium sized baby food jars. (If I’d thought ahead, I’d have bought small mason jars–so much cuter–but I went with what I had). You can sweeten any drink (iced tea, cocktails, coffee) with simple syrup without leaving undissolved granules of sugar in the bottom. It’s also the perfect stocking stuffer for the sweet tea lovers in your life.

You can also make all sorts of flavored simple syrups for a special touch by adding things like peeled ginger, jalapeno, orange peel, mint, or basil. Unflavored syrups will keep for about a month in the refrigerator. Most flavored will keep for 2-3 weeks. Just toss it when it gets cloudy.

I took the pictures of the finished boxes in a hurry before school. Of course, I take pictures of the one where I ironically misspelled “simple.” Maybe I shouldn’t have been sampling the recipe as I made up these cards. 🙂
Pomegranate Spritzers
Makes one drink
2 ounces pomegranate juice
2 ounces sparkling water
.5 – 1 ounce simple syrup (see below for recipe)
Optional: 1.5 ounces of white rum or vodka
Wedge of Lemon
Pour all ingredients into a martini glass. Squeeze in lemon wedge. Give it a gentle stir. Add some ice cubes if needed. Serve. (You can shake the pomegranate juice, optional rum or vodka, and simple syrup in a shaker with ice and then top with sparkling water and lemon if you’re bothered by a few cubes of ice in your martini glass.)
Simple Syrup
1 cup sugar
1 cup water
Put sugar and water in a pan. Bring to boil. Boil until the sugar dissolves. Only takes a few seconds. Remove from heat. Let cool. (You can also just put sugar and water in a jar and shake, shake, shake until it dissolves.) Store in refrigerator for up to one month or until it gets cloudy.
This was printed from: We Laugh, We Cry, We Cook
The site URL: http://welaughwecrywecook.com
The Title: Pomegranate Spritzer
The URL: http://wp.me/p1UwM9-18G
Light, Airy, Crispy Bacon Waffles (Best. Waffles. Ever.)
Posted: December 15, 2013 Filed under: Breads, Breakfast Foods, Pork | Tags: almond milk, bacon, baking powder, Better Homes and Gardens, eggs, flour, light, milk, Oh Boy! Waffles, olive oil, salt, waffles 2 Comments
(Becky, the Mama.)
If there was one dish I loved more than any other as a child, it would be my mother’s homemade waffles. Life was good when that enormous waffle iron was plugged in and heating up. She used a recipe for “Oh Boy!” Waffles from her stained, yellowed, old copy of her red and white checked Better Homes and Gardens Cookbook. I asked for them for my birthday and every special occasion I could find or make up.
I’ve tried dozens of other waffle recipes, and none compares to this very old standard. Today I substituted almond milk for a little more than half of the diary milk and used a light olive oil in place of the vegetable oil in the original recipe.
Insert me high five-ing myself right here. No kidding. The BEST WAFFLES I’VE HAD IN MY LIFE. Period.
Light as air, crispy…. Simply perfect. To me there is nothing worse than a heavy waffle, the kind where, if you take one bite you feel like you already ate the whole waffle and need to go lie down. If you, like me, prefer an airy, tender waffle, brown and crisp on the outside, a waffle that leaves you perfectly, lightly satisfied instead of feeling like you swallowed a ball of dough, prepare to fall in love.
We also love bacon with waffles, and I’ve found that cutting the bacon up before browning (I use kitchen shears) and then stacking the pieces atop the waffle to serve not only looks pretty, but allows you to easily get a little bite of bacon with each bite of waffle. Plus you get a little syrup (we indulge in pure maple syrup and close our eyes at the price), on the bacon: maple and bacon together make a very happy coupling in your mouth.

Airy, Crispy, Bacon Waffles
Make 5-6 Round Belgian Waffles
2 1/4 cups all-purpose flour (I always give the flour in my canister a little stir, then lightly put the flour into the measuring cup, leveling off)
4 teaspoons baking powder
3/4 teaspoon salt
1 1/2 tablespoons sugar
2 large eggs
1 1/4 cups almond milk (I used 30 calorie per cup brand)
1 c. dairy milk (I used 1 percent)
3/4 cup light olive oil (plus oil for waffle iron)
8 slices bacon, cut in 1/3’s, cooked crisp and drained
Directions:
Heat waffle iron to your desired temperature, putting a little olive oil on the bottom iron, closing the lid to let it distribute well and let the oil get hot. (I always use the Dark setting to get them extra crisp)
In a large mixing bowl, whisk the flour baking powder salt and sugar together. Make an indention in the middle of the dry ingredients and put eggs, almond and dairy milks and olive oil in the indention. Whisk the wet ingredients in the middle of the bowl and graduation pull in the dry ingredients around the sides until thoroughly whisked. Batter will be loose, and you make think it is a bit on the then side. Also as it sits it will begin to rise a bit in the bowl.
Using a long-handled measuring cup, put about 3/4 cup batter into hot iron. Cook to desired crispness.
Put waffle on a plate and pile up the bacon pieces in the middle, like a little bacon haystack.
Add butter and syrup and enjoy a little bite of bacon with every piece of waffle… (I also like a little squeeze of fresh orange atop my waffle, for a bright citrus taste.)
Leftovers: Since this recipe makes quite a bit of batter you can use leftovers in two ways: 1) go ahead and make more waffles, on the light side, put them in ziploc bags and refridgerate or freeze. When ready to heat, put them on a cookie sheet and bake at 400 degrees until re-crisped and golden. 2) Save leftover batter in Tupperware container in fridge. Just before making waffles, add another 1/2 t. baking powder to batter to help revive the “lightness” and cook as above. This is my favorite method.

Is This Child For Real?
Posted: December 12, 2013 Filed under: Nourishing Nuggets, Uncategorized | Tags: And Life Comes Back, Donald Miller, Tricia Williford 4 CommentsNote from Becky about this blog: Tricia Williford does an amazing daily blog at http://www.tricialottwilliford.wordpress.com. Follow her blog to get updates about her upcoming memoir and tell her I sent you.
Just a few short years ago, my darling, beautiful, brilliant friend Tricia Williford lost her husband suddenly, two days before Christmas. He was at home and with complications of a flu-like illness, died in front of her eyes. Her gorgeous, honest memoir, And Life Comes Back, debuts in February. (She will also be speaking at Donald Miller’s Storytelling Conference that month. Here’s a link to her fabulous blog about how THAT came about, titled “The Night Donald Miller Changed My Life”
Anyway, her blog today so gripped my heart, I had to share it with you all. When Tricia’s husband died, her two adorable, freckle-faced innocent red-headed boys were just pre-school ages. Last week when one of the boys told a friend at school that his Daddy died around Christmas, the little friend didn’t believe it. Likely because what child can believe that something like that can really happen? Who loses a Daddy? And of all times, at Christmas? My admiration for Tricia as a writer is only eclipsed by my admiration for her a single mother, a too-young widow whose faith has gone through the valley of agony and come out shining, like a Christmas star. Every year I stay on the watch for a story or blog that pulls my heart into the essence of Christmas. This year, this is it.

I heard some movement in my bedroom last night. I stirred and sat up to find Tyler kneeling next to my bed, his head rested on his folded hands.
“It’s okay, Mommy. I’m just praying for you.”
“You are?”
“Yes. I am asking God to give you good rest and a good night and so many good dreams.”
30 Minute AMAZING Lemon Pepper Chicken Noodle Soup
Posted: December 8, 2013 Filed under: Chicken, Main Dishes, Soups, Turkey, Uncategorized, Vegan, Vegan Options, Vegetarian | Tags: carrots, chicken, chicken broth, deli chicken, garlic, lemon pepper, mushrooms, noodle, pappardelle, peas, roast chicken, soup, veggie broth 2 Comments
In early November, Greg and I arrived in sunny Southern California for a week of much longed-for and needed vacation. I took no time in shimmying into my bathing suit (and immediately donning a cover-up), loading my tote bag with “beach reads” and a pair of sunglasses. I snapped a picture of the glistening pool, palm trees, blue sky and mountains in the distance, then posted it to Facebook extolling the joys of time away! Savored every moment of sunshine that first day of vacation, went back to the condo enjoyed a relaxing evening and fell asleep.
The next morning I woke to find that my skin was hot, my body aching, my throat swollen, my head felt about twice its normal size, and my ears seemed stuffed with cotton. Greg too had caught the bug, but he had taken the flu shot earlier in the month, so his misery was limited in time and scope. I did not get the shot, so my misery knew no bounds. There was no doubt about it: I had the flu. I don’t really remember much about the next next six days of “vacation” as I spent most of it sleeping or on drugs.
When I am sick, Greg does a fine job caring for me, truly he does. That entire week he was the one who braved getting out and going to the store, ferrying in rations of cold medicine, cough drops and canned chicken soup. But the truth is, I wish I could have a Well Me to take care of the Sick Me, because the Well Me makes a killer homemade chicken soup.
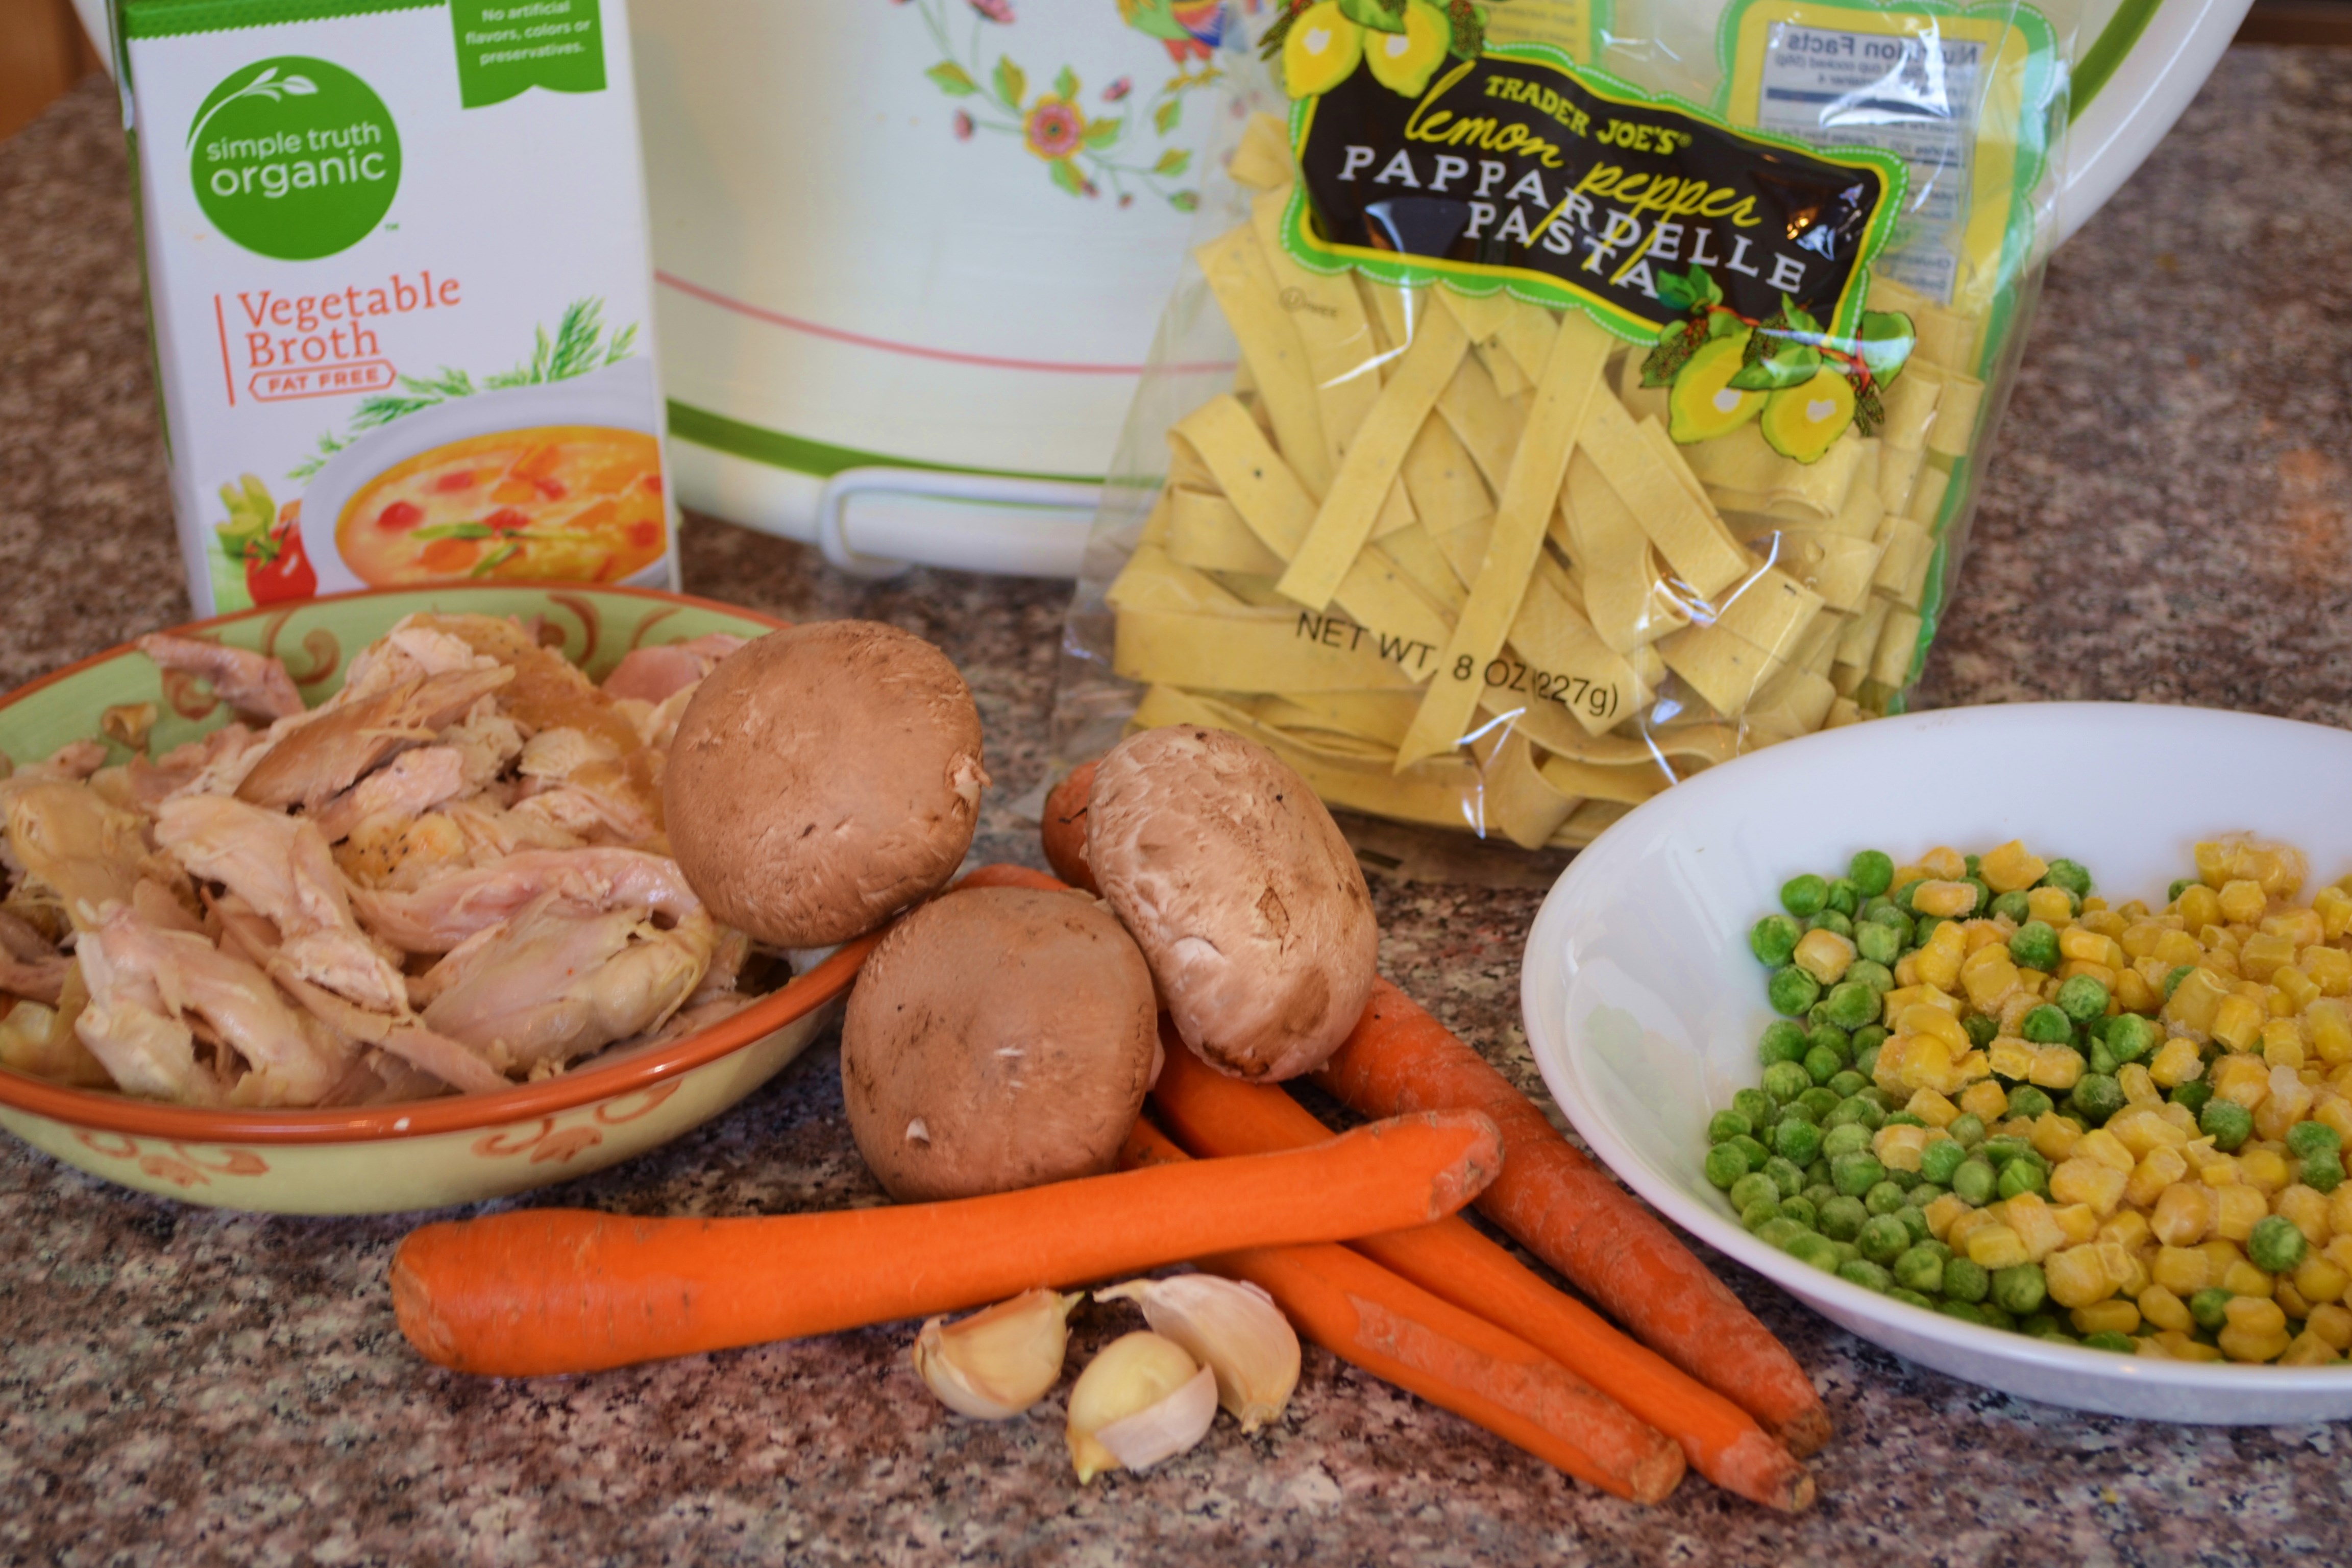
This one uses one of my favorite Trader Joe’s products: Lemon Pepper Pappardelle Pasta. The lemon flavor is not overly strong and the texture of these noodles is perfect for chicken soup: firm but tender –a near-perfect pasta product!
The great thing about this homemade soup is that it only takes 30 minutes to make but tastes like you’ve toiled in the kitchen all day. The special noodles take it to a “gourmet” level that you would be proud to serve to guests.
I believe this easy chicken soup will become your go-to recipe to serve on a chilly day, make for a sick family member or cheer up a friend with the flu. (You might also consider tucking in a copy of We Laugh, We Cry, We Cook for your friend. Nothing cures what ails you like homemade soup and laughter.) It is also easy to “veganize” this dish, and I’ll list alternative ingredients in the recipe below.

Fast & Easy Lemon-Pepper Pappardelle Chicken Soup
Ingredients
2 T. olive oil (or oil and butter combo)
2 T. flour
4 cups of chicken or veggie broth
½ c. water
½ c. milk or almond milk
3 cloves garlic, grated or pressed
4 oz. Lemon Pepper Pappardelle Noodles, broken into 1 – 2 inch pieces (Trader Joe’s brand recommended/ 4 ozs is about ½ a package. Unflavored Pappardelle or other wide noodle will also work if you prefer or cannot find pappardelle pasta at your grocery store.)
4 carrots, peeled and diced (the smaller the dice or slice, the faster they’ll cook)
3 large mushrooms, diced
2 cups of cooked chicken, pulled from a deli roasted chicken (I like to keep some of the pieces fairly large, some small. )
*VEGANS can substitute a can of big butter beans or your favorite vegan chicken substitute for the meat. But add toward the end of cooking.
½ c. frozen corn
½ c. frozen peas
½ to 1 t. salt (you’ll have to taste test because some broths and chickens are saltier than others)
½ to 1 t. pepper (according to your taste)
½ to 1 t. your favorite dried herbs ( I use a little Italian seasoning, a little basil)
Dash hot sauce to taste (like Tabasco)
Directions
In a big soup pot, heat the oil or oil/butter combination until it begins to bubble. Add flour and whisk this roux until smooth and bubbly. Very slowly, and while still whisking with one hand, add one cup of the chicken broth, stirring until smooth. Add the rest of the broth, the water, the milk and garlic, then continue to stir and let it come to a boil.
Add the broken pappardelle noodles and carrots and mushrooms. Simmer this until the veggies and noodles are almost tender. Add chicken, corn, peas, seasonings and dash of hot sauce. Continue to simmer until noodles and veggies are tender (but not mushy) and heated through. Adjust seasonings to taste.
We usually serve steaming bowls of this hearty soup with hot buttered cornbread and fresh apple slices.
From: http://www.laughcrycook.com
Christmas Wreath Salad with Cranberry Orange Vinaigrette
Posted: December 6, 2013 Filed under: Salads, Sides, Uncategorized, Vegetarian | Tags: balsamic, cherries, Christmas salads, cranberry, feta goat cheese, nuts pecans, olive oil, orange, pistachios, red wine vinegar, strawberries, vinaeagrette, wreath Leave a comment
(Mama Becky)
I’ve been mulling over this year’s Christmas Dinner Menu for our big blended family. My goal is always to use recipes that are delicious, tasty, and pretty — but are no-brainers to make and serve.
For the main dishes, I decided on my never0fail, always juicy slices of Tri-Tip roast in au jus; and a nice center cut of grilled Norwegian salmon from Whole Foods, our favorite cut of fish. This should please the beef eaters and the fish eaters alike.
I recently discovered some delicate, amazing-tasting fresh “pasta purses” stuffed with cheeses and truffles at, of all places, Sam’s Club. After cooking them in boiling water, I gently ladled them into a quick rich sauce made of cream, a little garlic, Parmesan cheese and basil. To. Die. For. And silly easy. I now have my perfect fancy-but-simple Christmas side dish to put on the menu.
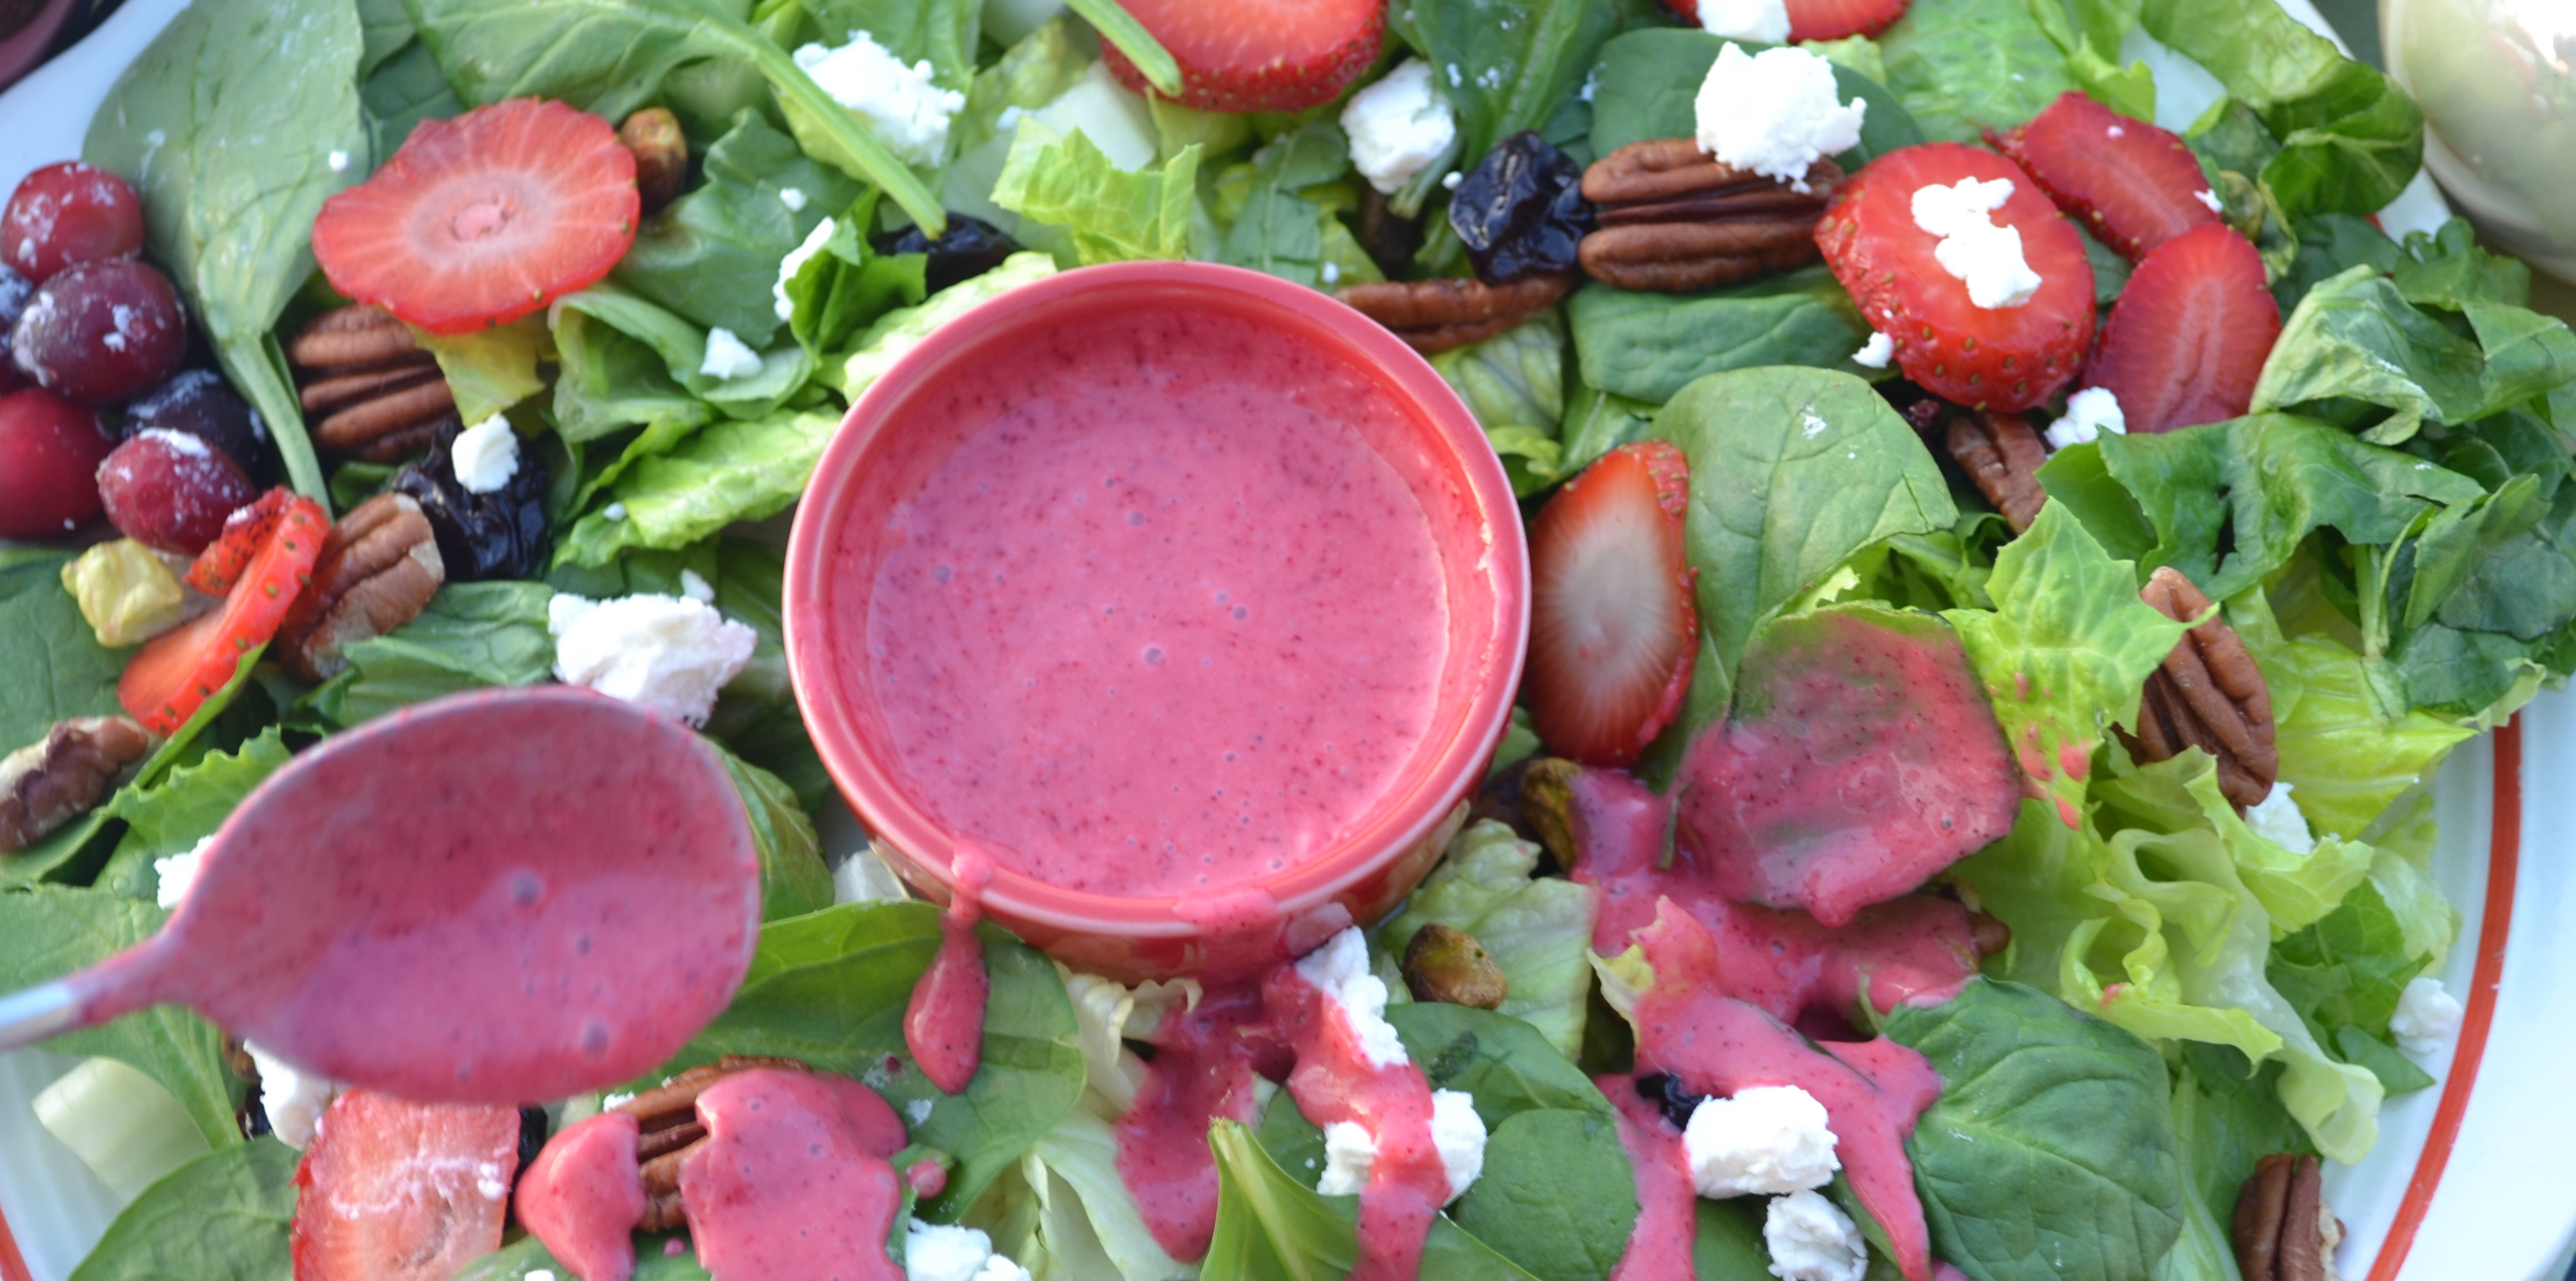
Finally, to add some freshness and crunch to round out the meal, I thought I’d make a salad. But I didn’t want an old boring salad. Then – faster than a speeding reindeer it came to me! I’d make a Christmas Wreath Salad. I’d arrange the greens on a plate like a wreath, dot it with red berries, both fresh and dried, sprinkle with nuts and top with feta cheese “snow” and tuck a bow at the bottom of the plate. Then, what could be more festive to drizzle on this pretty salad than a vinaigrette inspired by my favorite cranberry-orange relish?
As I write this, it seems the whole country is blanketed with snow and ice. Here in Denver it is a balmly… 1 degree. Our front yard proved to be the perfect place to chill the salad and snap some photos. Let me assure, I didn’t dawdle with the camera outside for long. In fact this was probably the fastest — and coldest – food photography session I’ve ever done. Greg and I sampled this trial-run salad as a one bowl supper tonight by topping it with some warm, sliced deli roast chicken. Big, Holly Jolly win.
By the way, if you are looking for an uplifting, fun gift for teachers, girlfriends, moms, grandmas or cooks in your family … may we suggest copies of We Laugh, We Cry, We Cook?
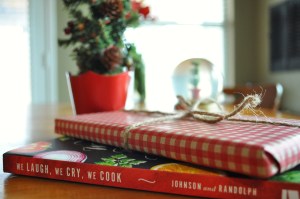
Our memoir is truly one of those perfect, generic, happy gifts that anyone on your list will enjoy. The recipes at the end of each chapter add extra value. The book is available online everywhere, and in most bookstores; but if you would like an autographed, wrapped copy check out Rachel’s last blog post with instructions on how to contact us.

Christmas Wreath Salad with Cranberry Orange Vinaigrette
Ingredients:
About 4 to 5 cups of salad greens (I used chopped romaine and arranged spinach leaves on top of the “wreath mounds)
½ cup of whole nuts (I used pecans and pistachios)
¼ cup of dried red berries – cherries or cranberries
½ cup of fresh red berries – slice strawberries or pitted fresh cherries
1/3 cup crumbled feta or goat cheese (or if you prefer, grated white cheddar, parmesan, swiss or other white cheese)
Directions:
On a large round plate, put a small bowl for the salad dressing in the middle. Arrange salad greens around the bowl to make a “wreath”, then dot the wreath with nuts, dried berries and fresh betters. Finally sprinkle with feta “snow”. Fill the bowl in the middle with the following vinaigrette and serve chilled.
Cranberry Orange Vinaigrette
1 cup fresh cranberries
1 medium navel orange or 2-3 clementines, peeled and broken apart
2/3 cup sugar
1/2 cup red wine or balsamic vinegar
1 teaspoon sea salt
1 teaspoon mustard
1 teaspoon grated onion or dried minced onion
½ t. garlic powder
2/3 cup olive oil
Directions:
Put all ingredients into a blender or food processor and process until smooth, and turns a gorgeous raspberry red. Keep in fridge until ready to serve.


